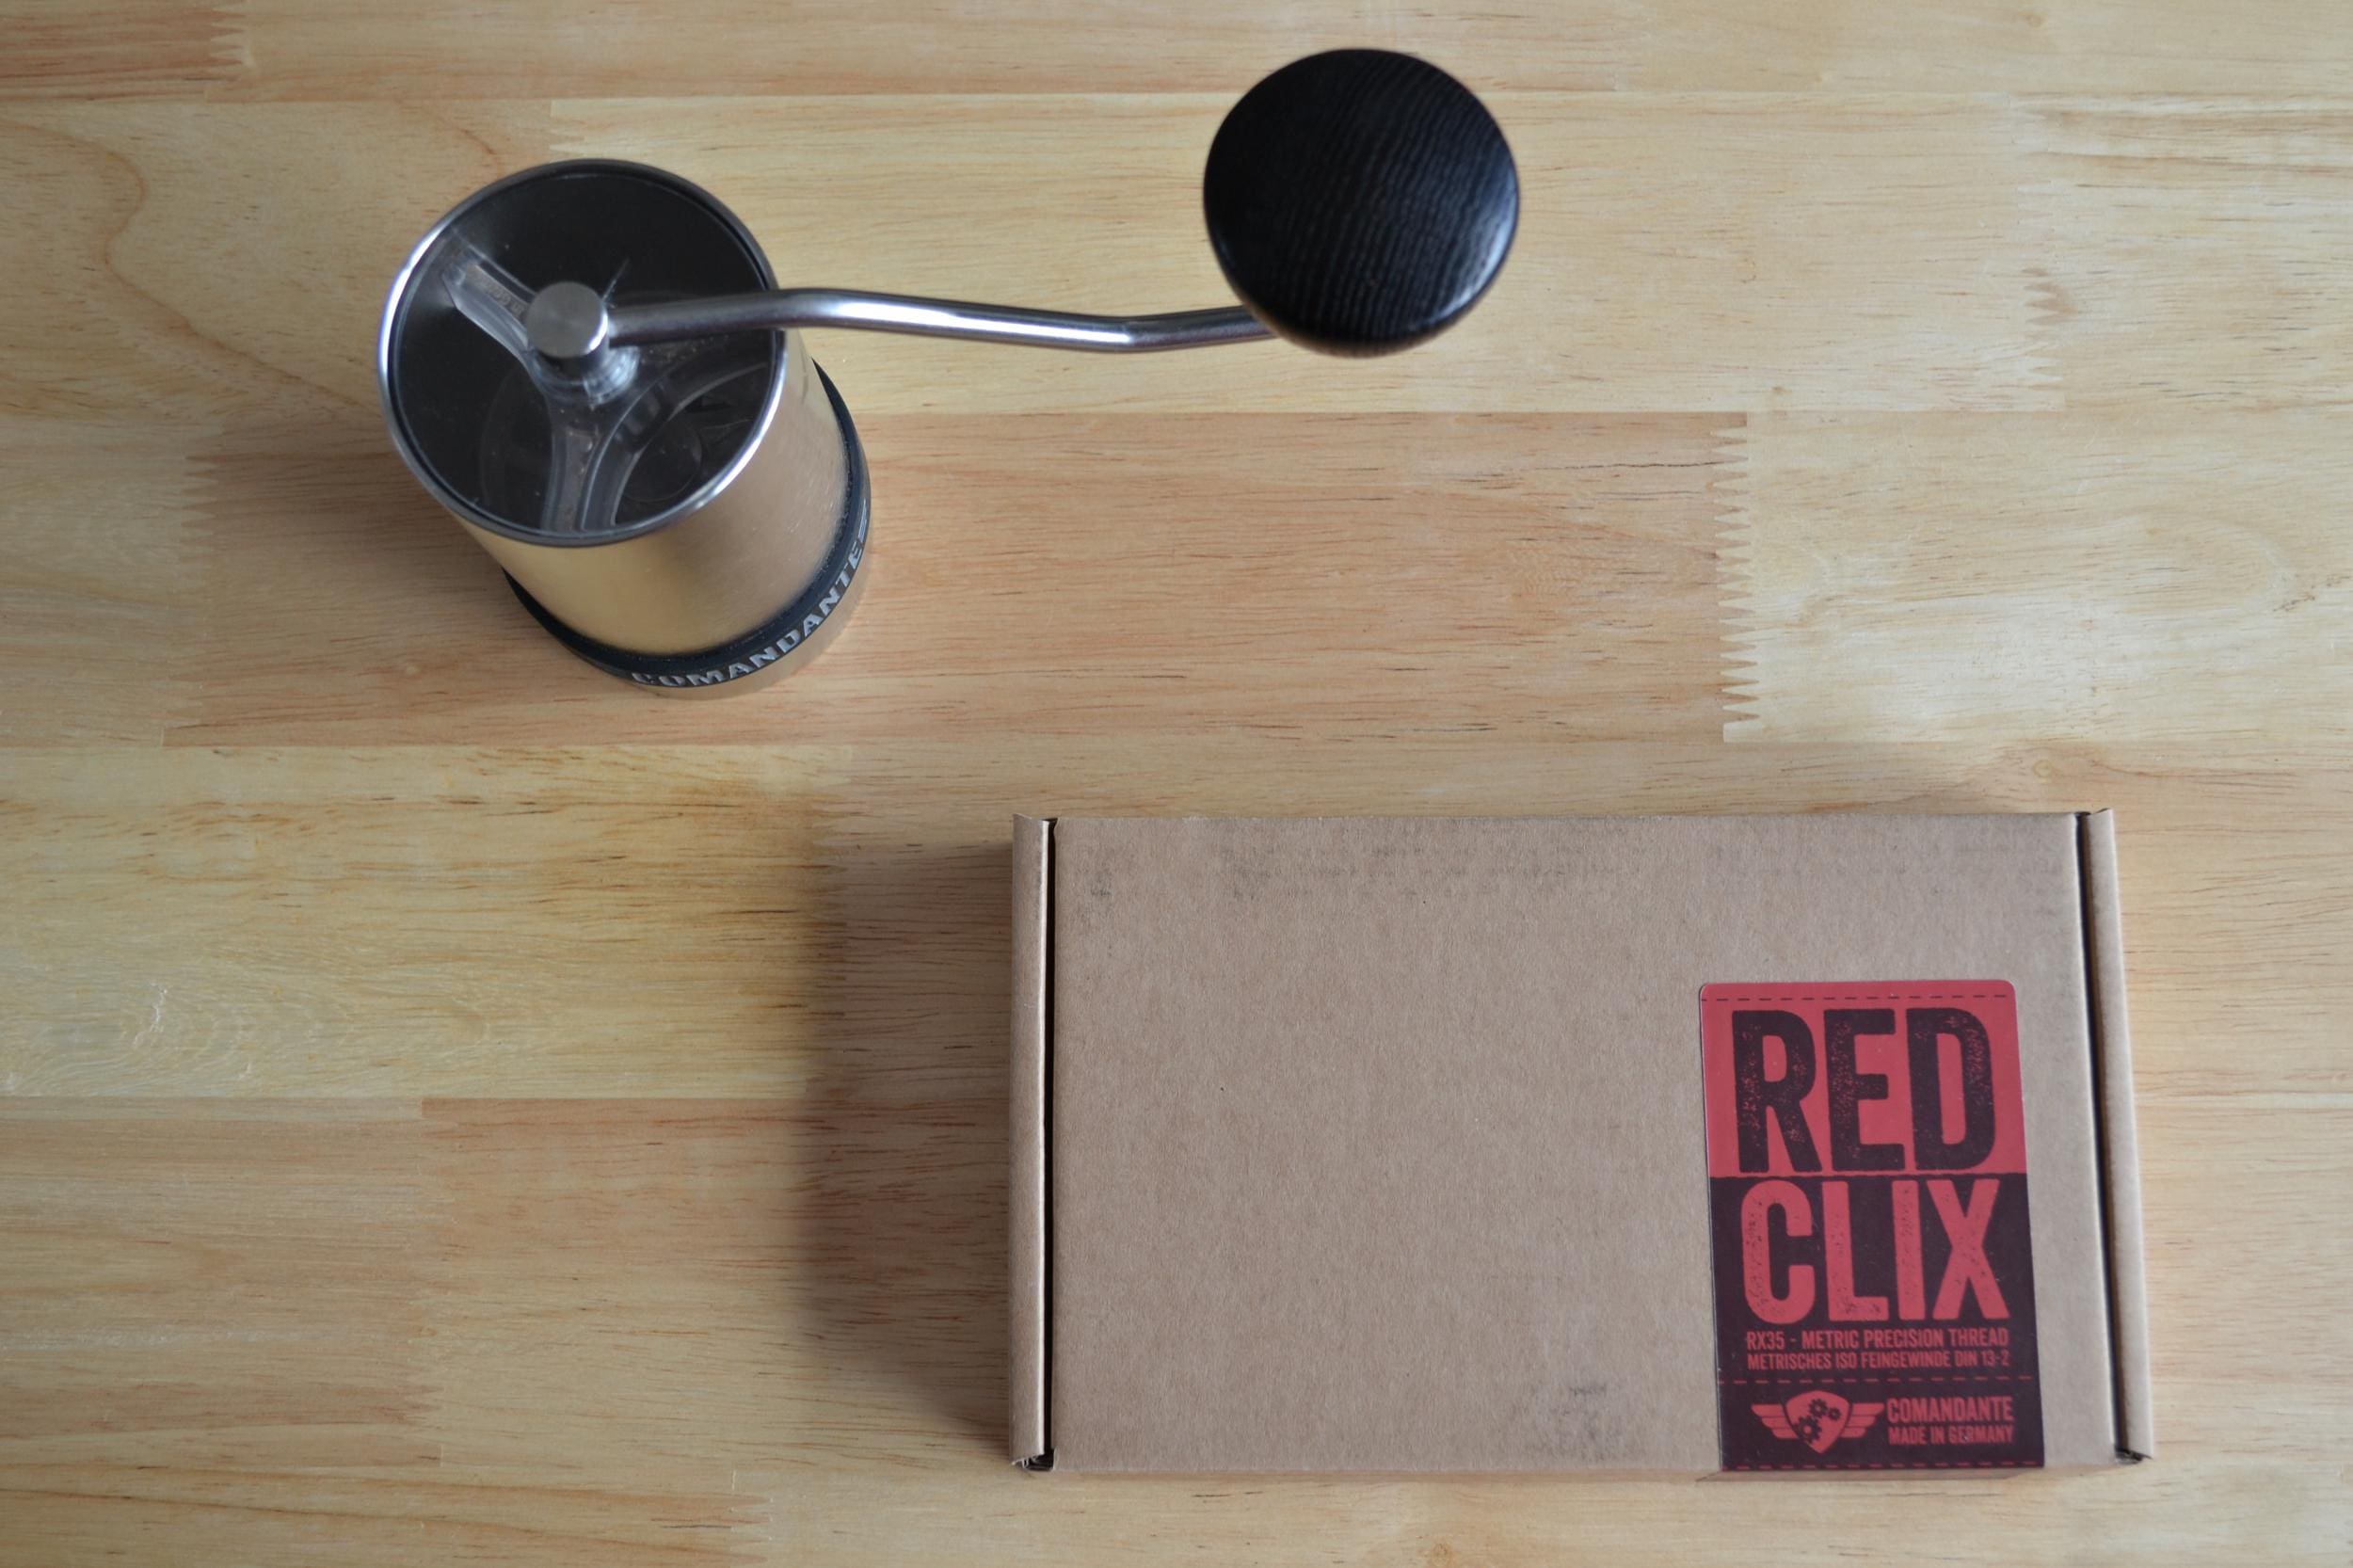
The RX35 Red Clix upgrade kit for the Comandante hand grinder is a simple way to dramatically improve your ability to fine tune your grind setting (twice the resolution). This is particularly true for espresso where the smallest change in grind setting could have a big impact on the flow profile. I highly recommend you try them out!
Here’s what the installation process looks like.
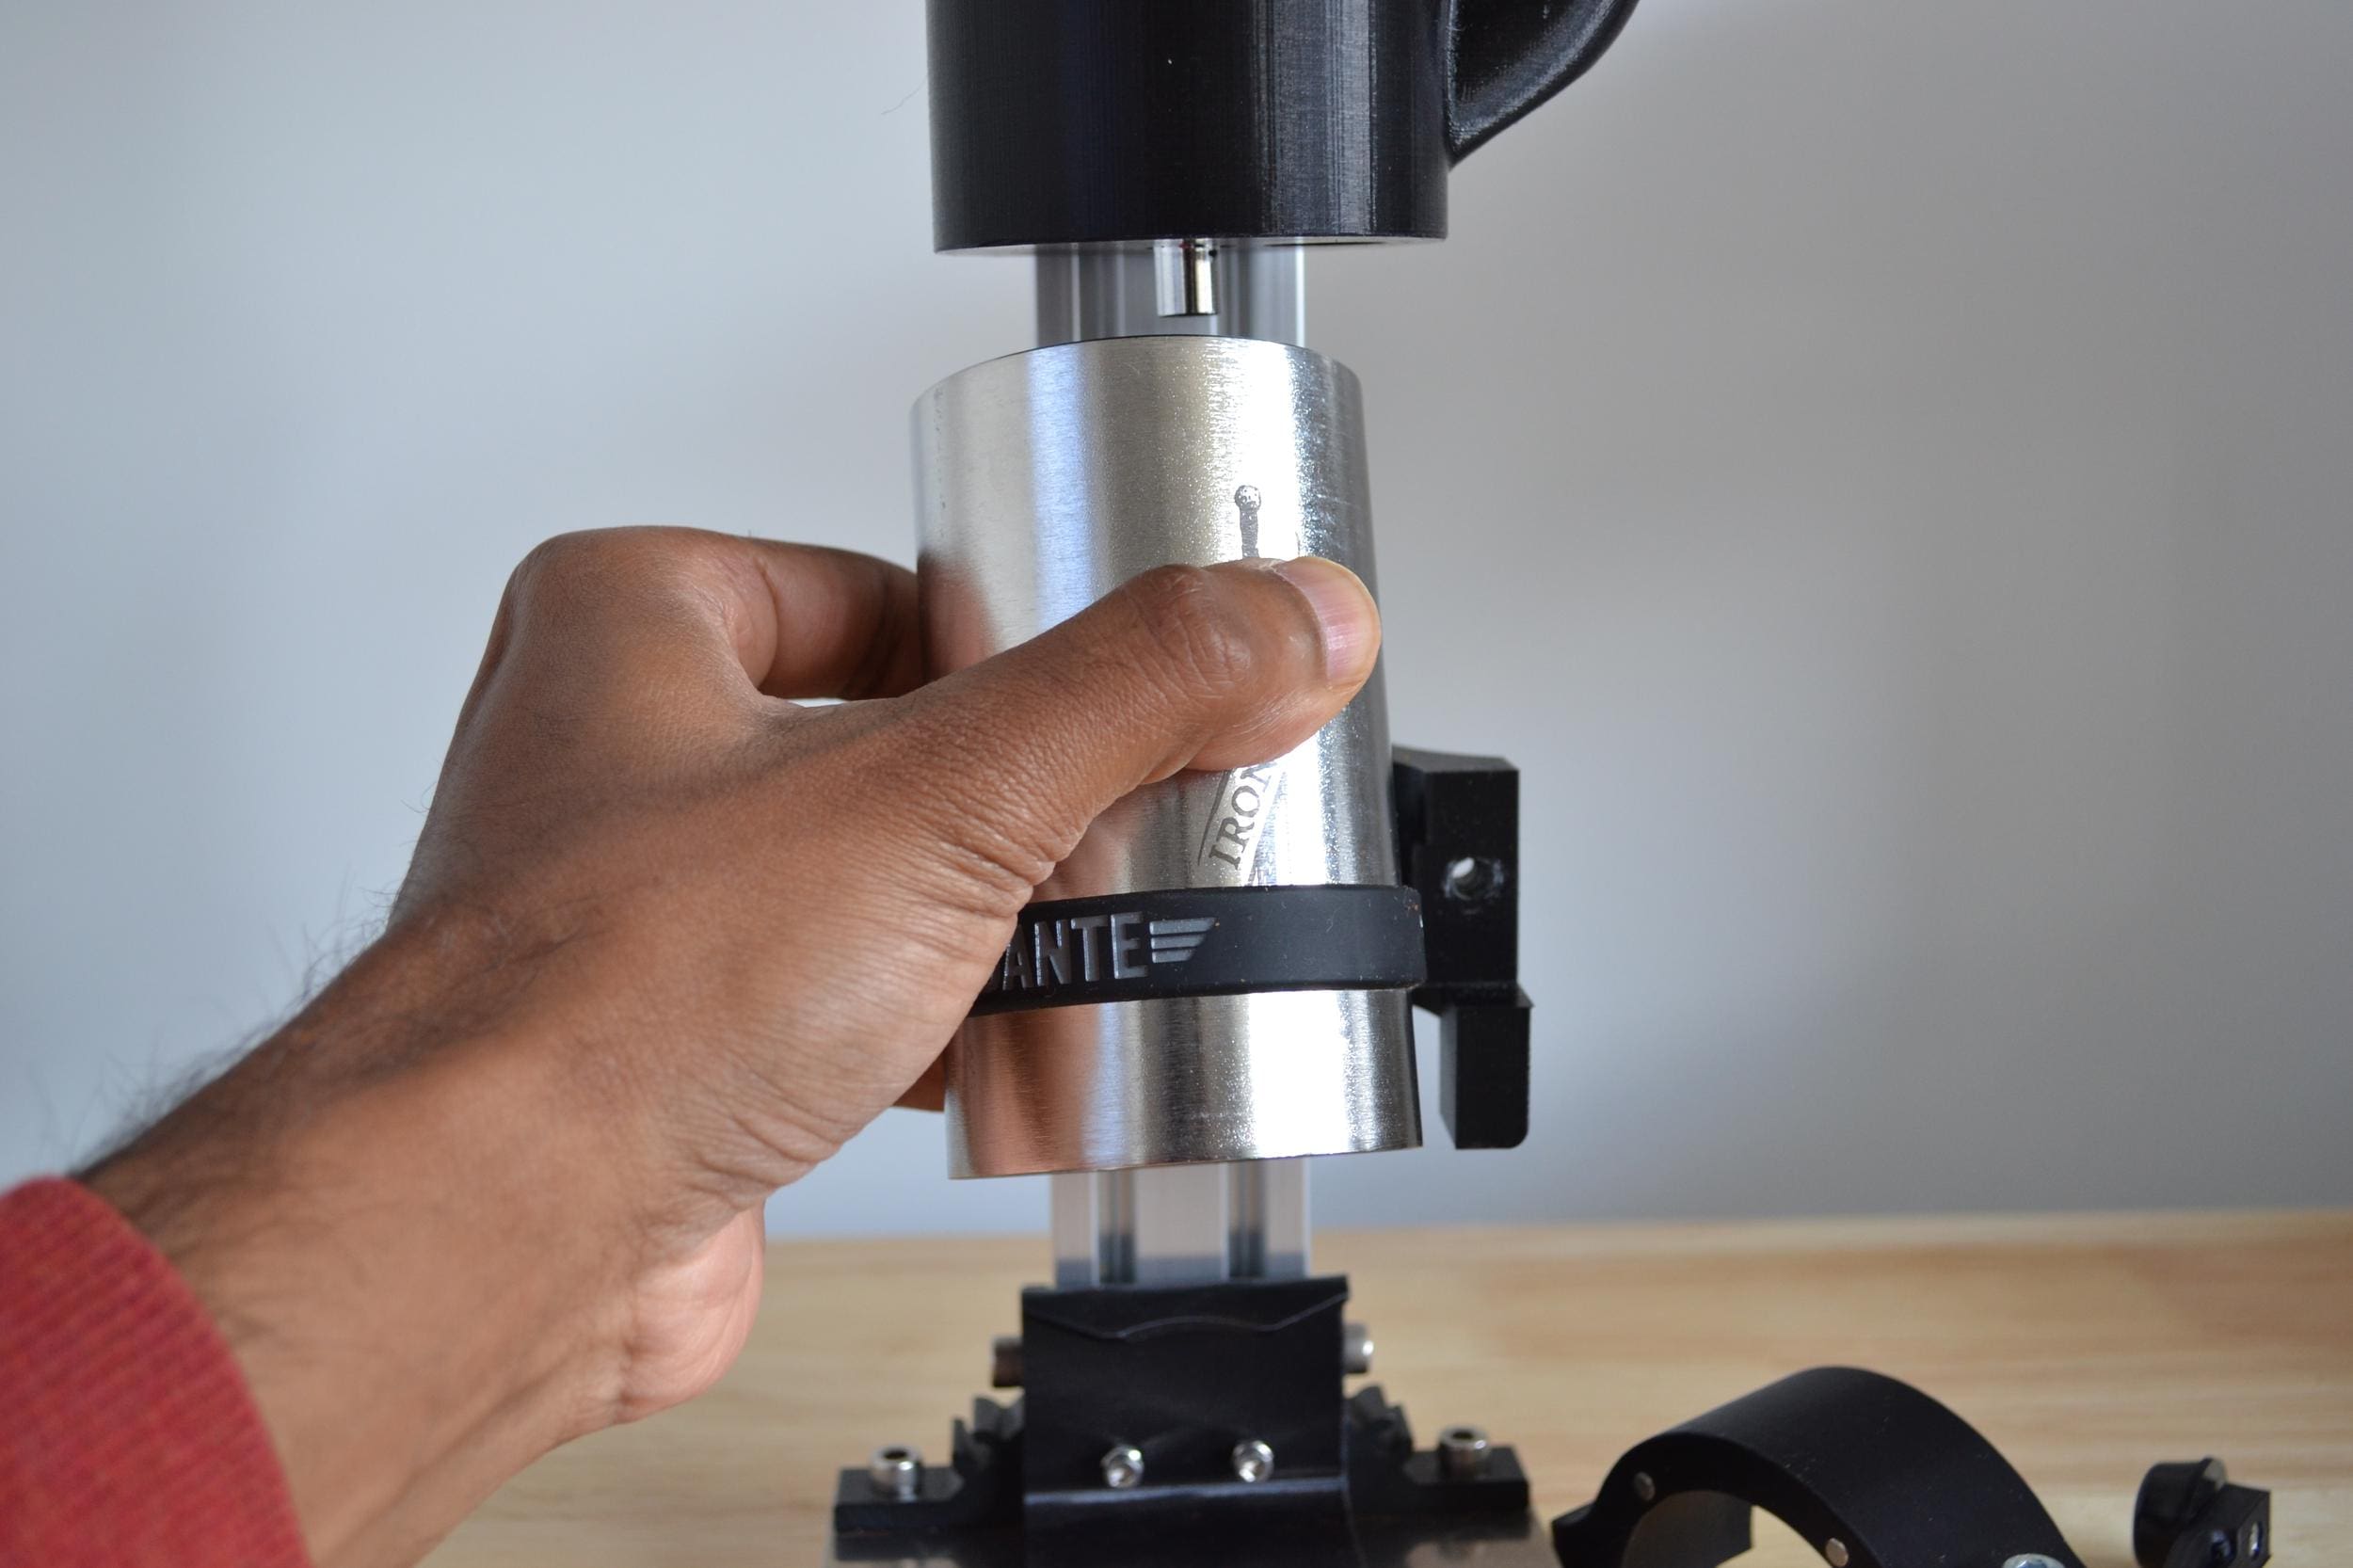
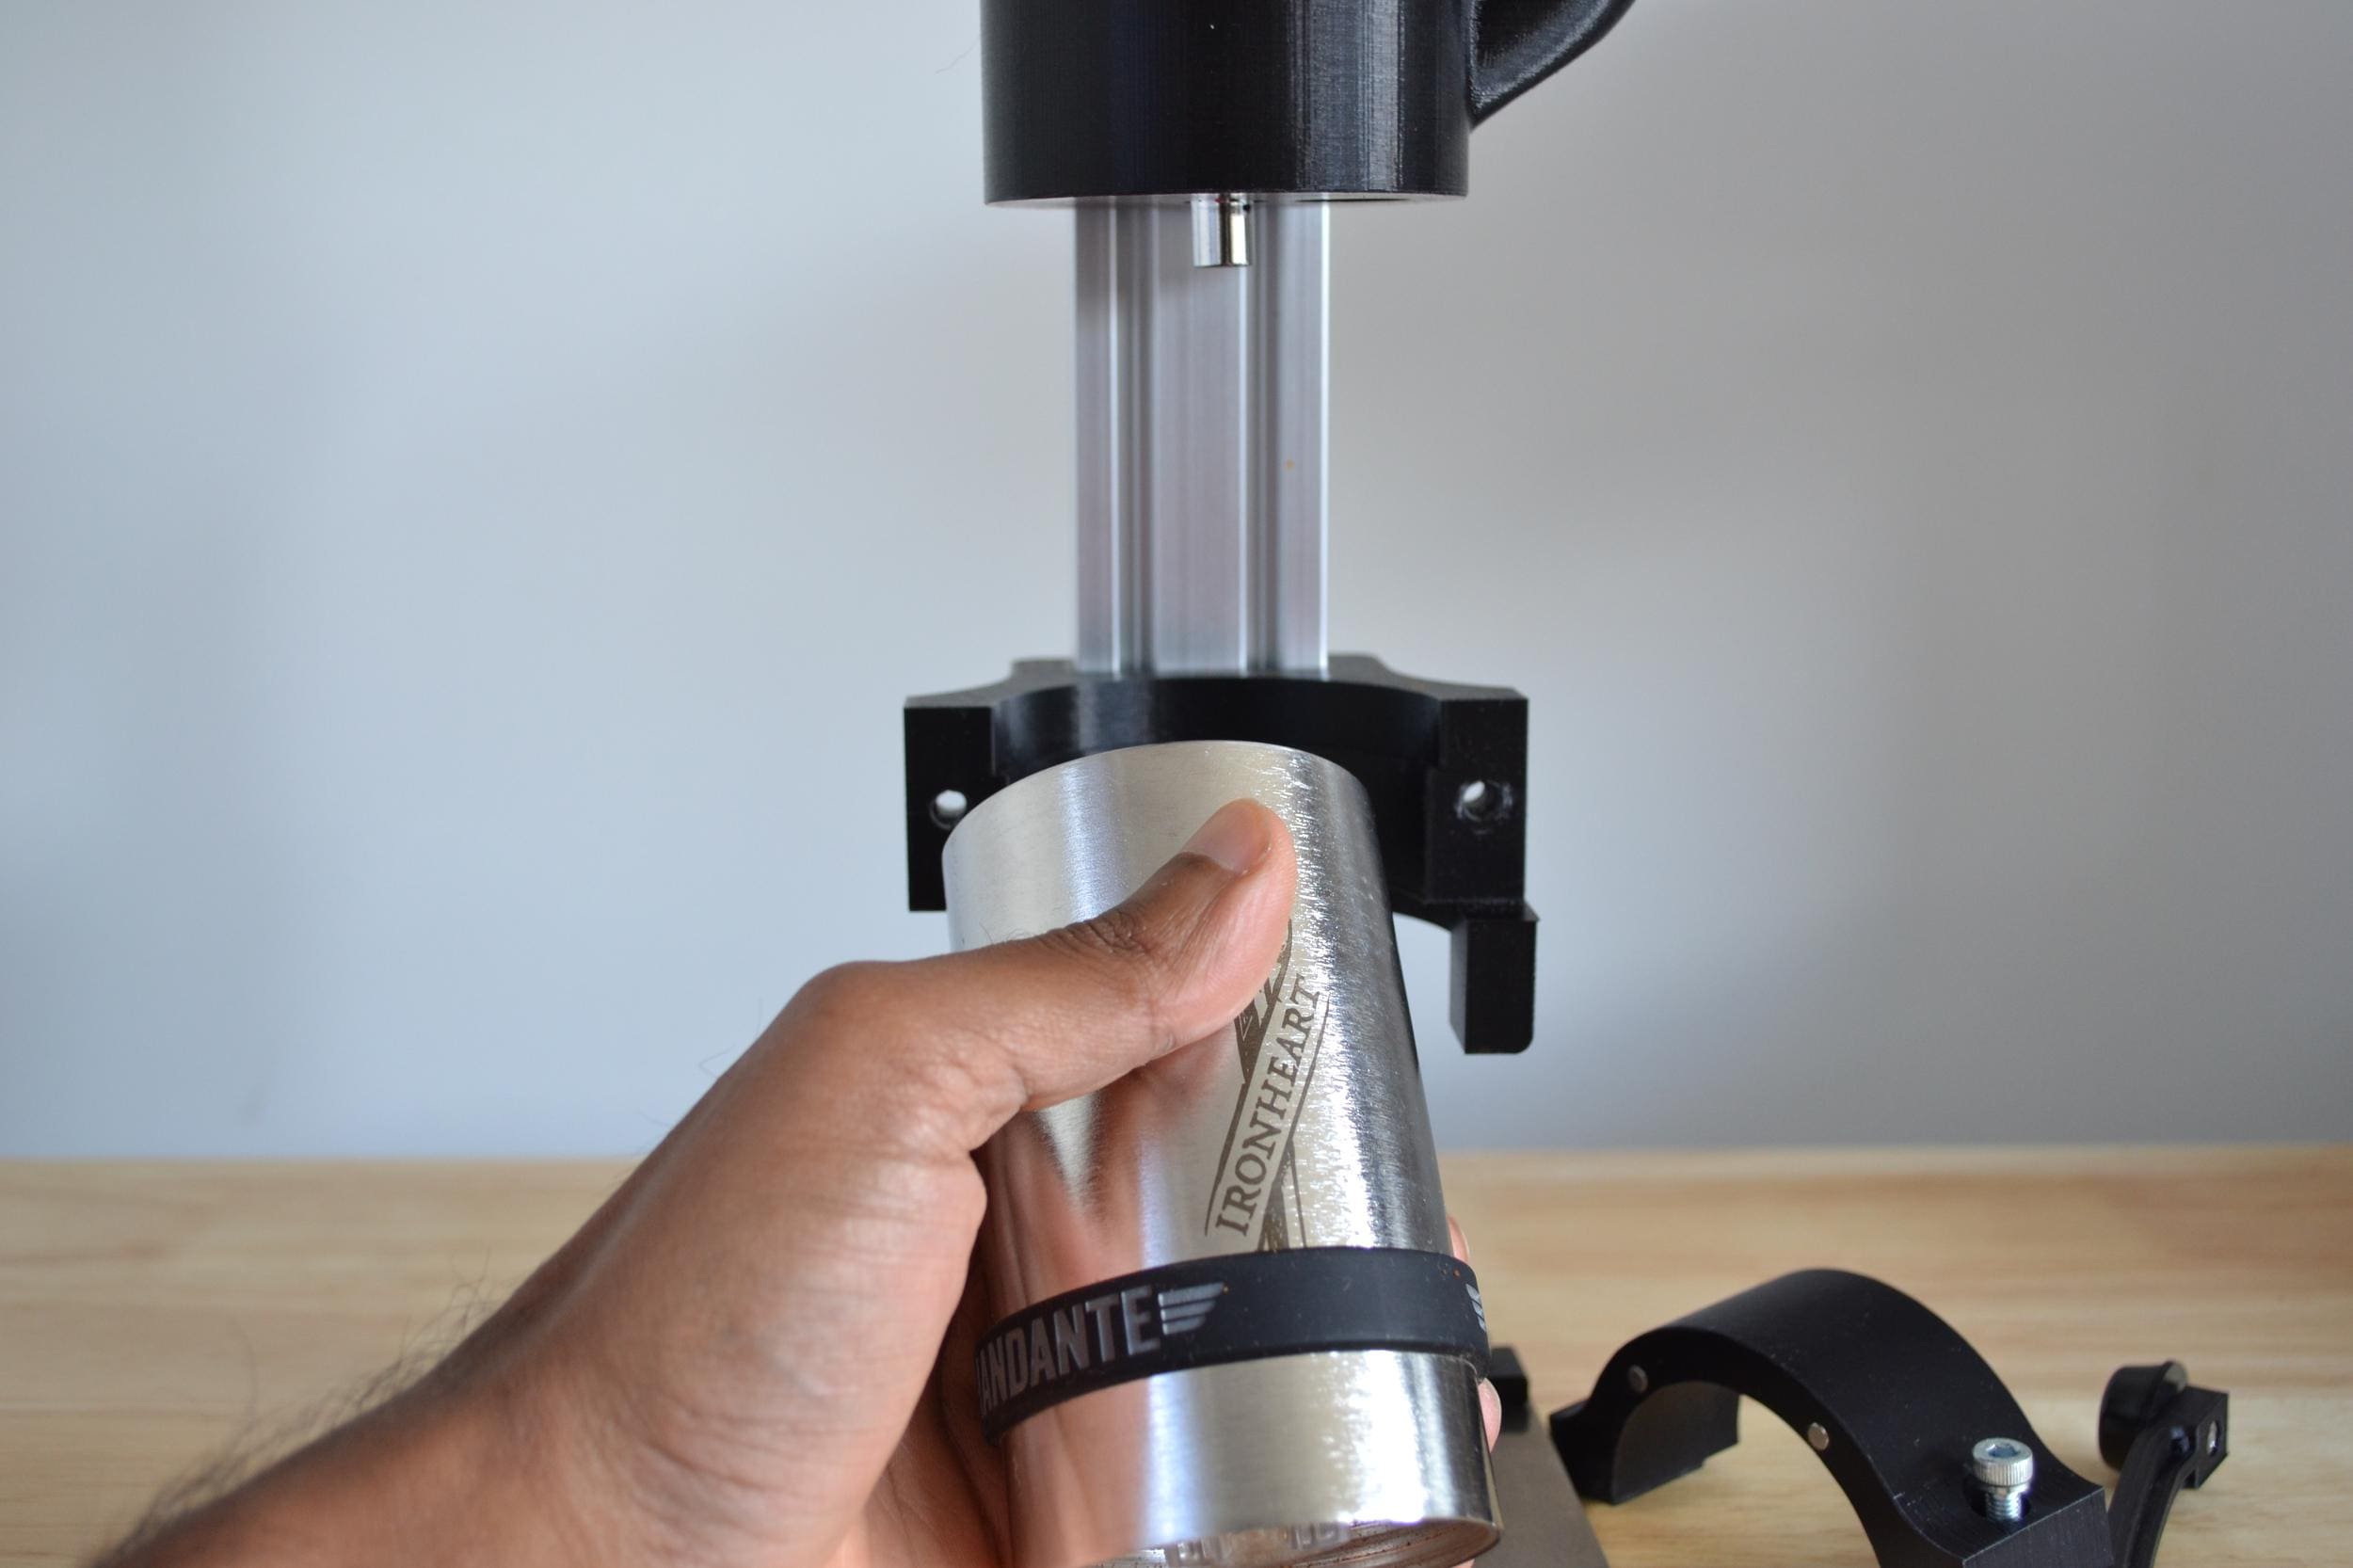
Step 1. Remove your Comandante grinder from your Madkat Grinder Stand.
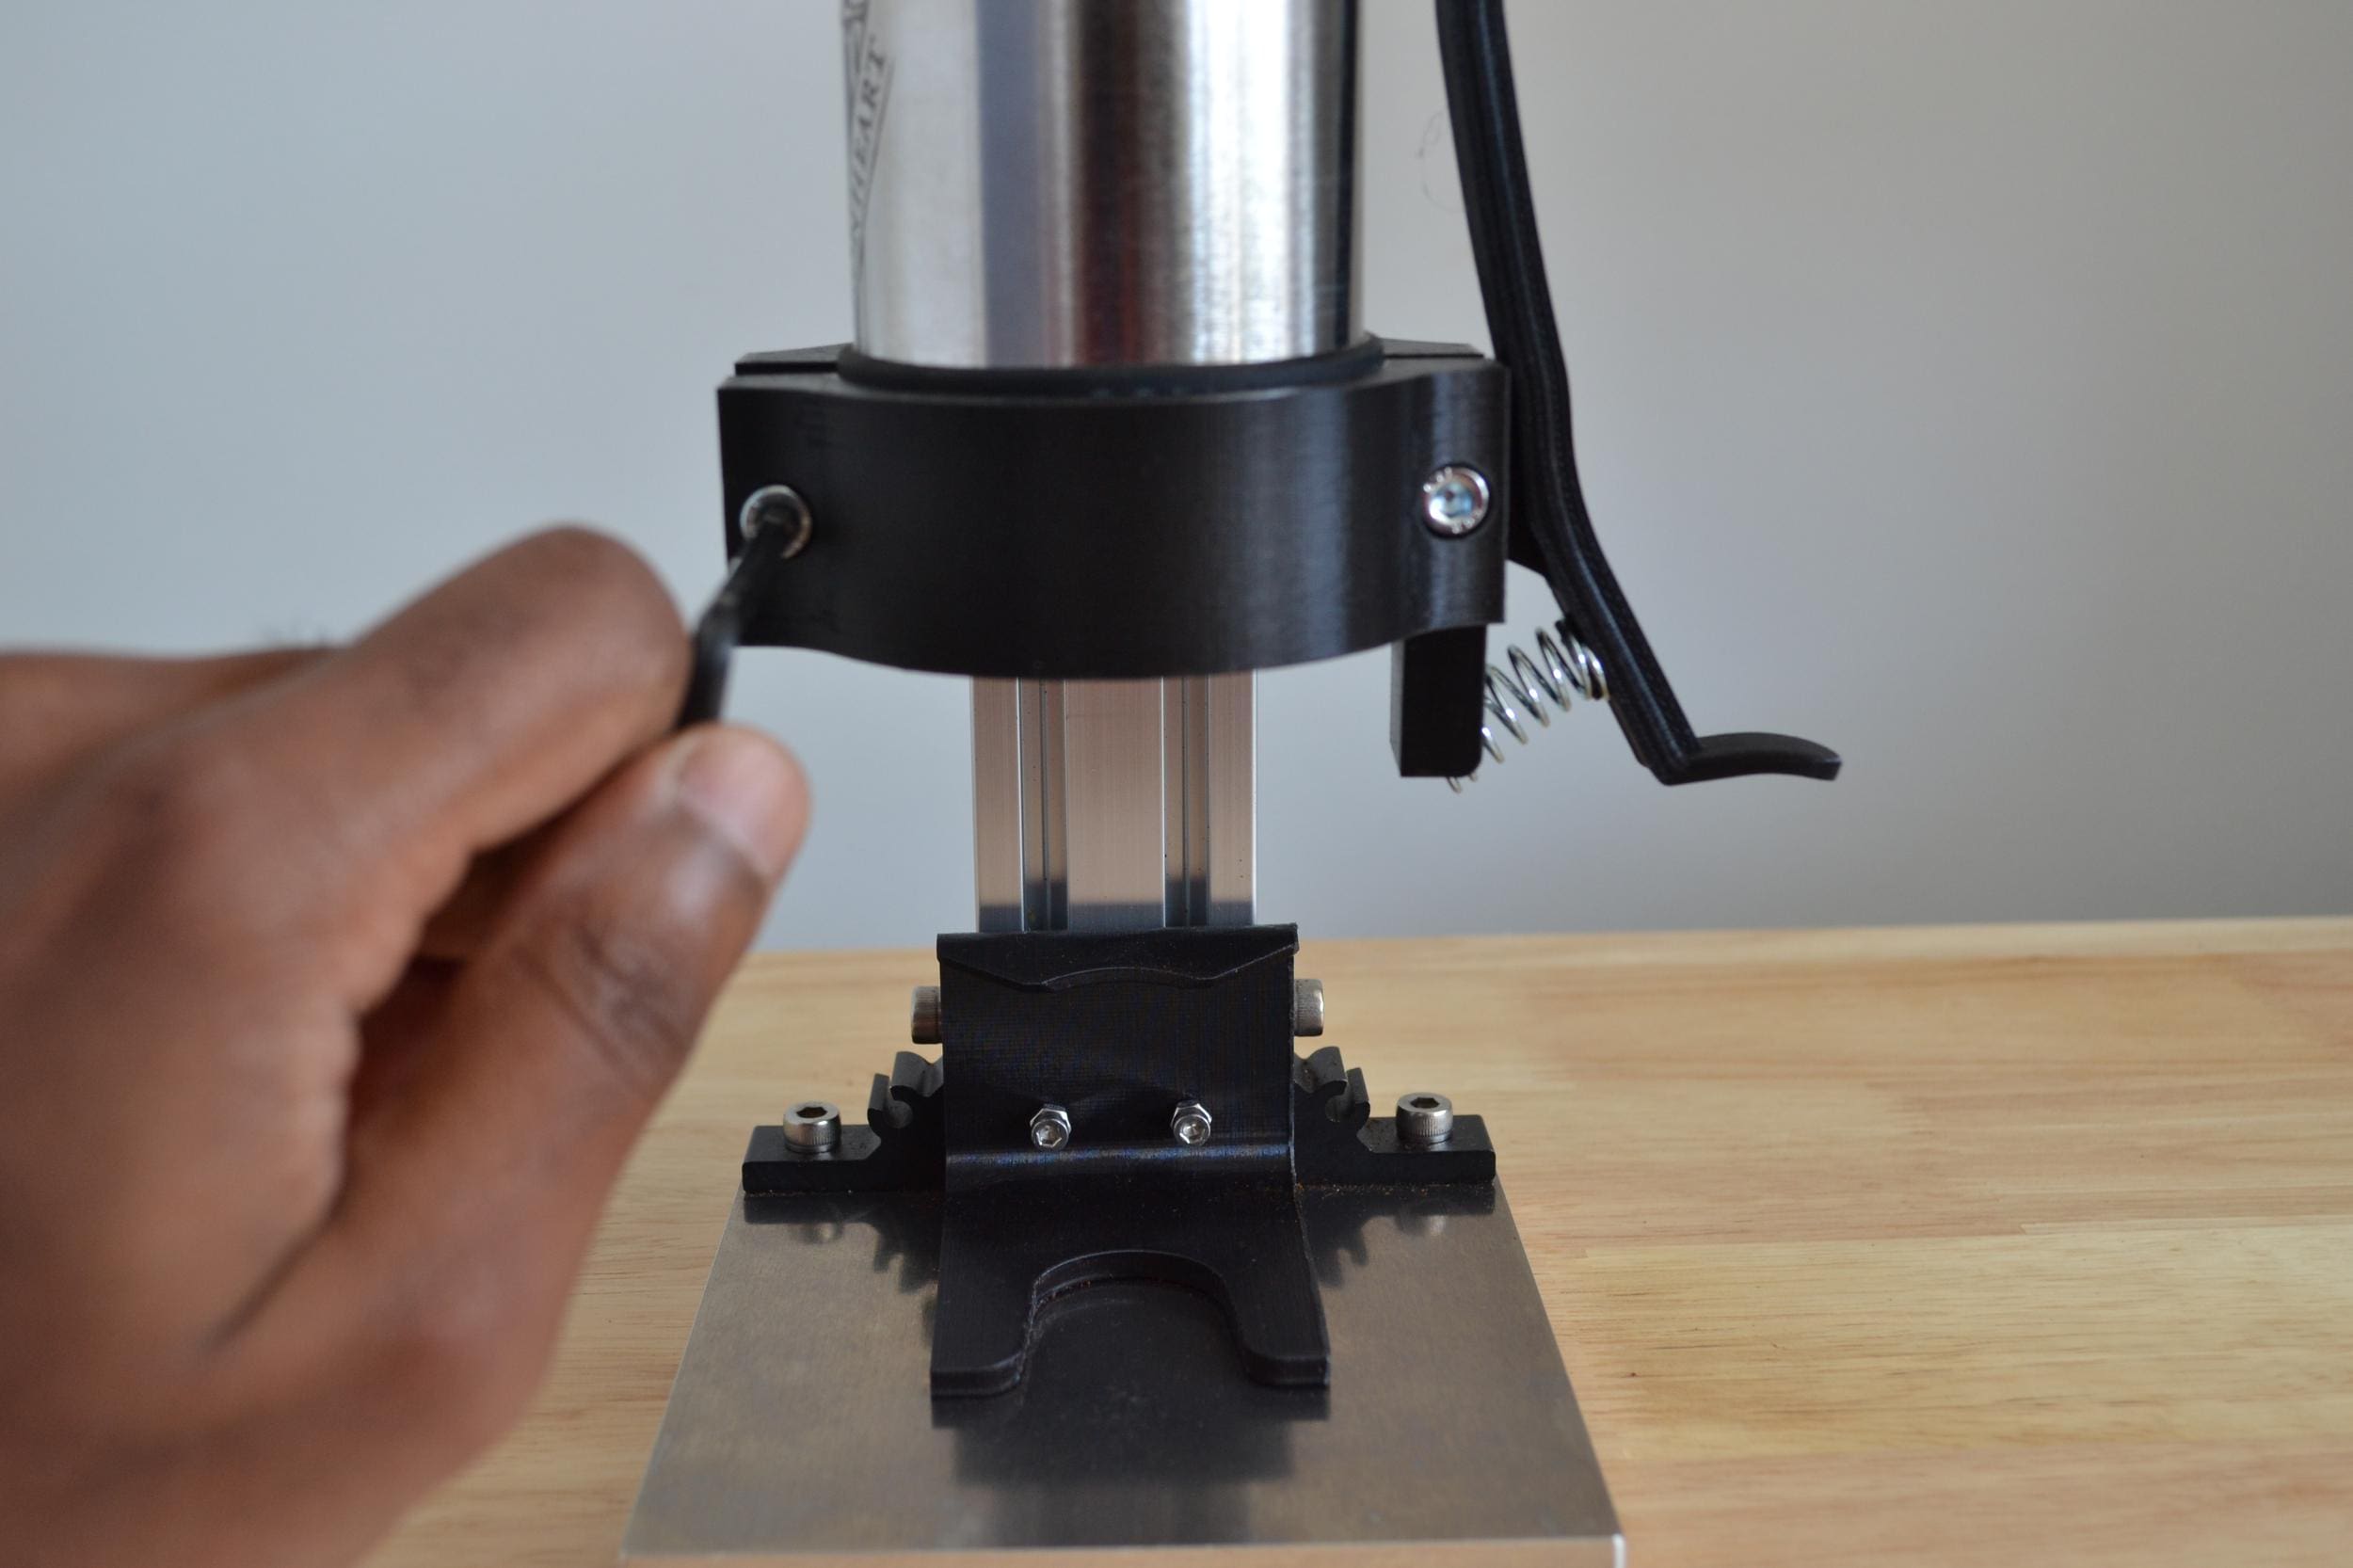
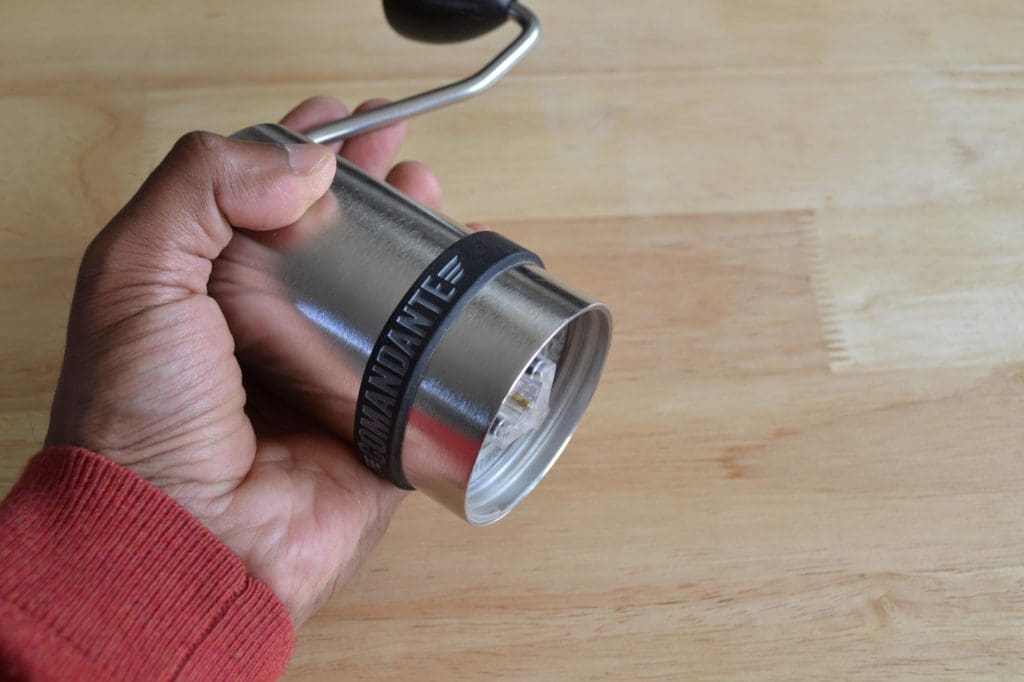
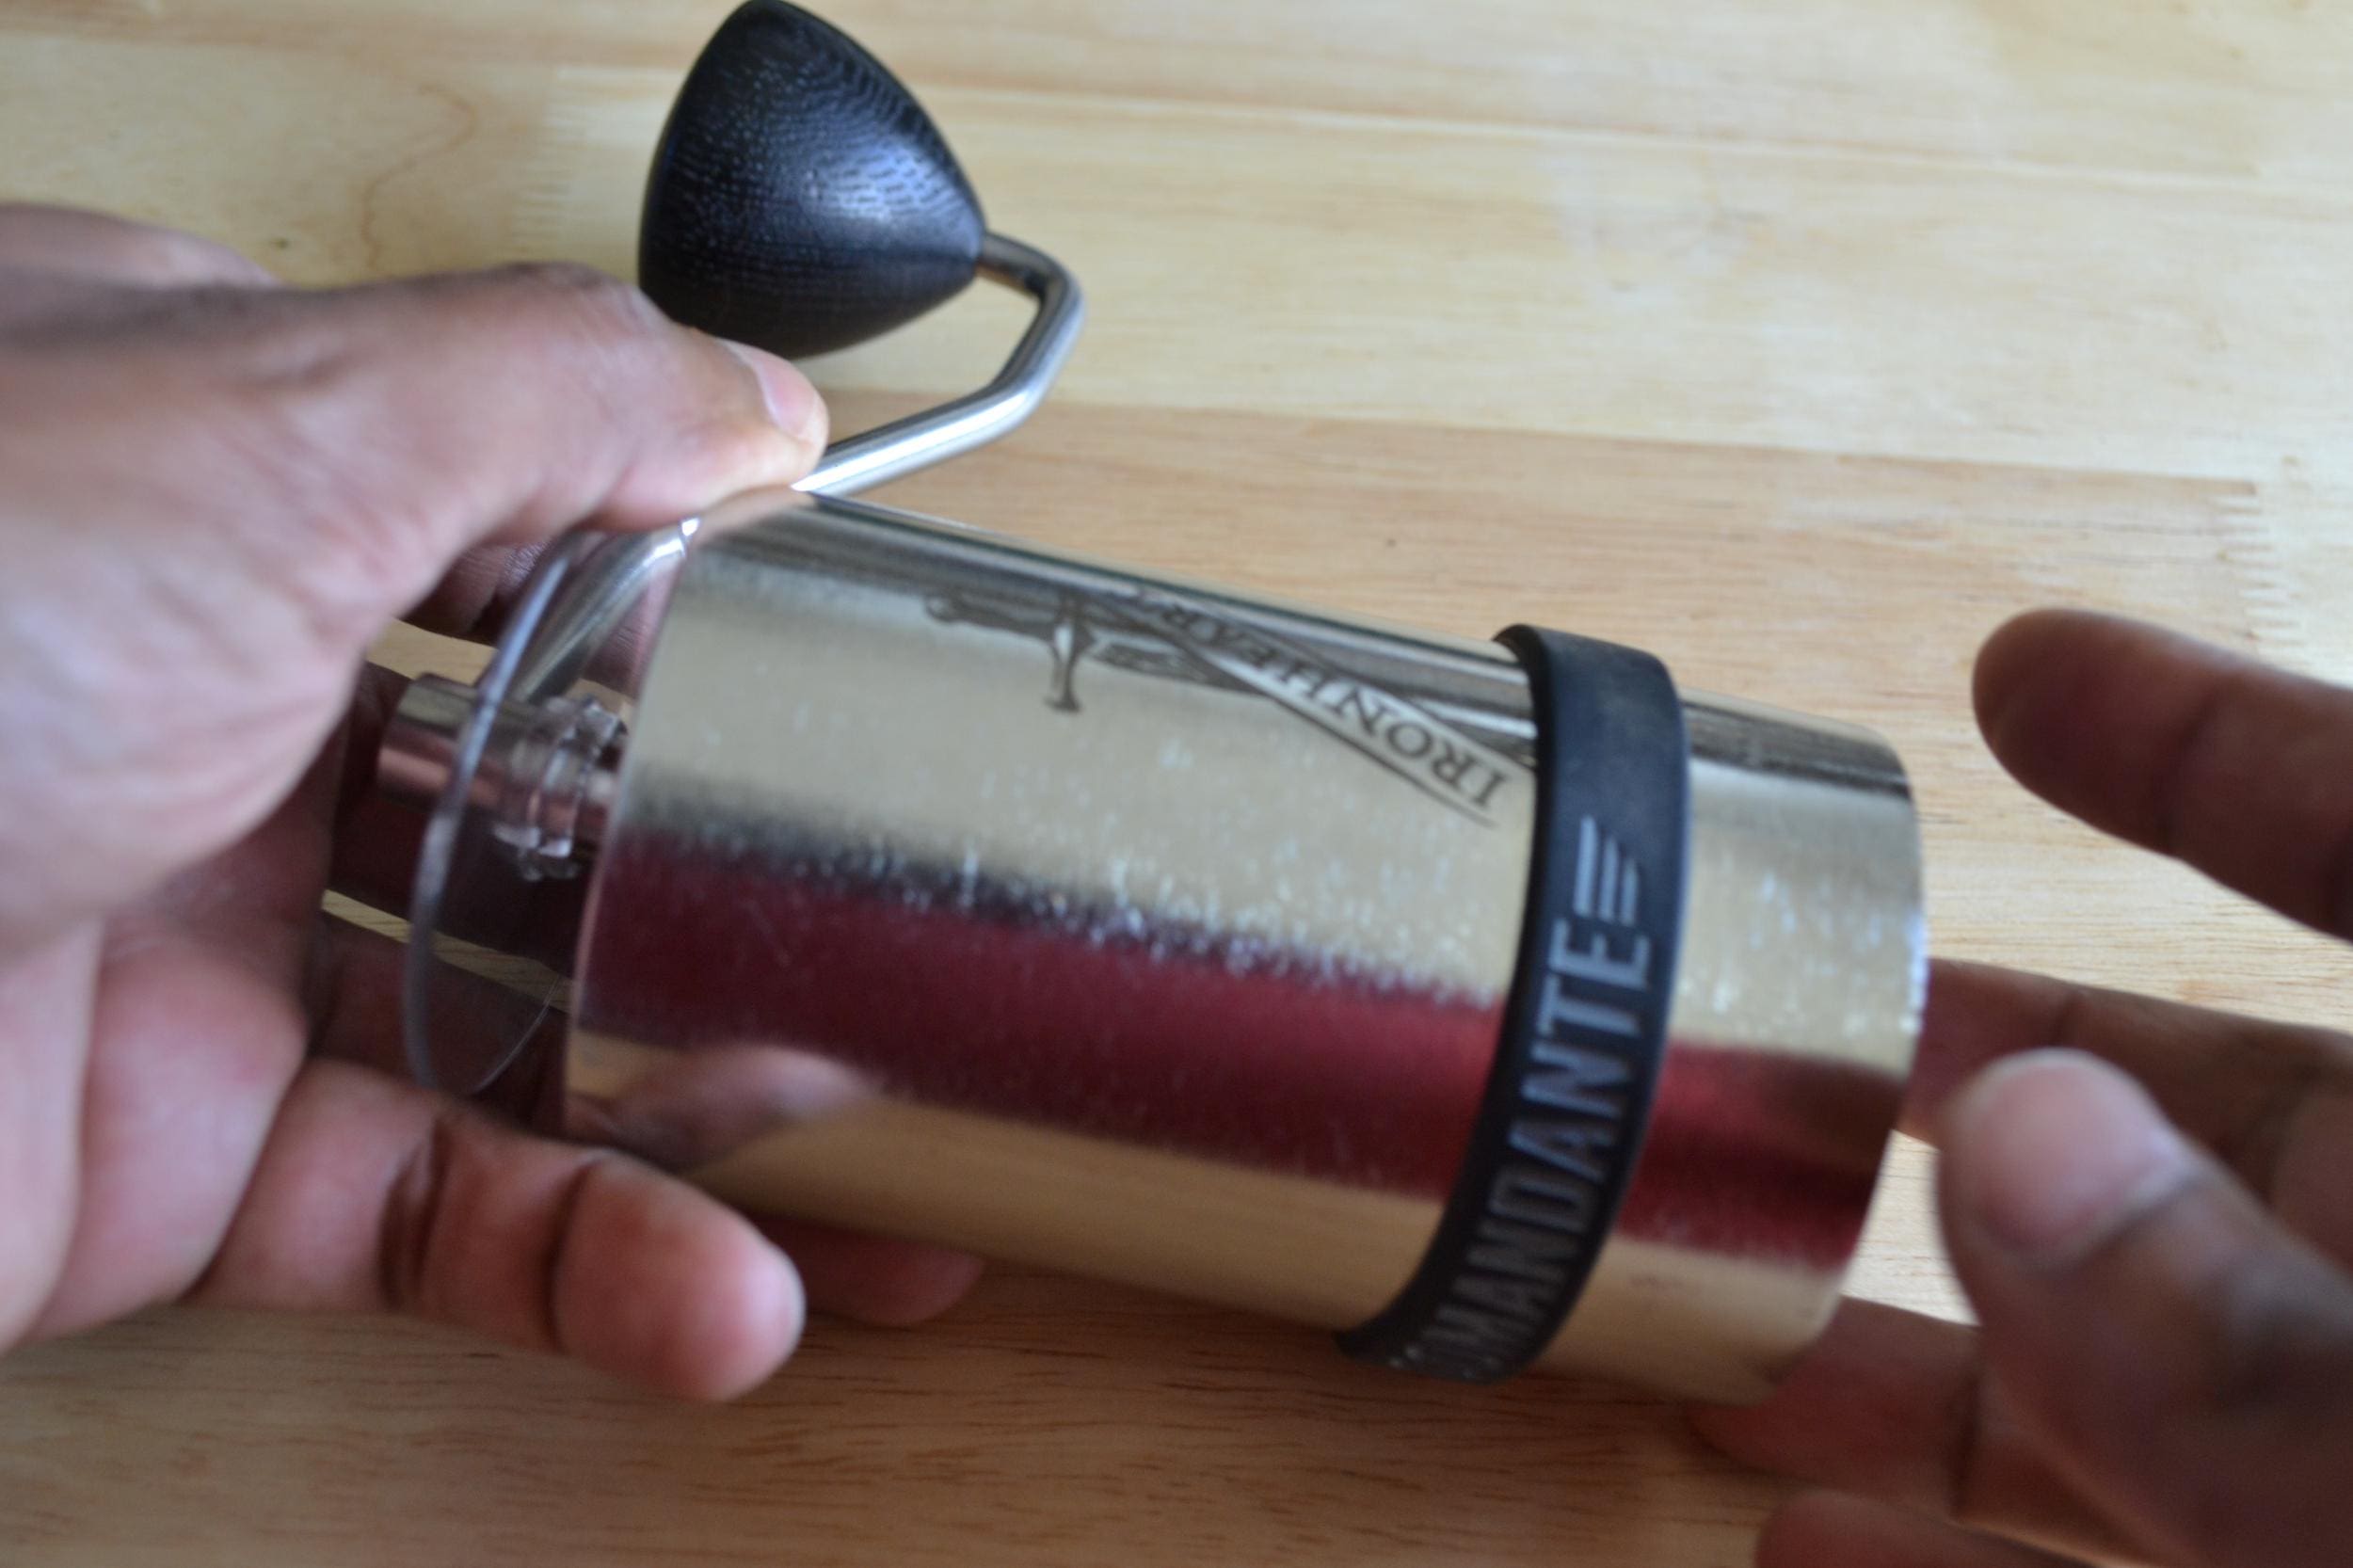
Step 2. Install the hand crank onto the grinder so you can unwind the dial.
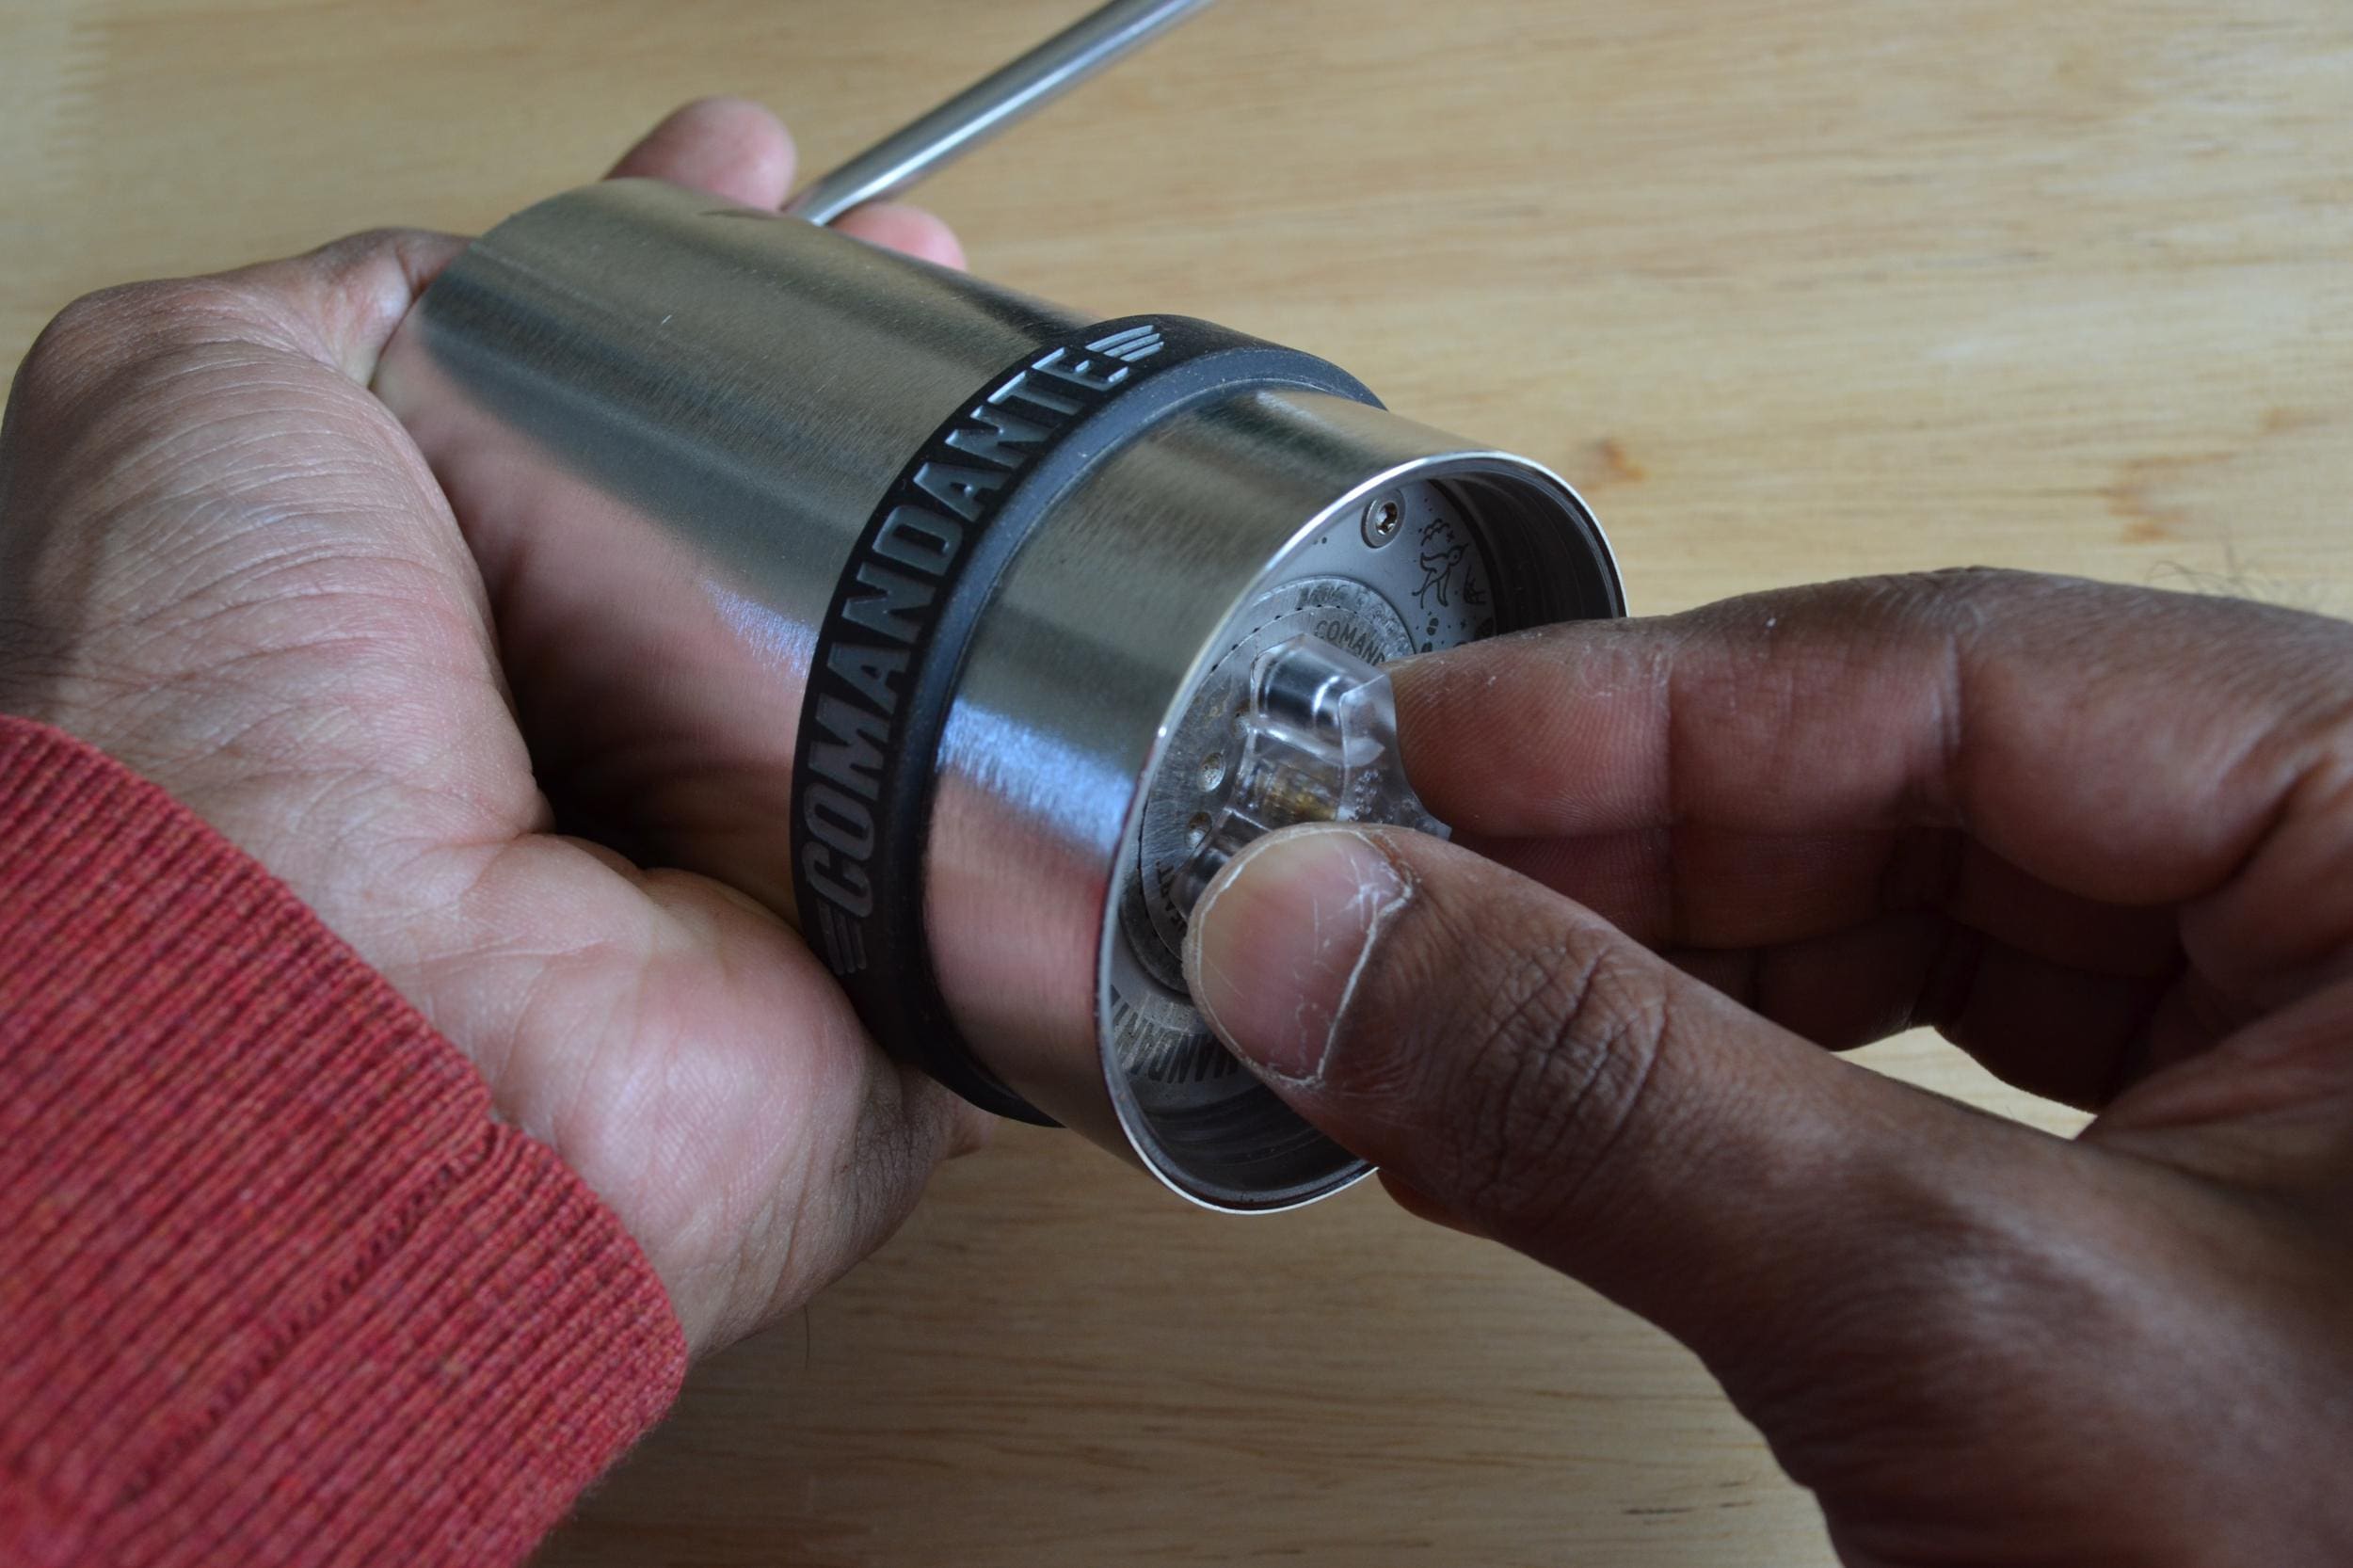
Step 3. Remove the dial from the grinder by rotating the dial as if you were making the setting coarser. The dial should come off completely.
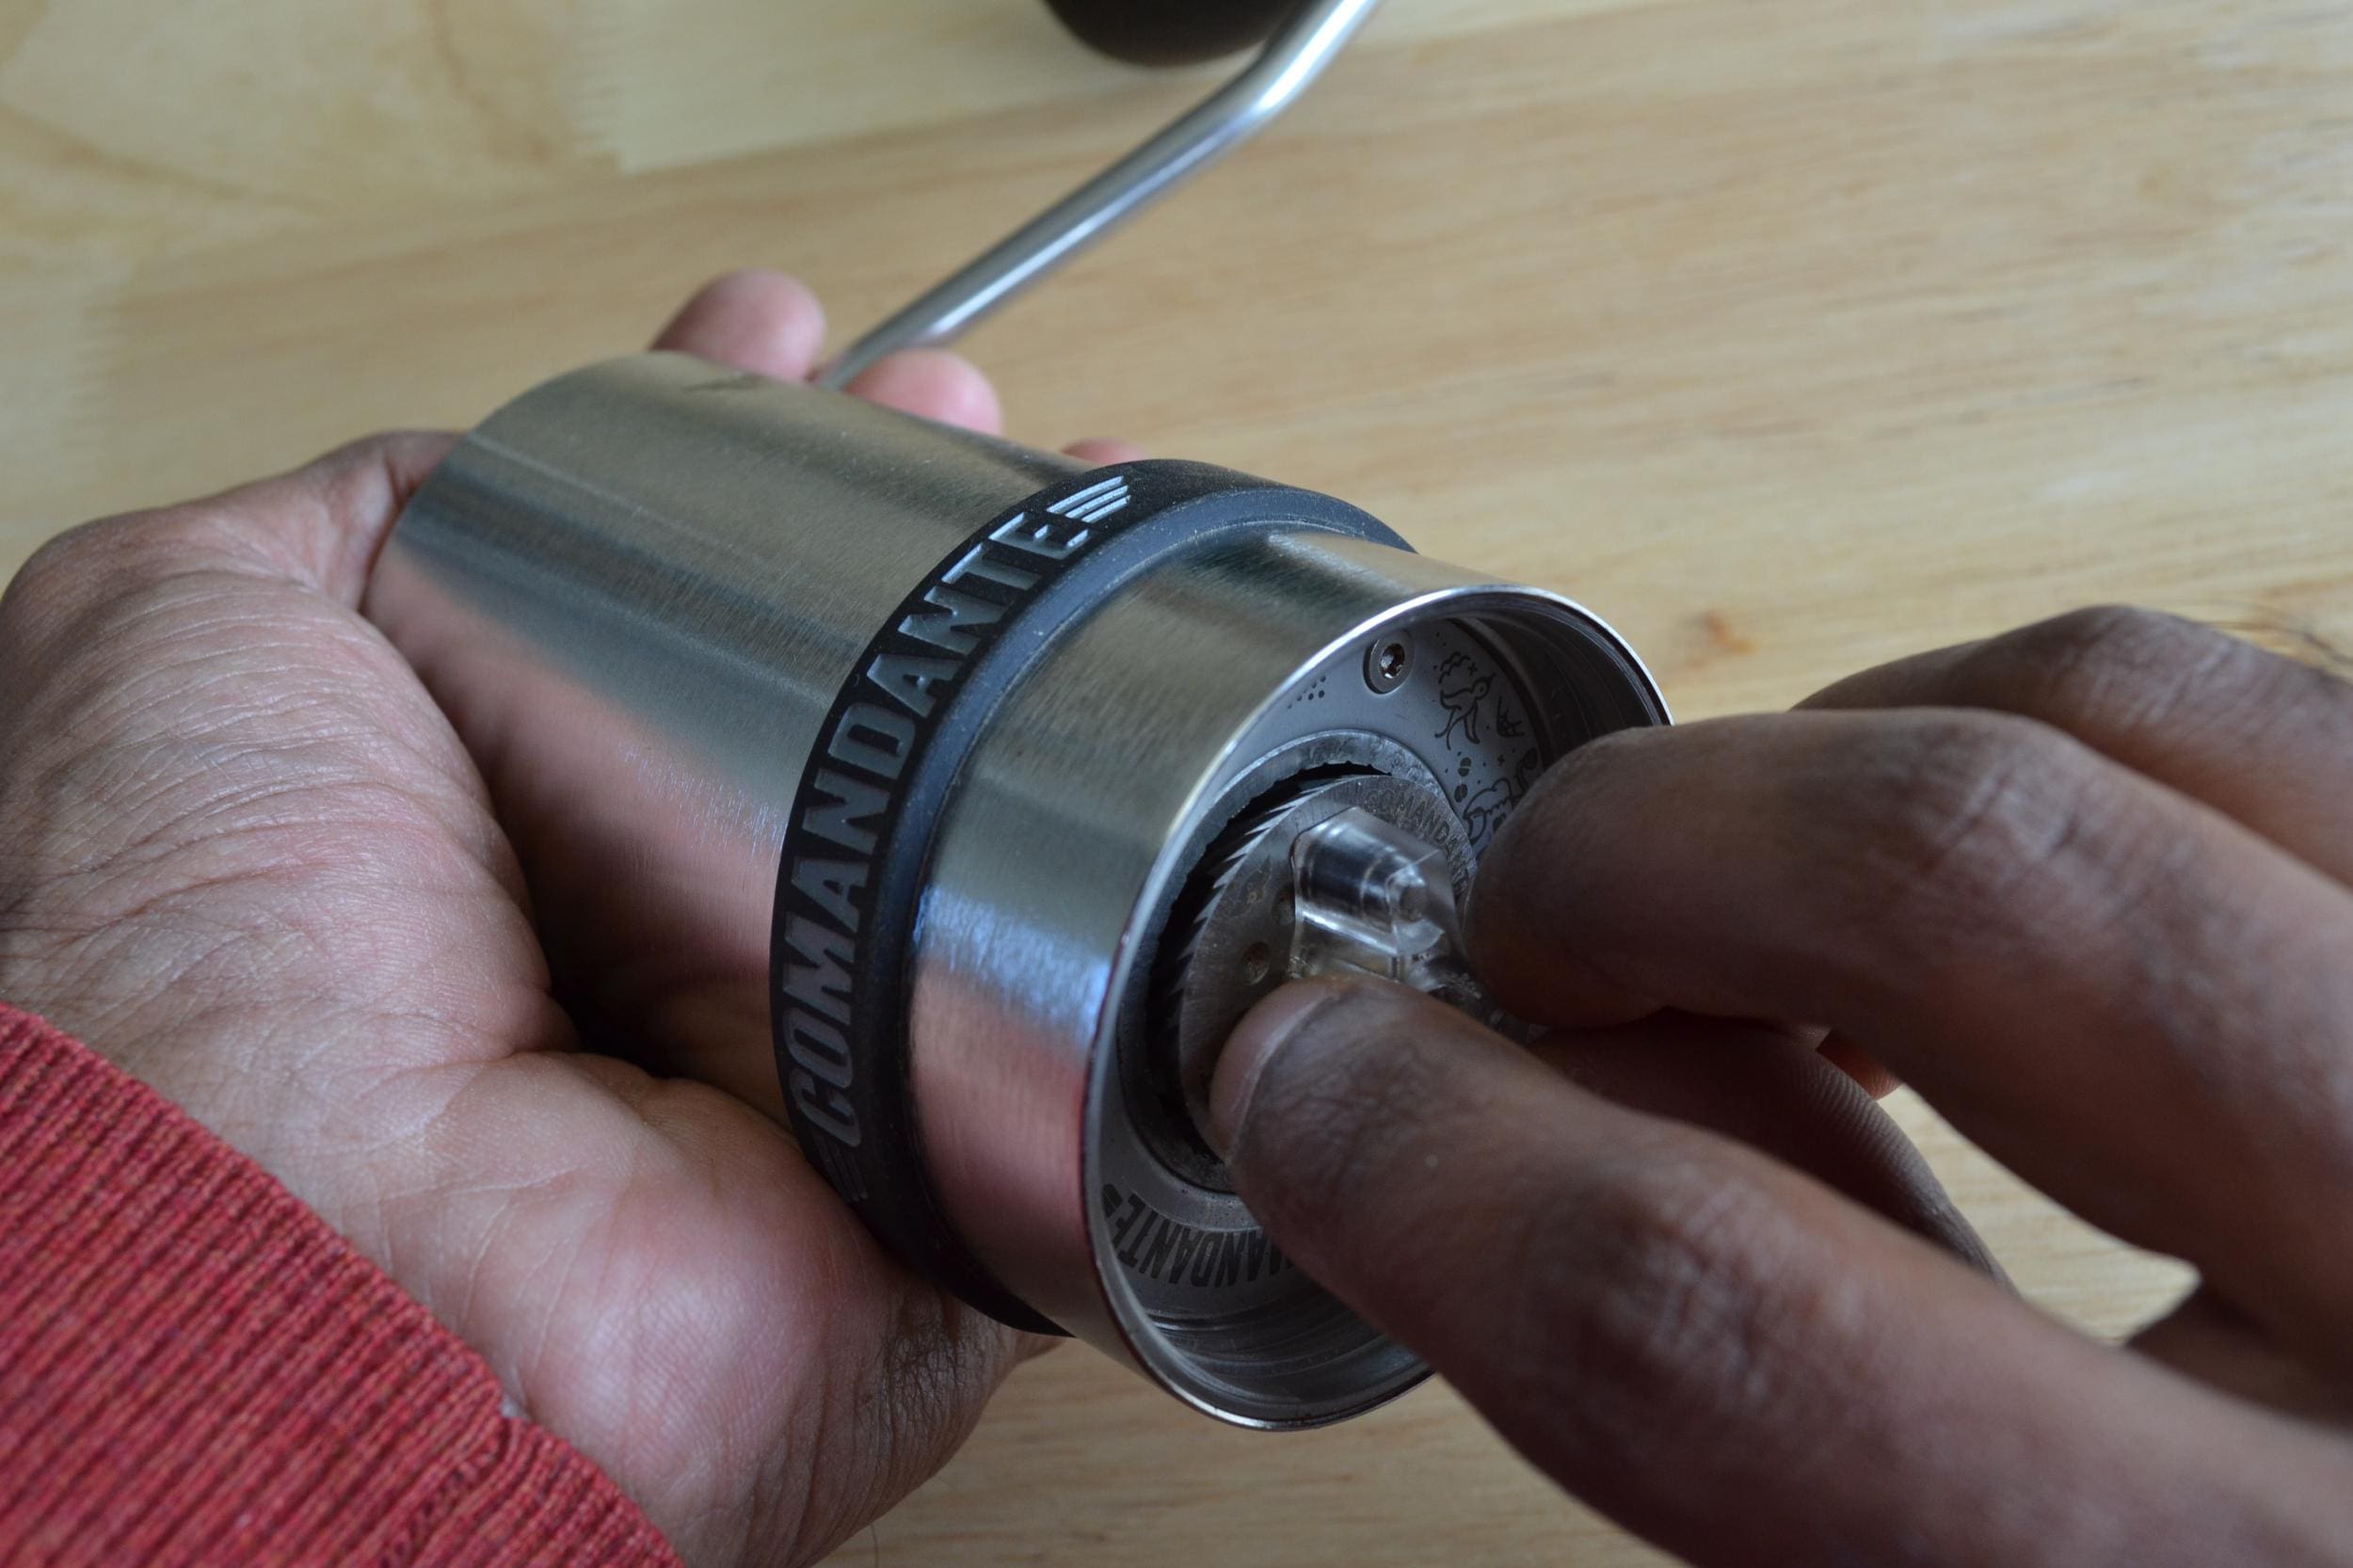
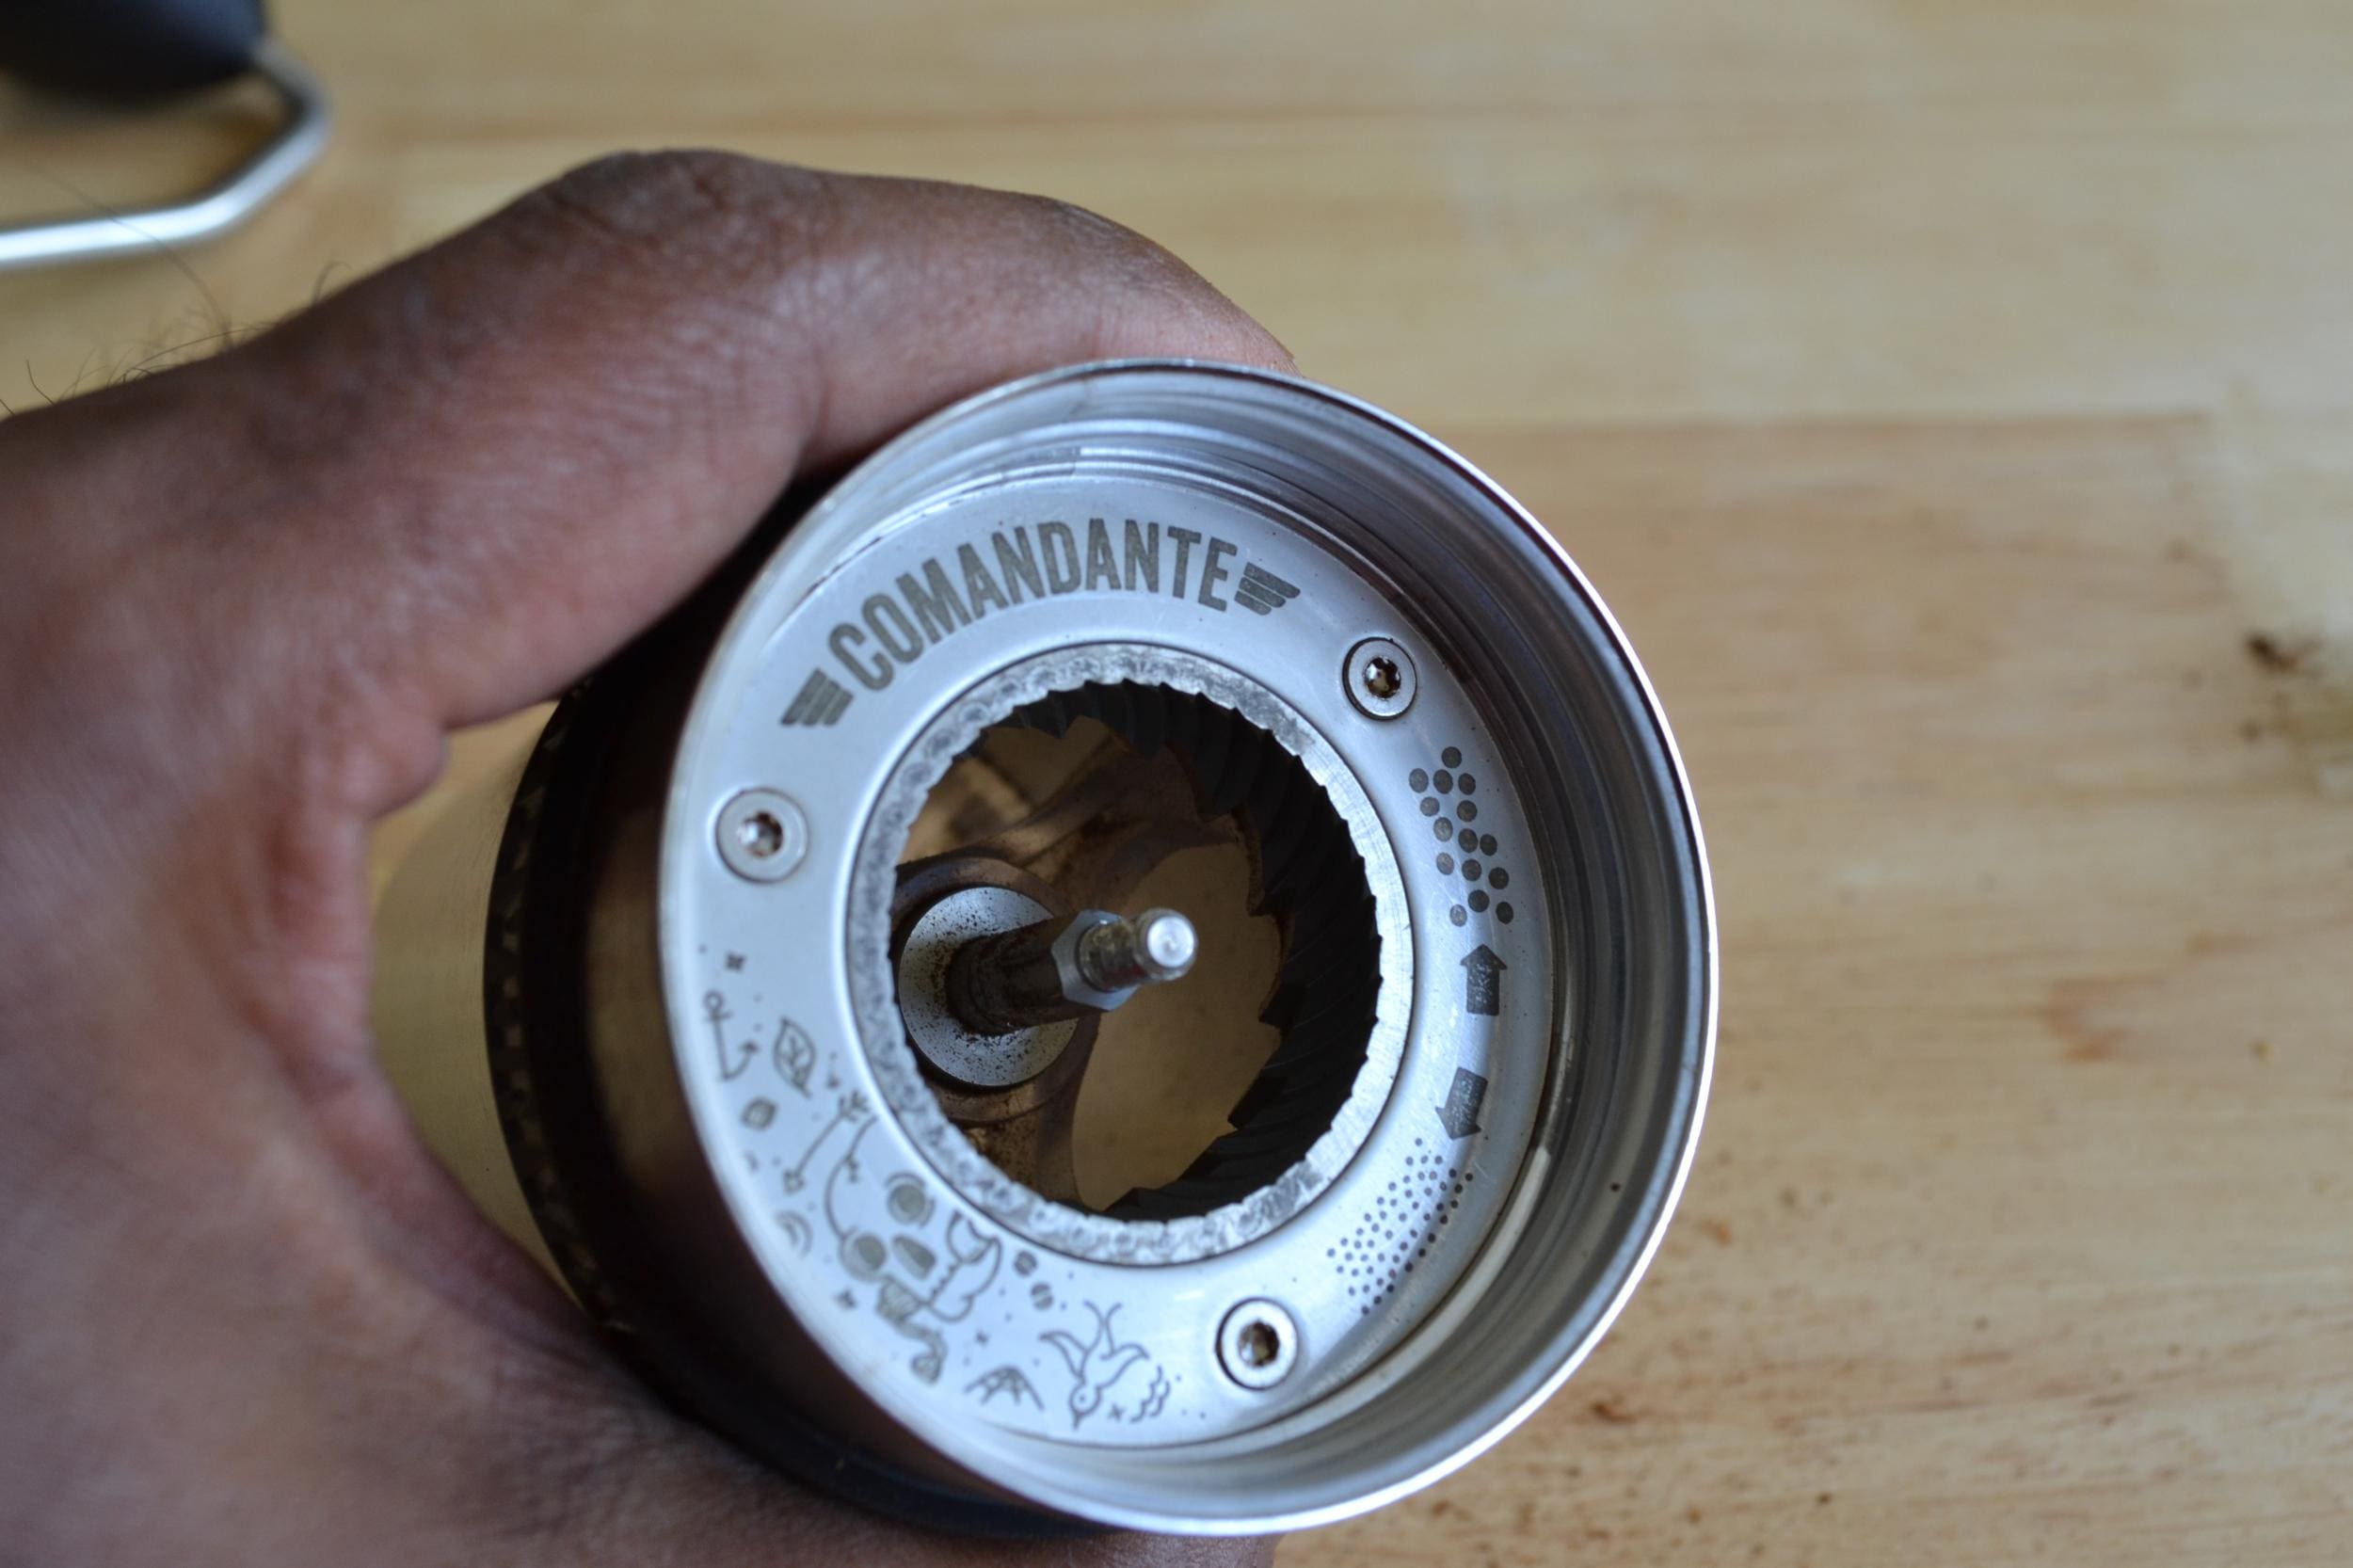
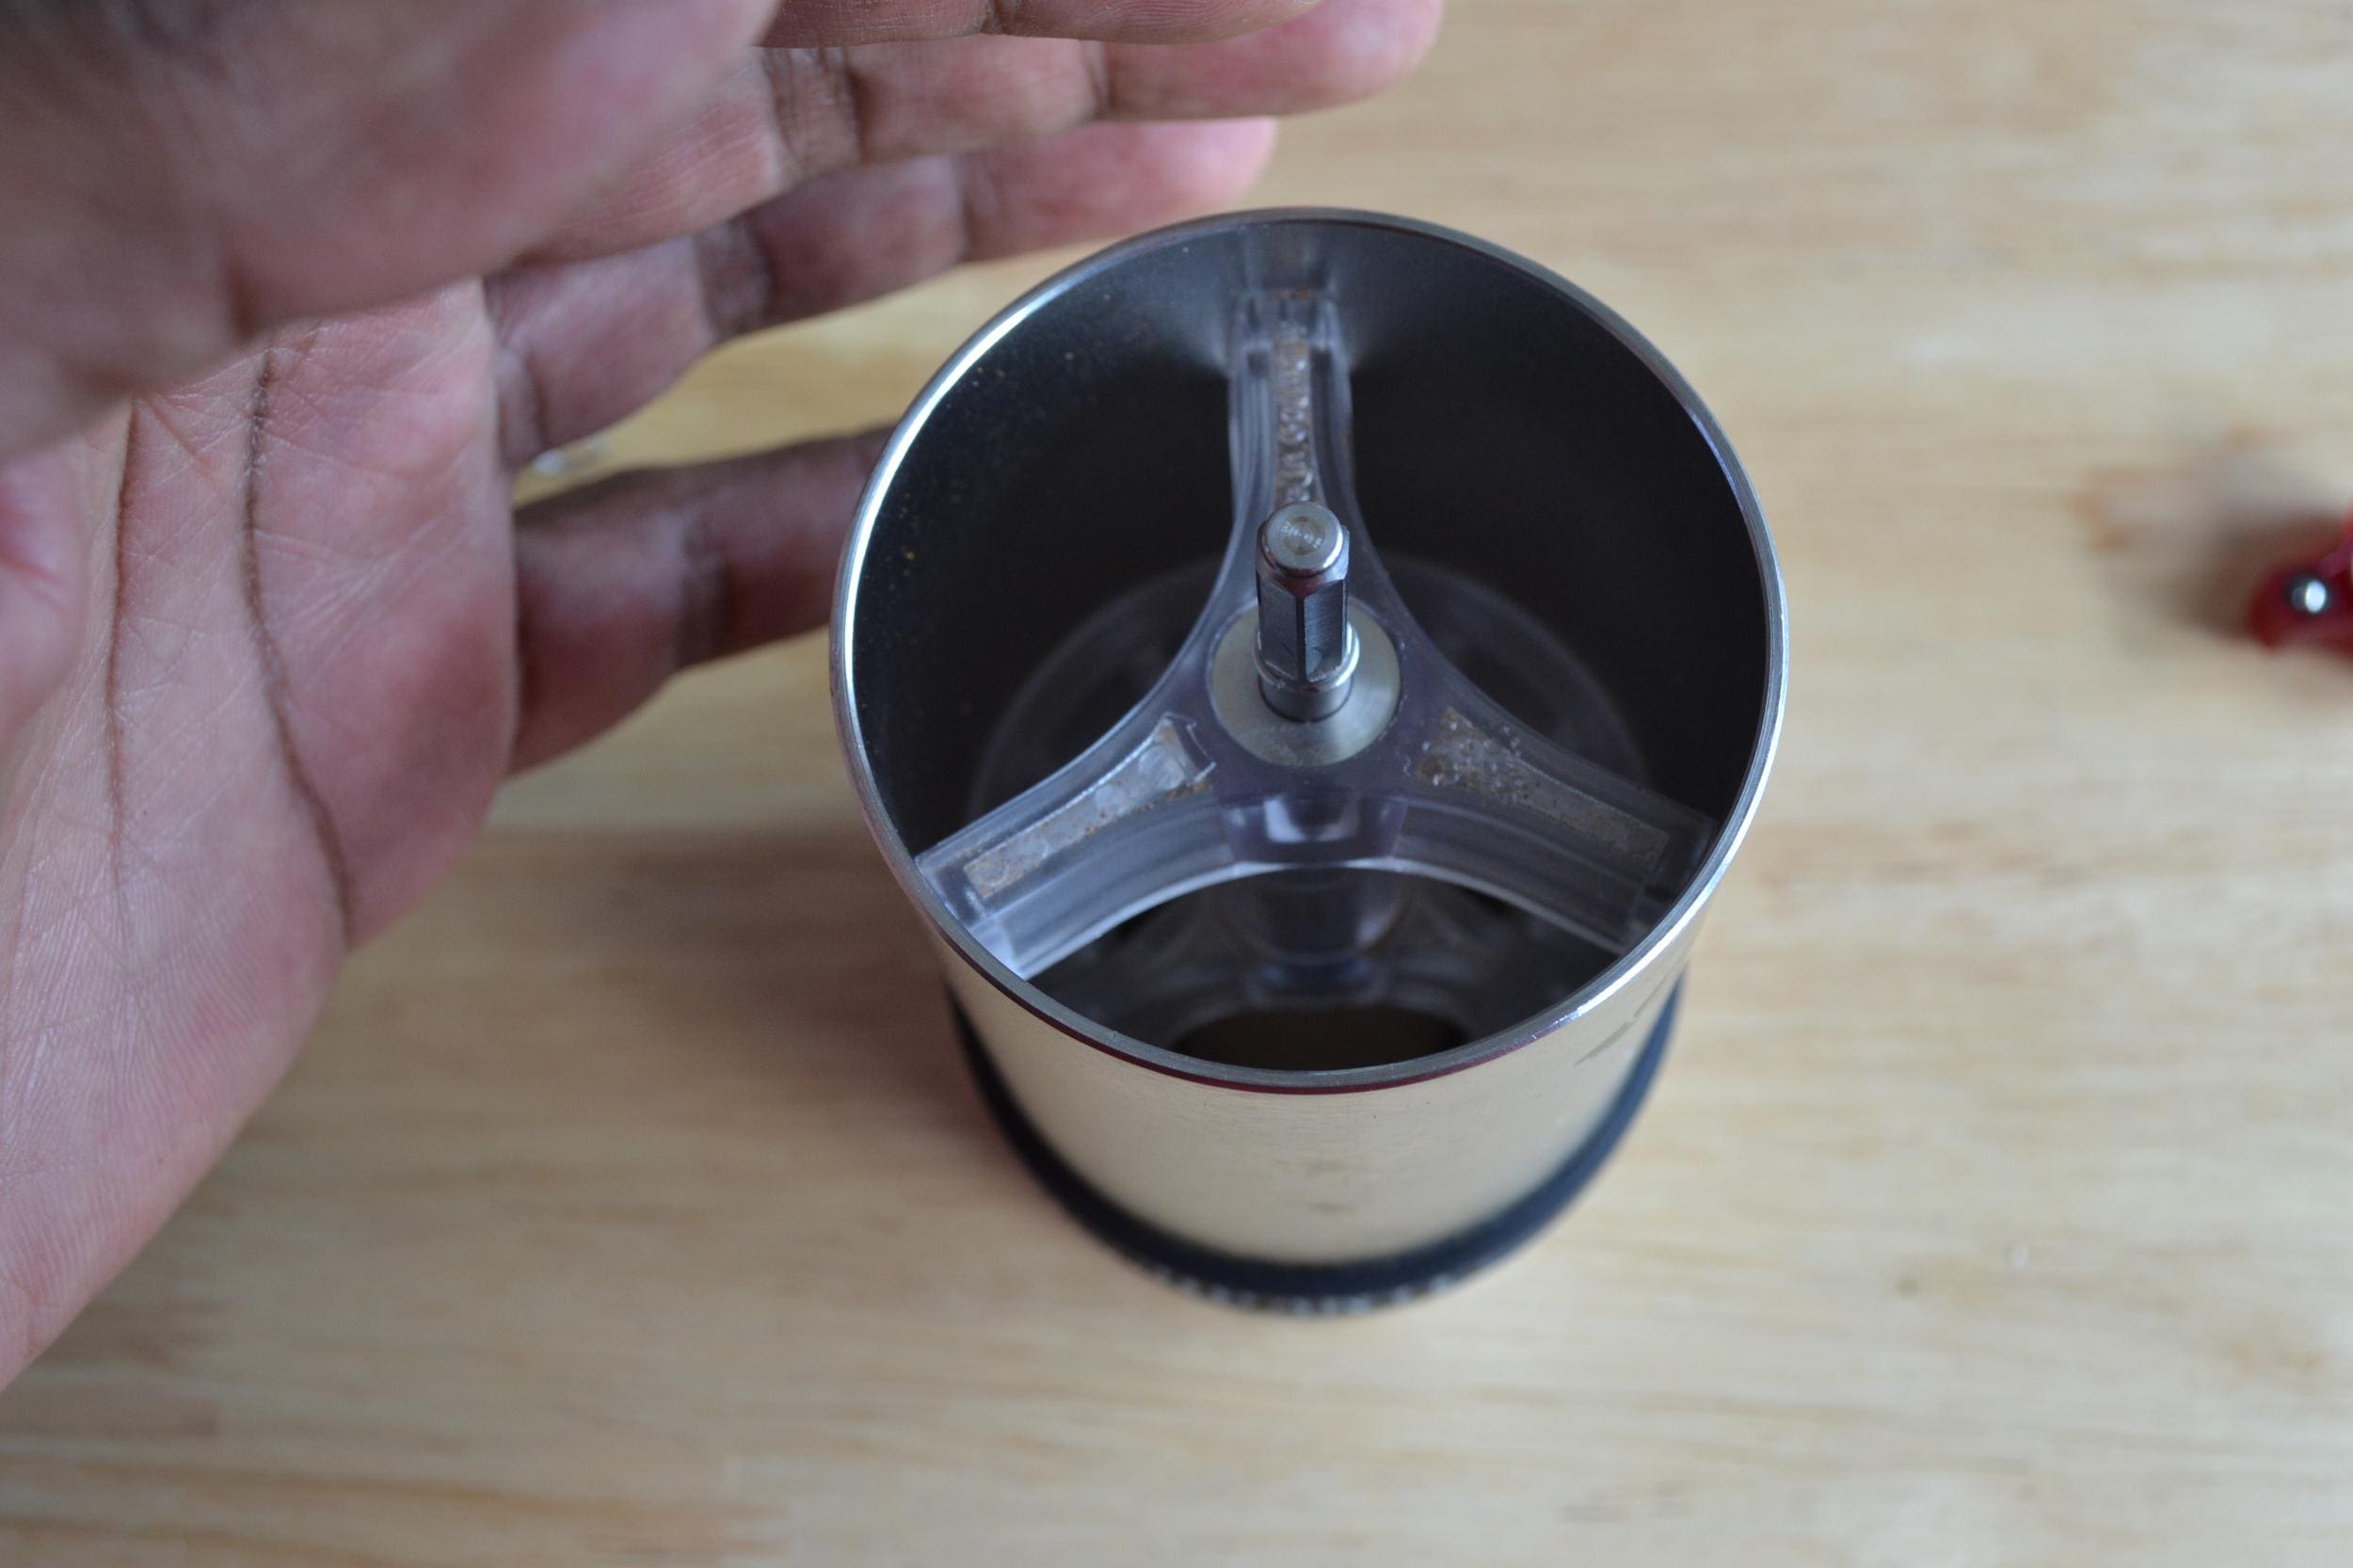
Step 4. Remove the burr along with the spring from the central axle.
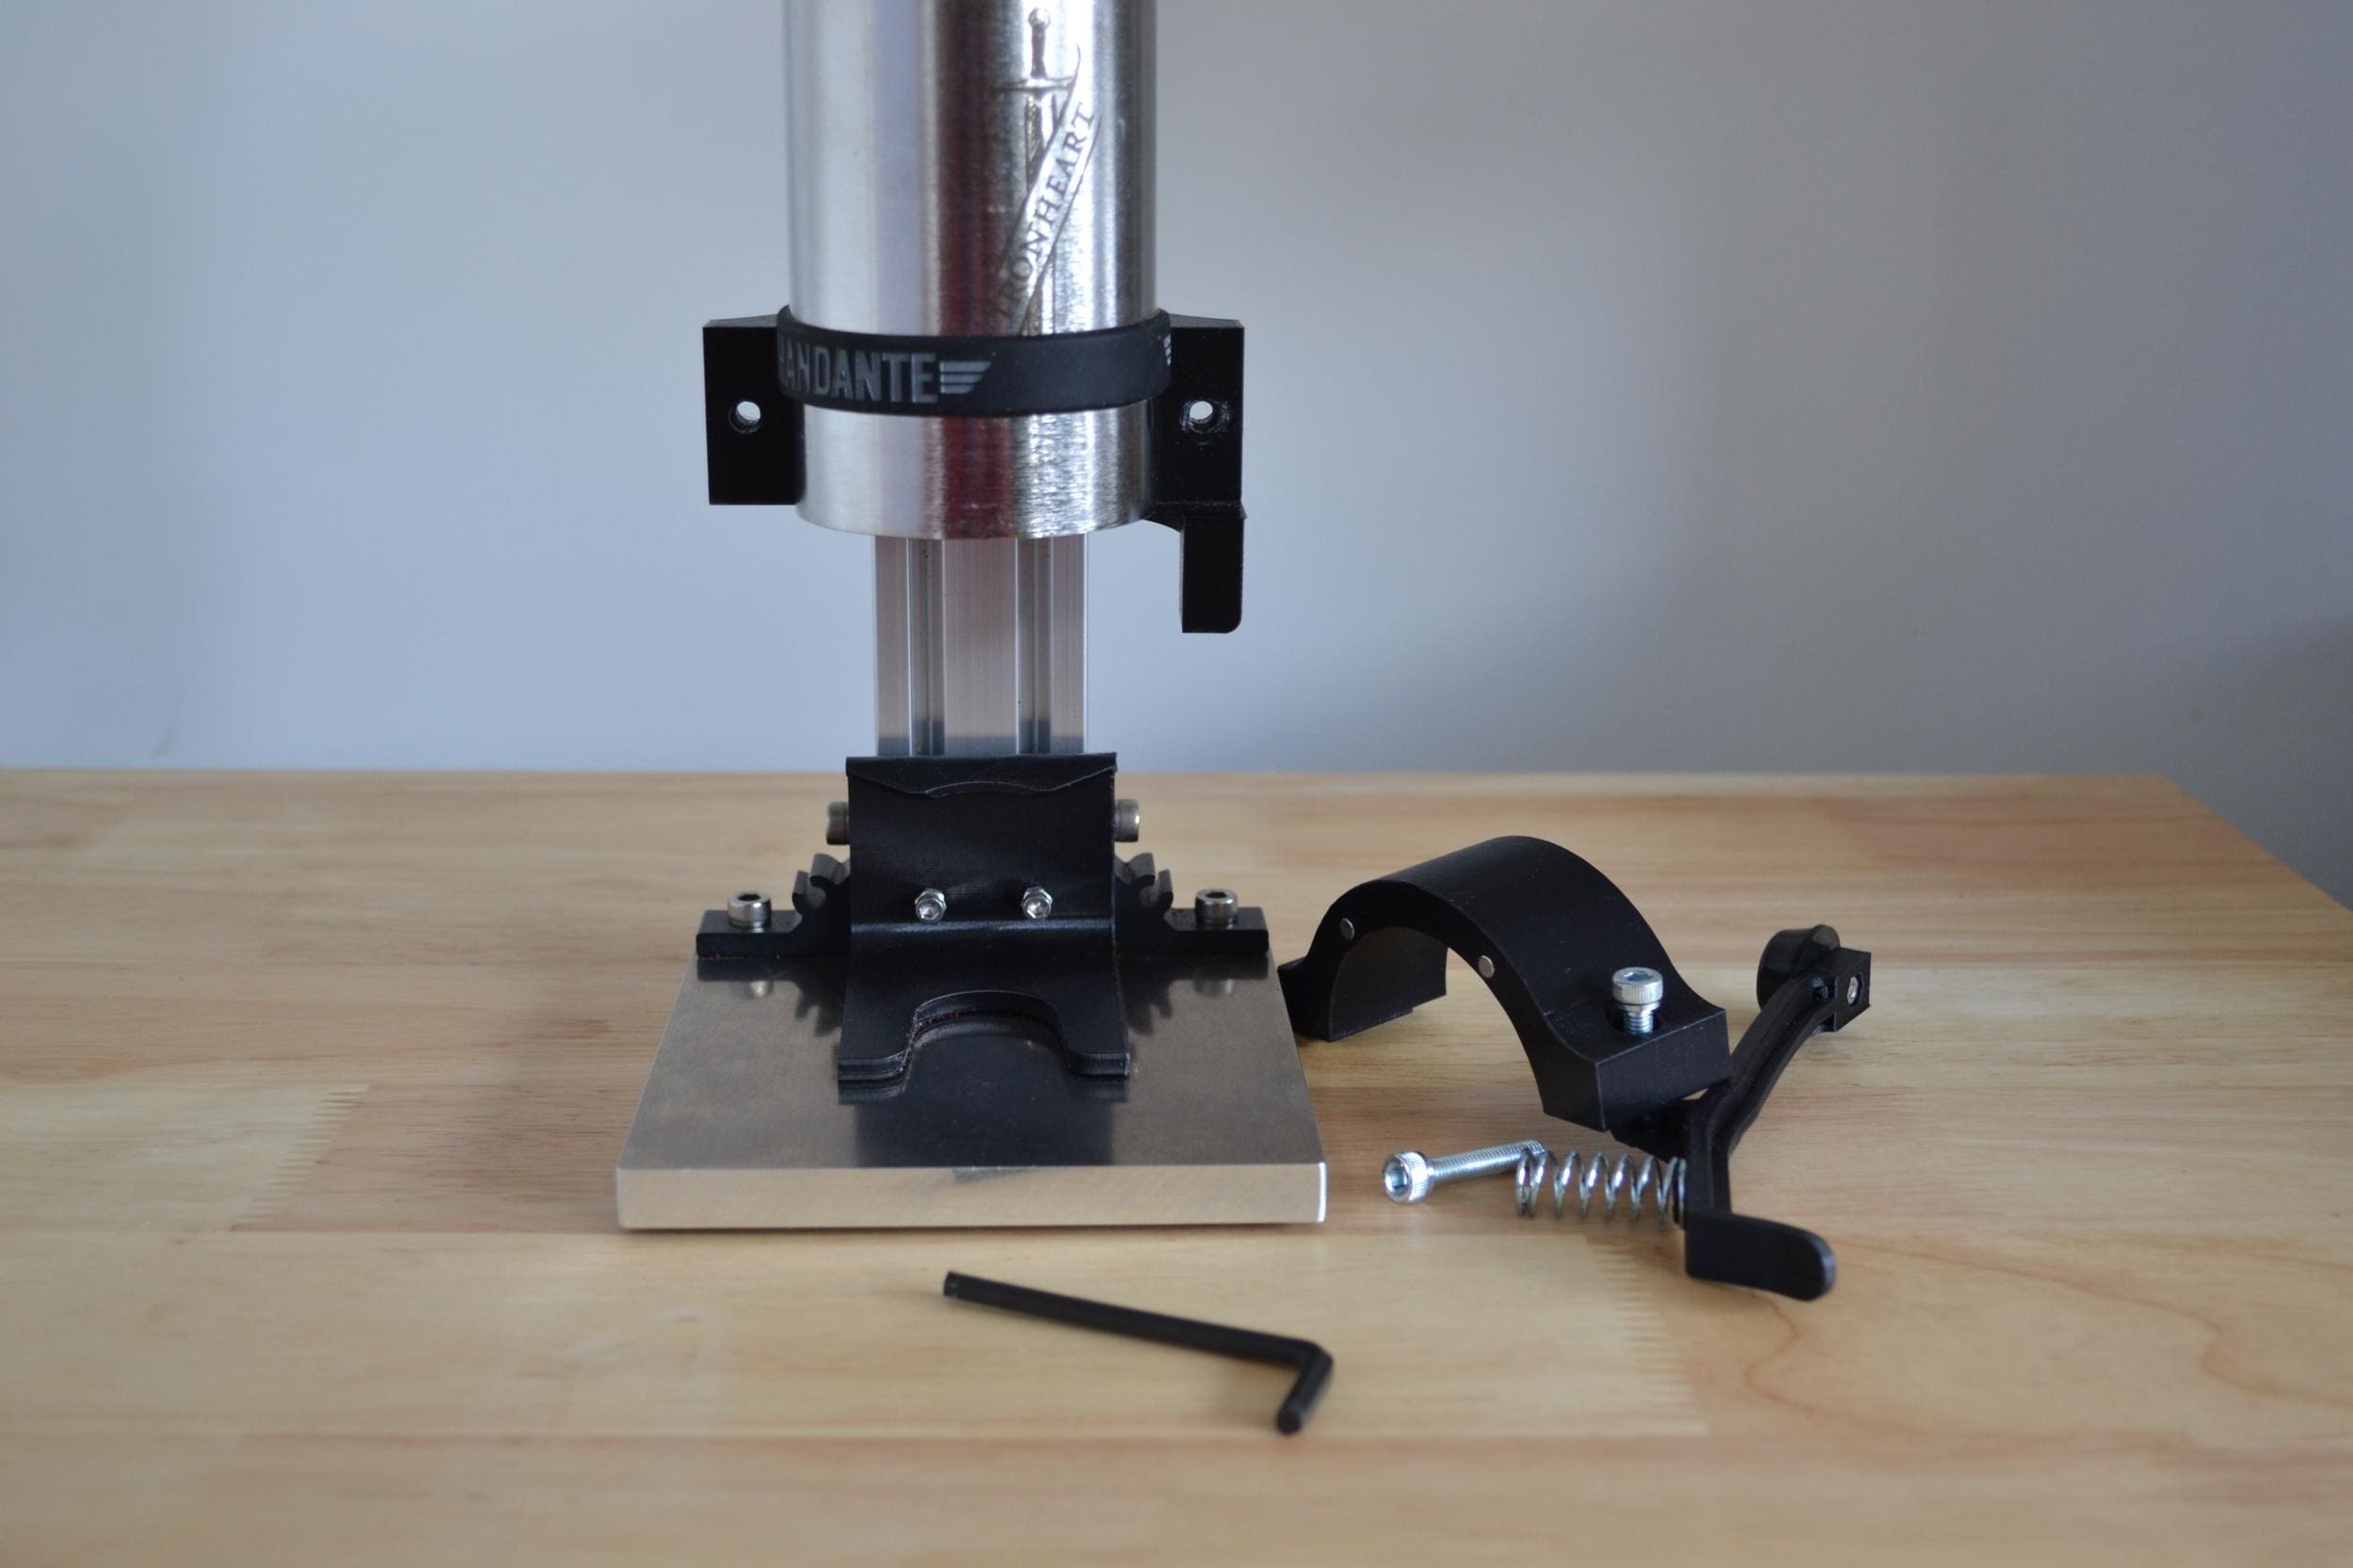
Step 5. Remove the hand crank so you can remove the central axle from the grinder.
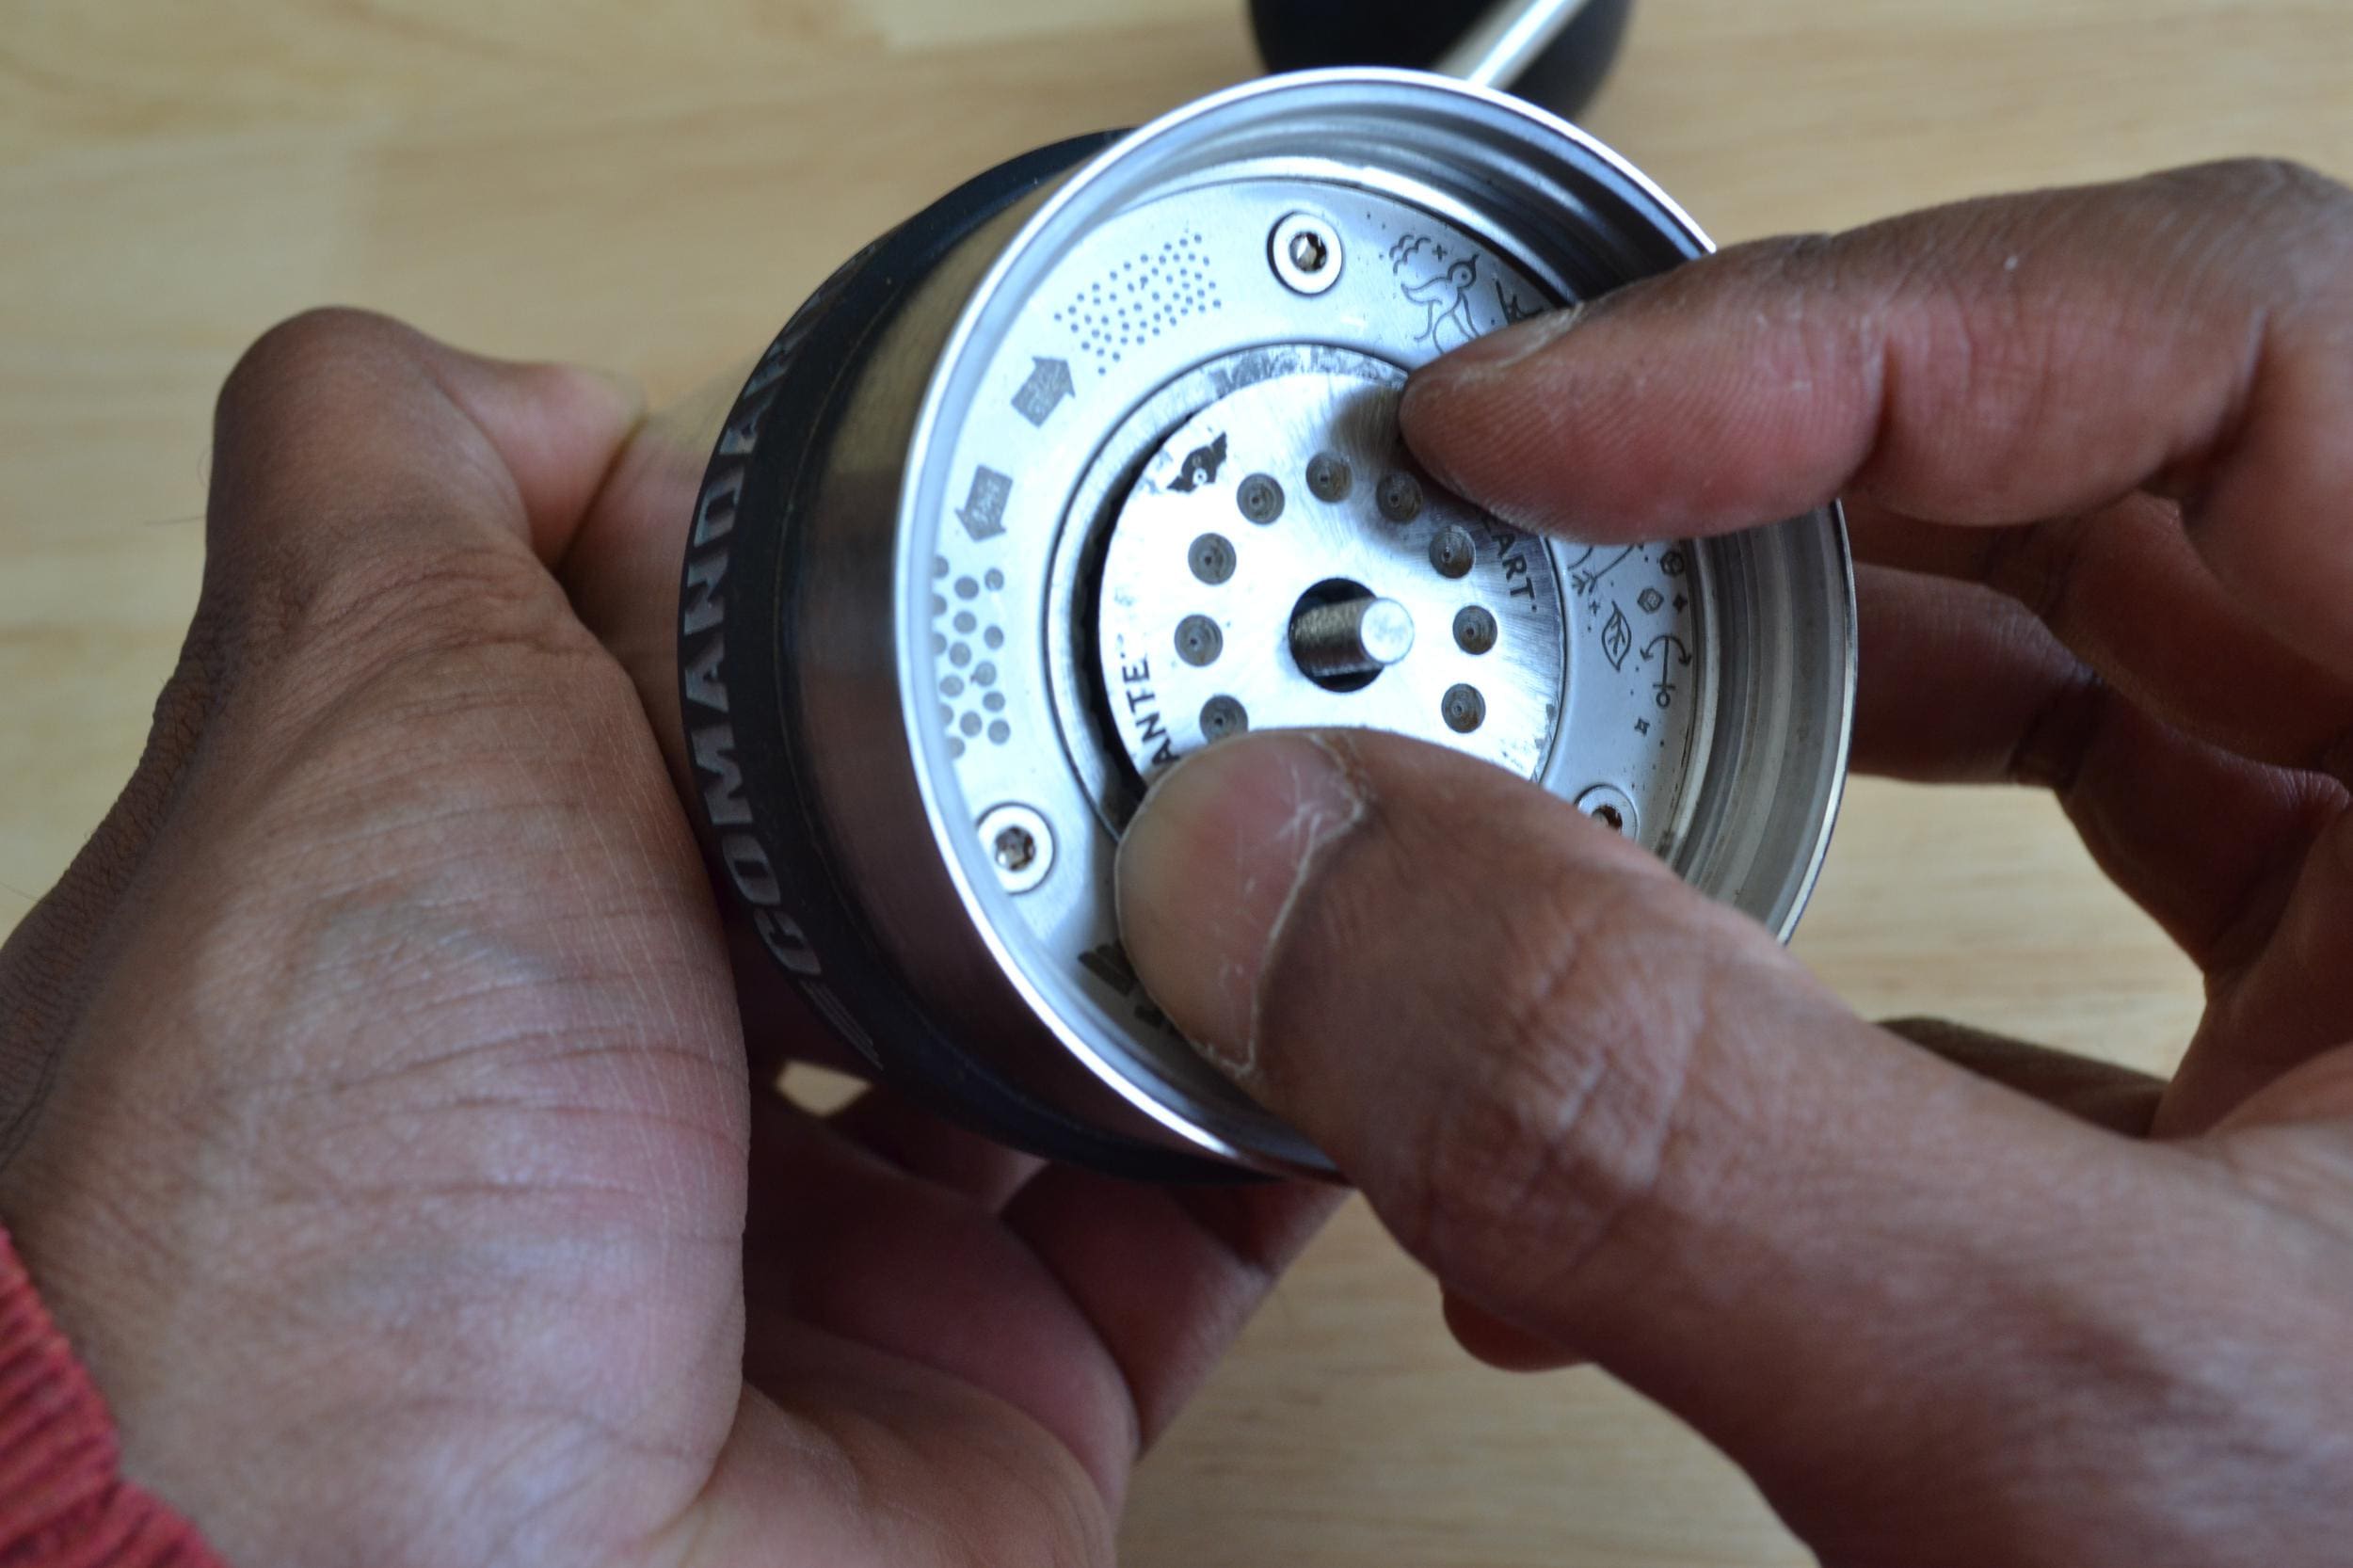
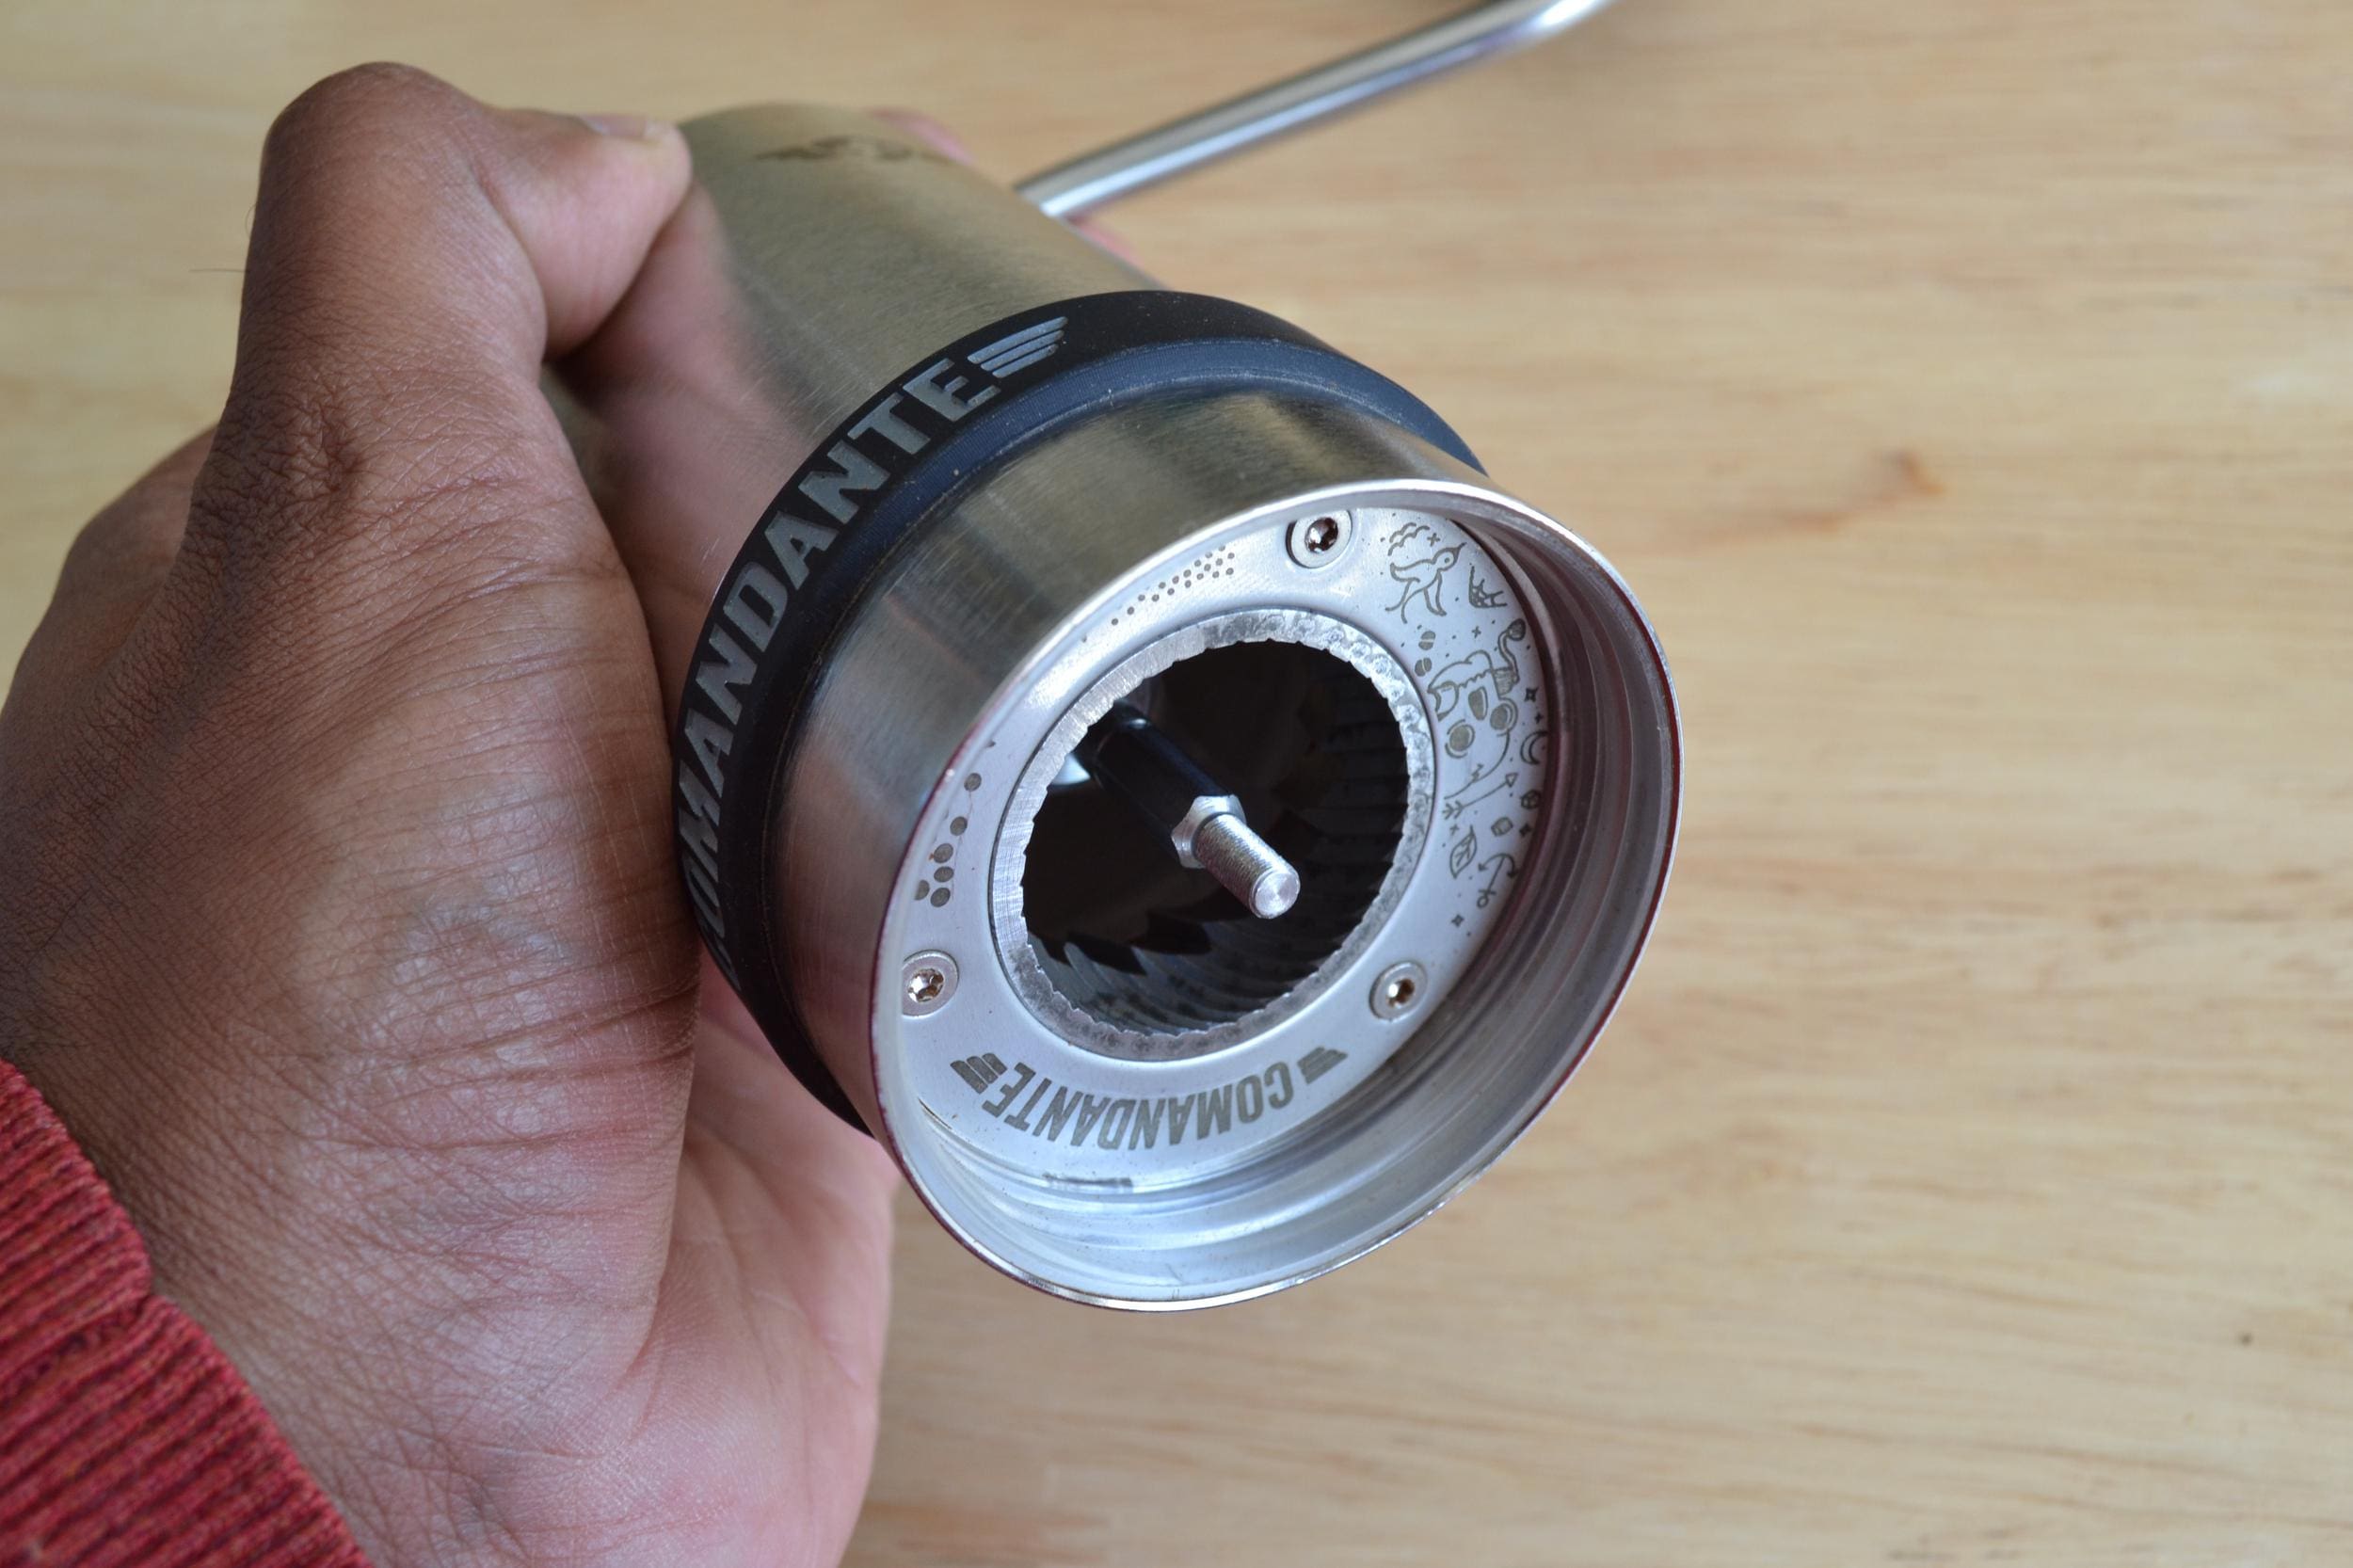
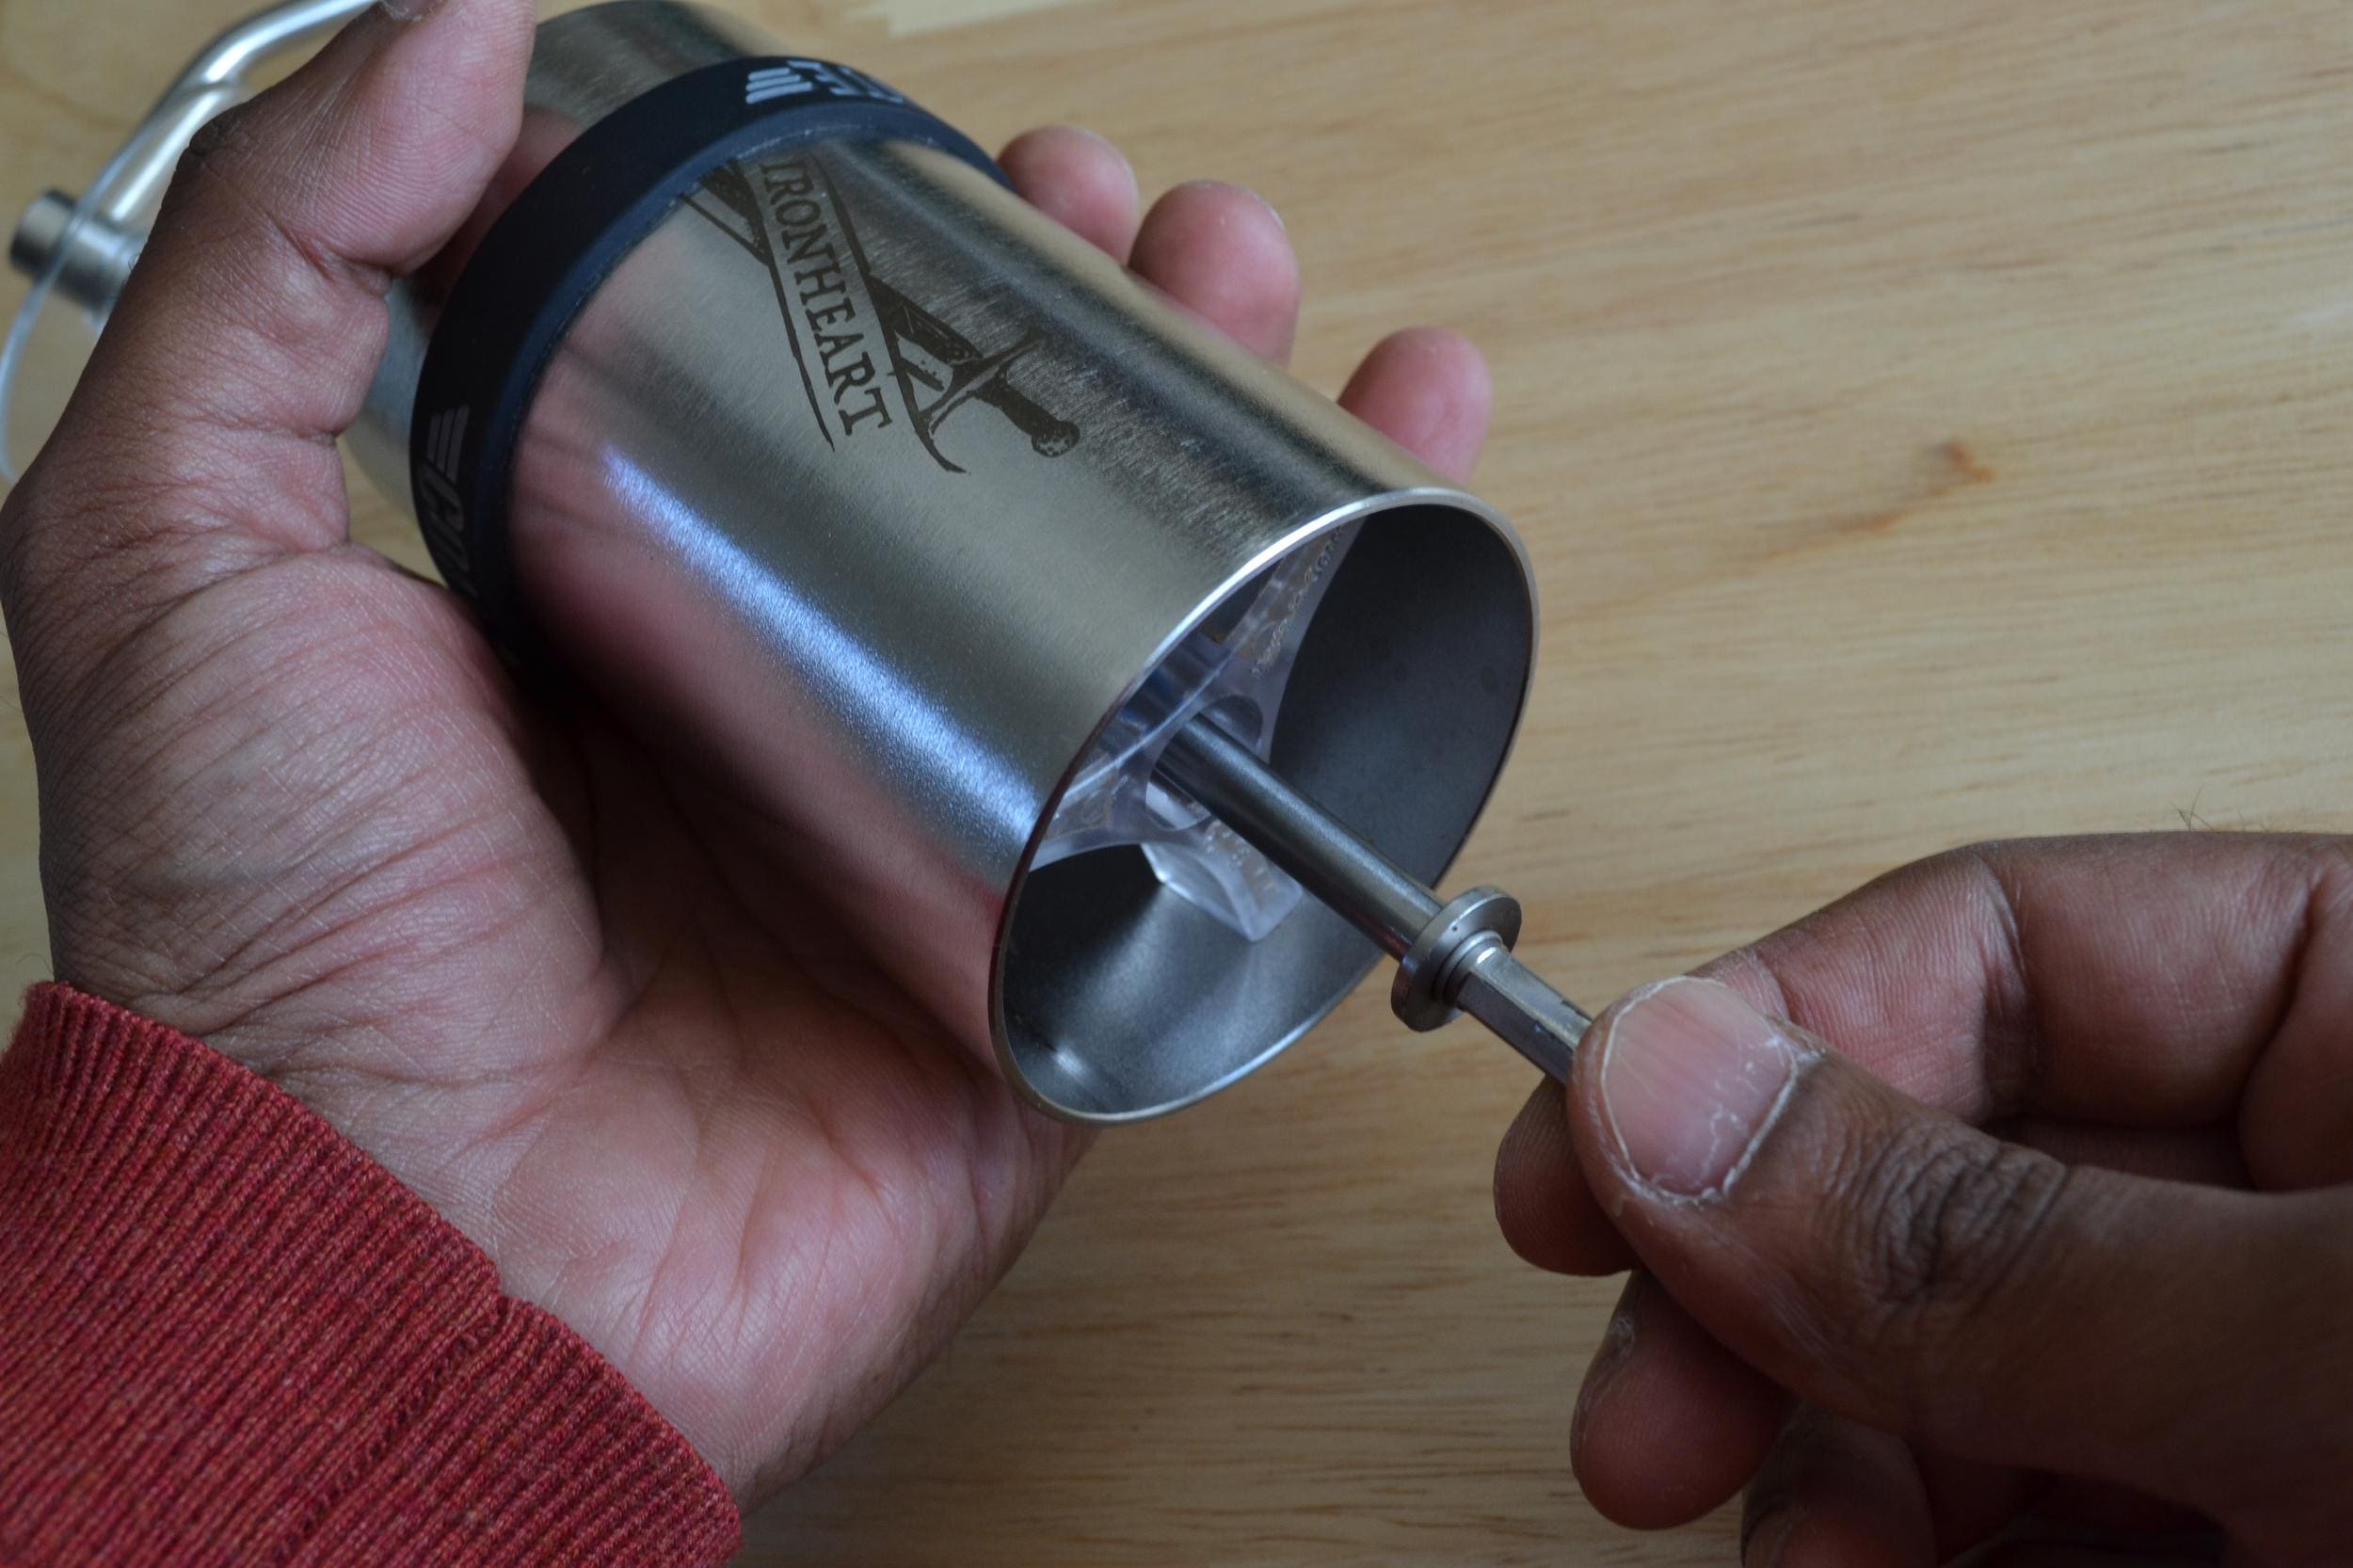
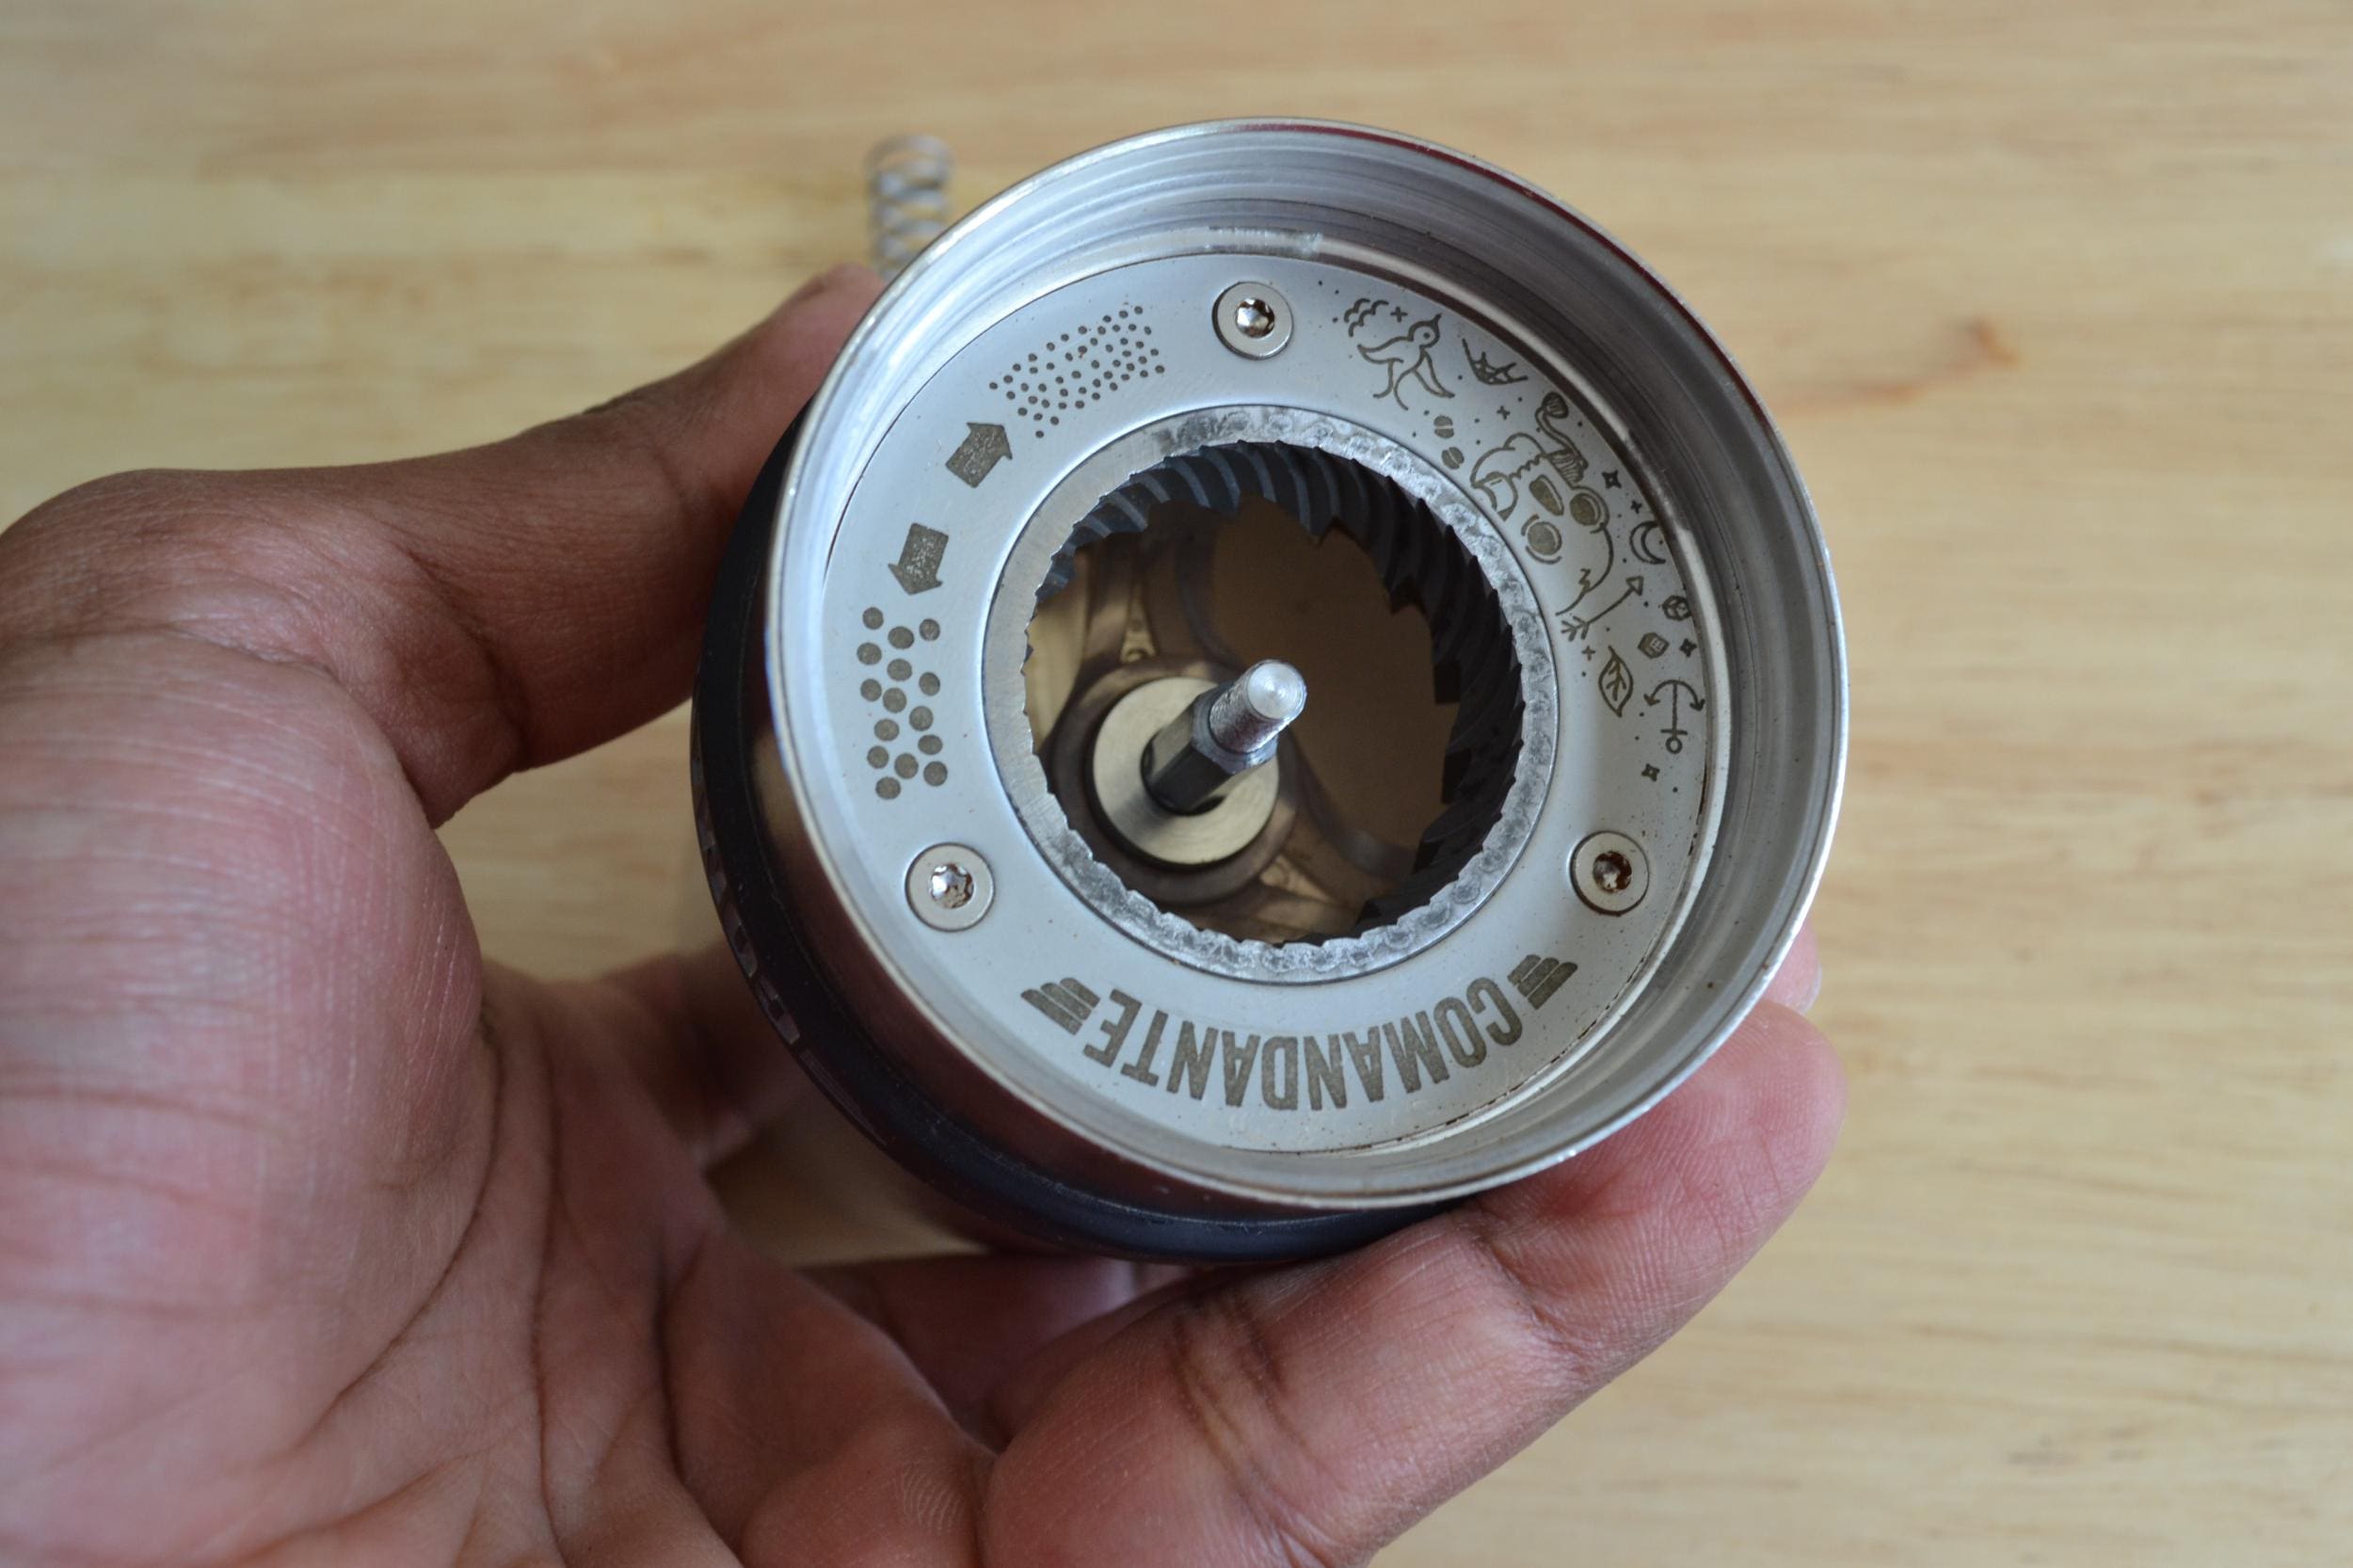
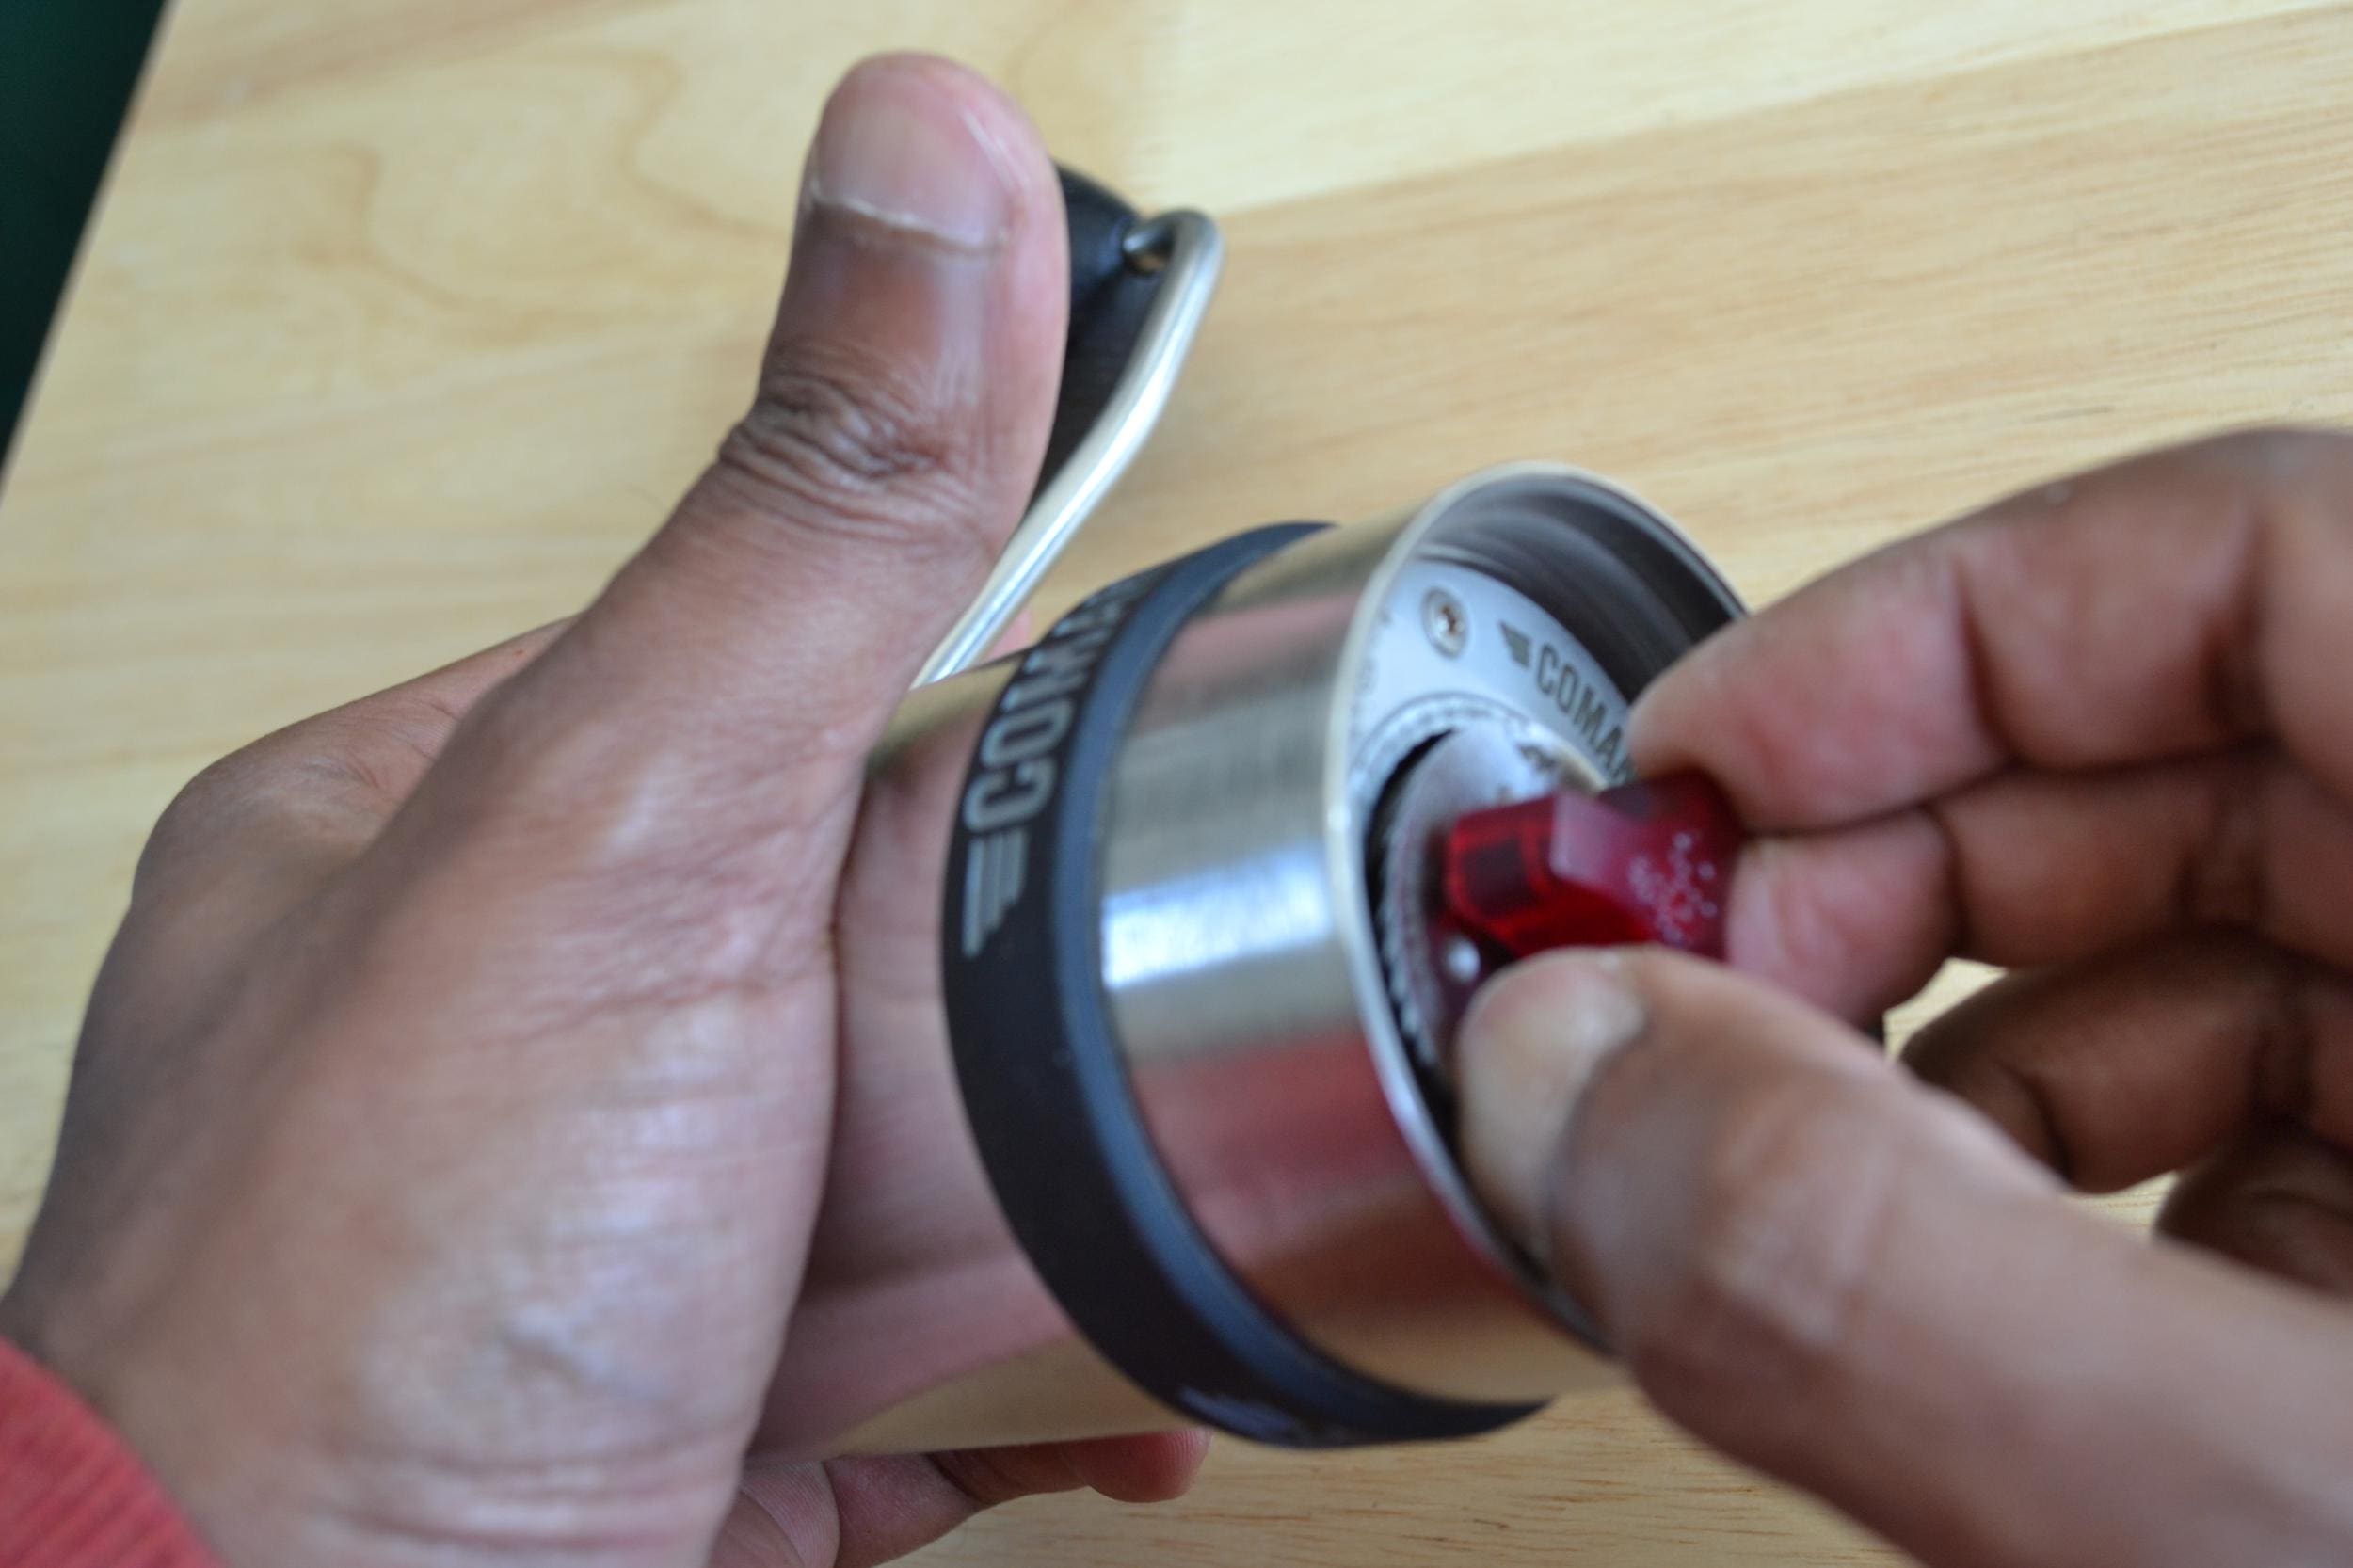
Step 6. Push the central axle from the burr side through the grinder.
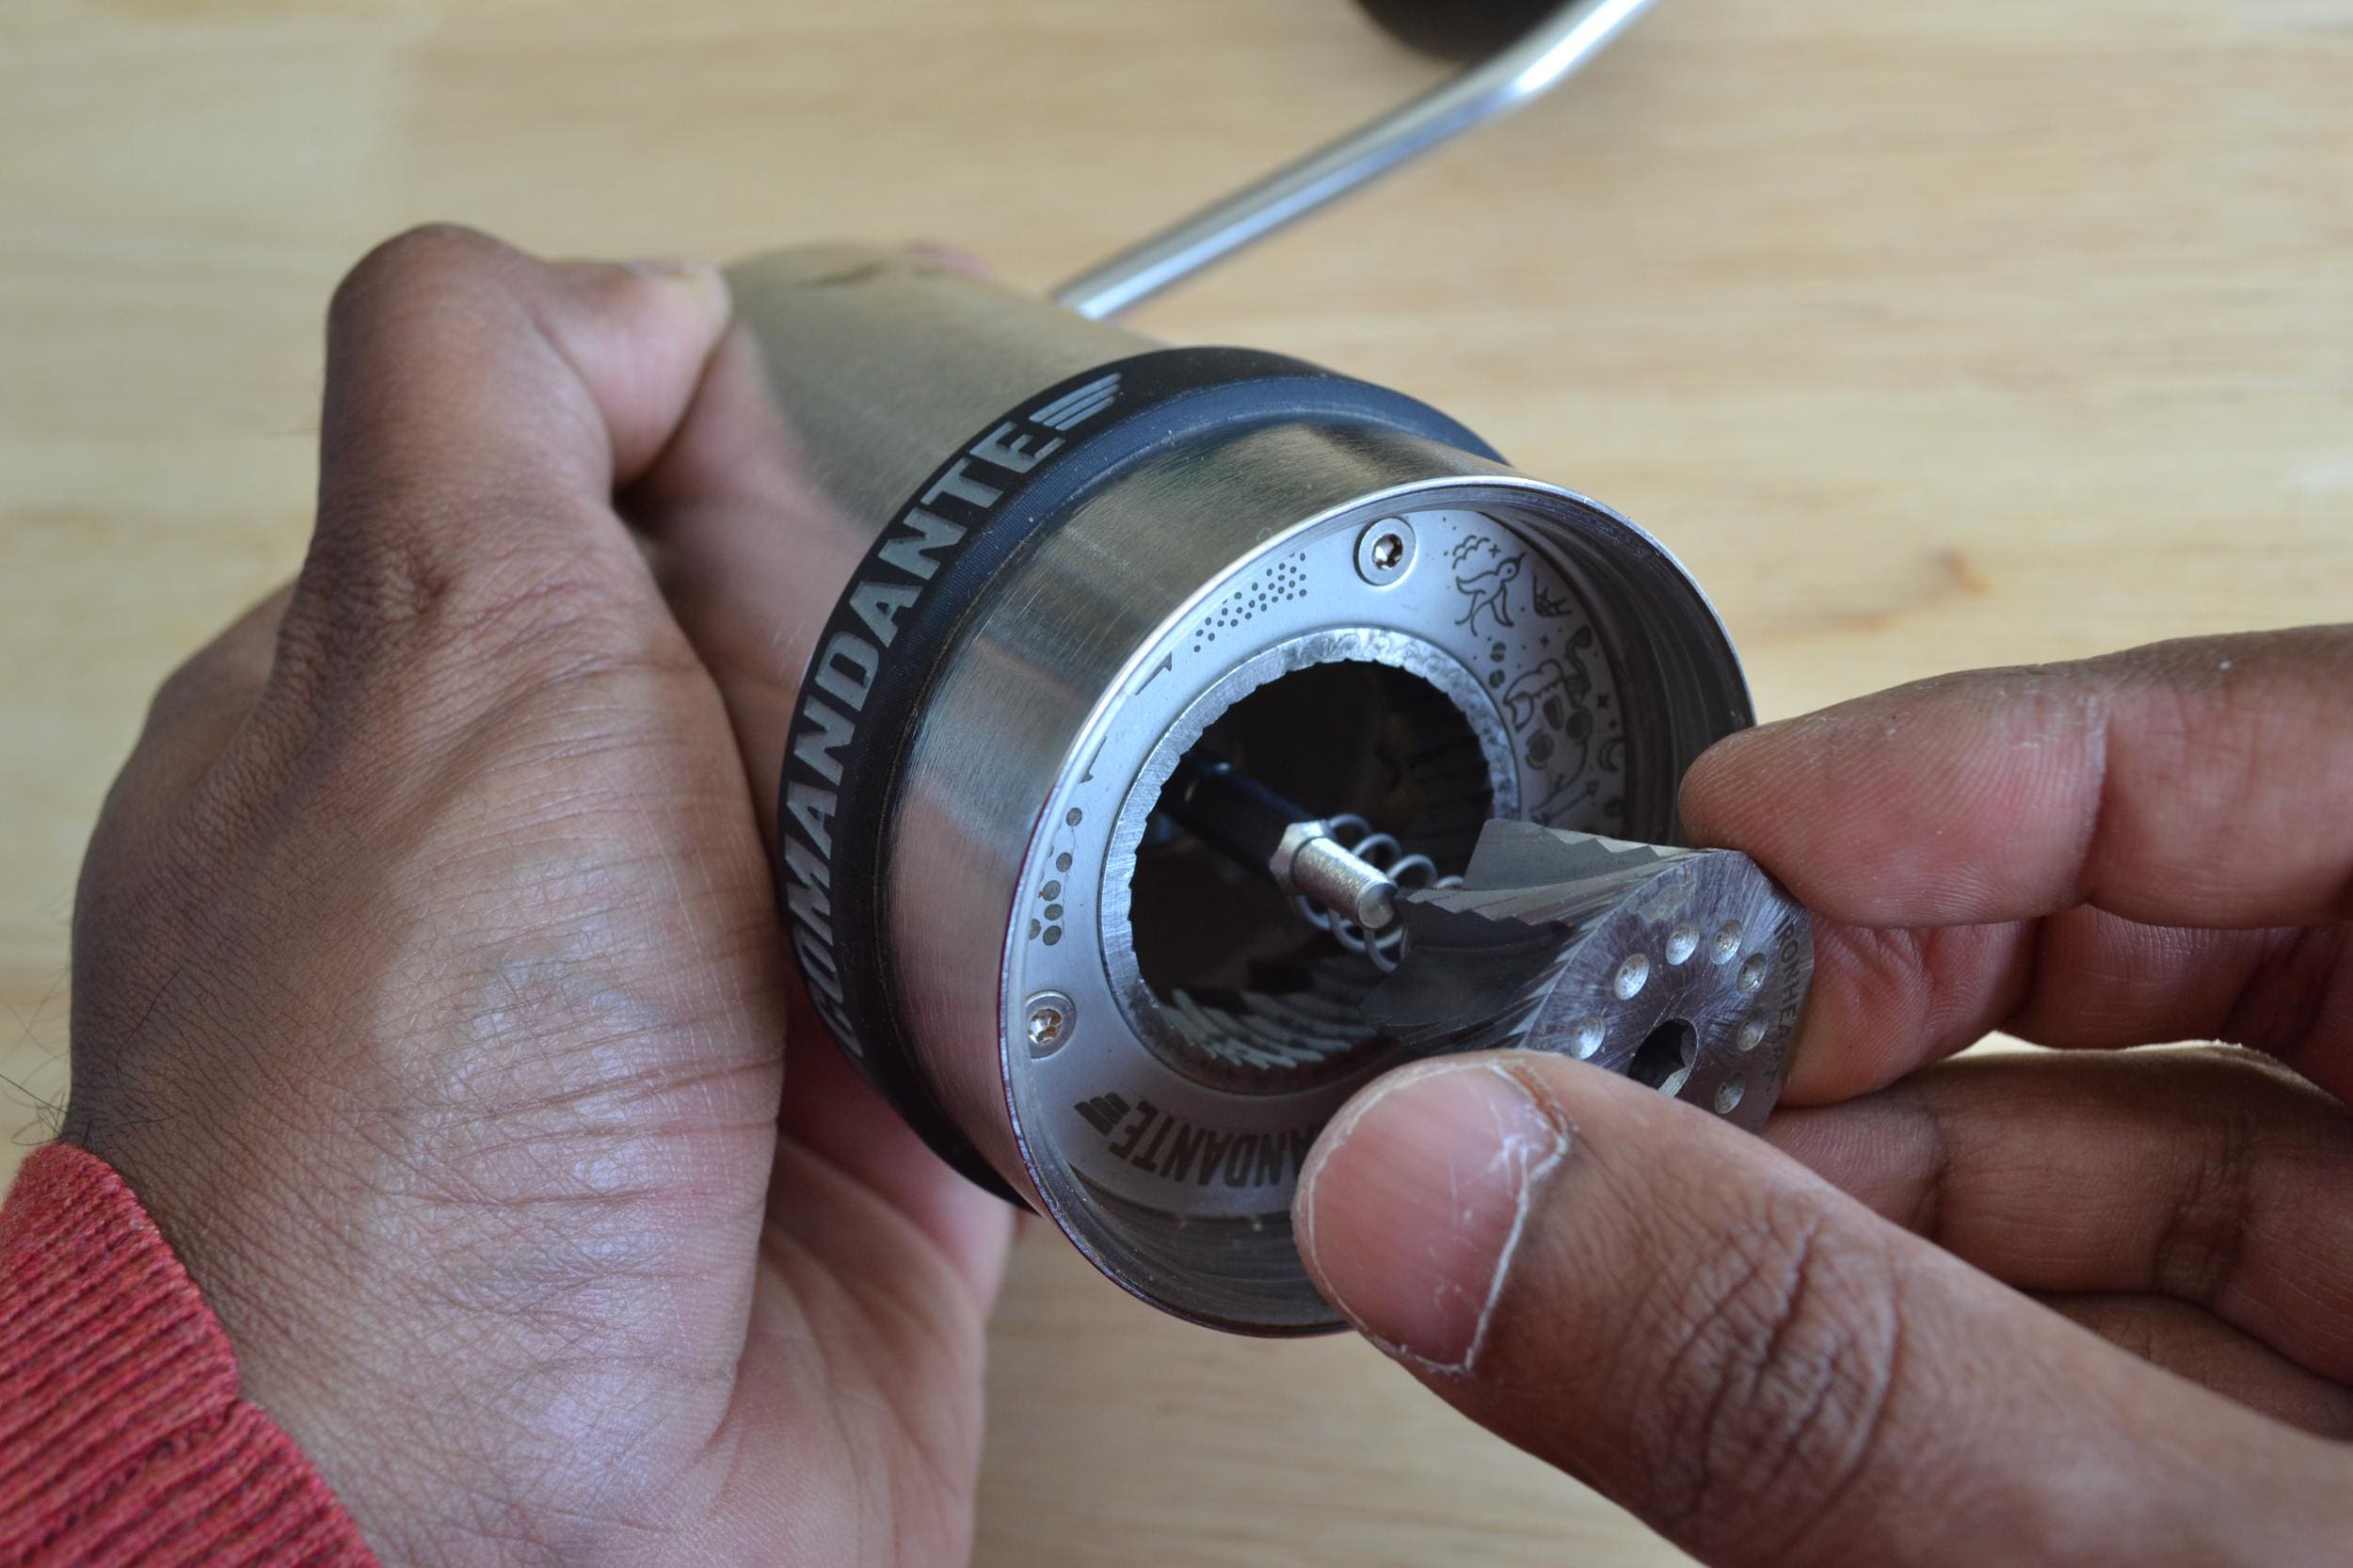
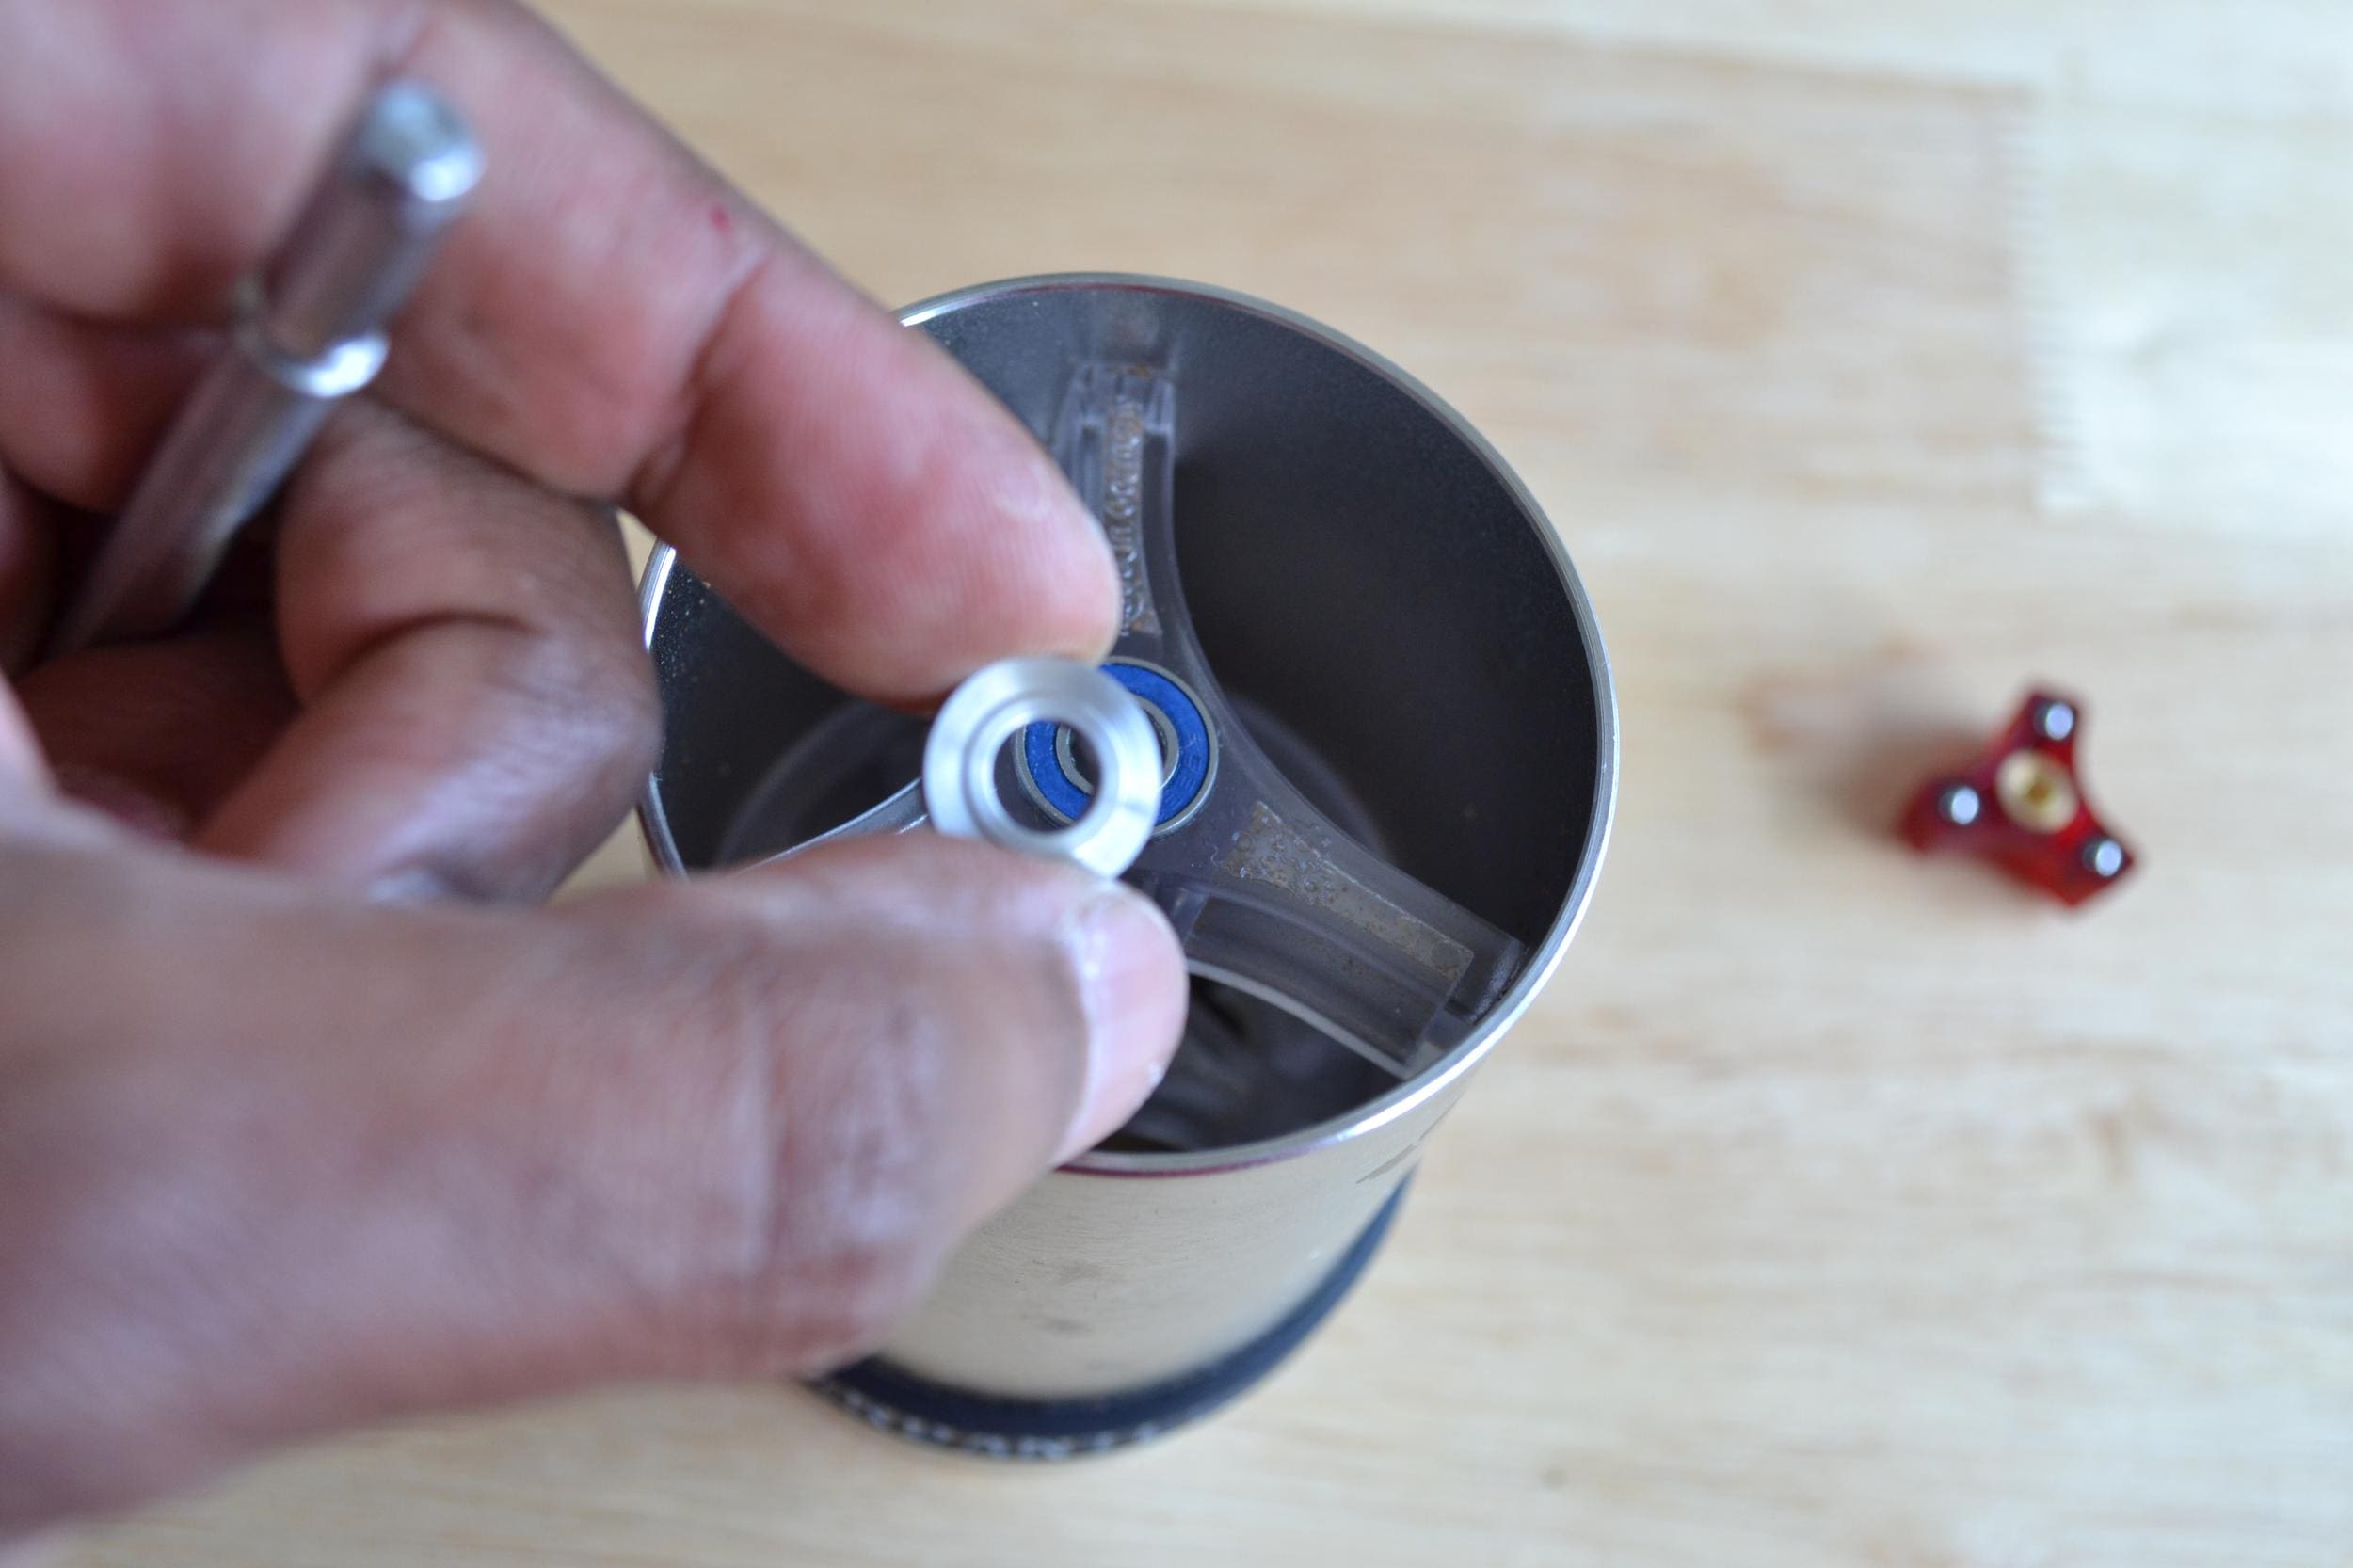
Step 7. Pull the axle all the way out from the top of the grinder and collect the washers from either end. This step turned out to be a bit trickier than I thought. My central axle refused to come out easily and had to apply a significant amount of force before the axle popped out. The top bearing actually came out with it so I had to put it back in! IMPORTANT. Make sure not to mix and match regular clix components and red clix components!

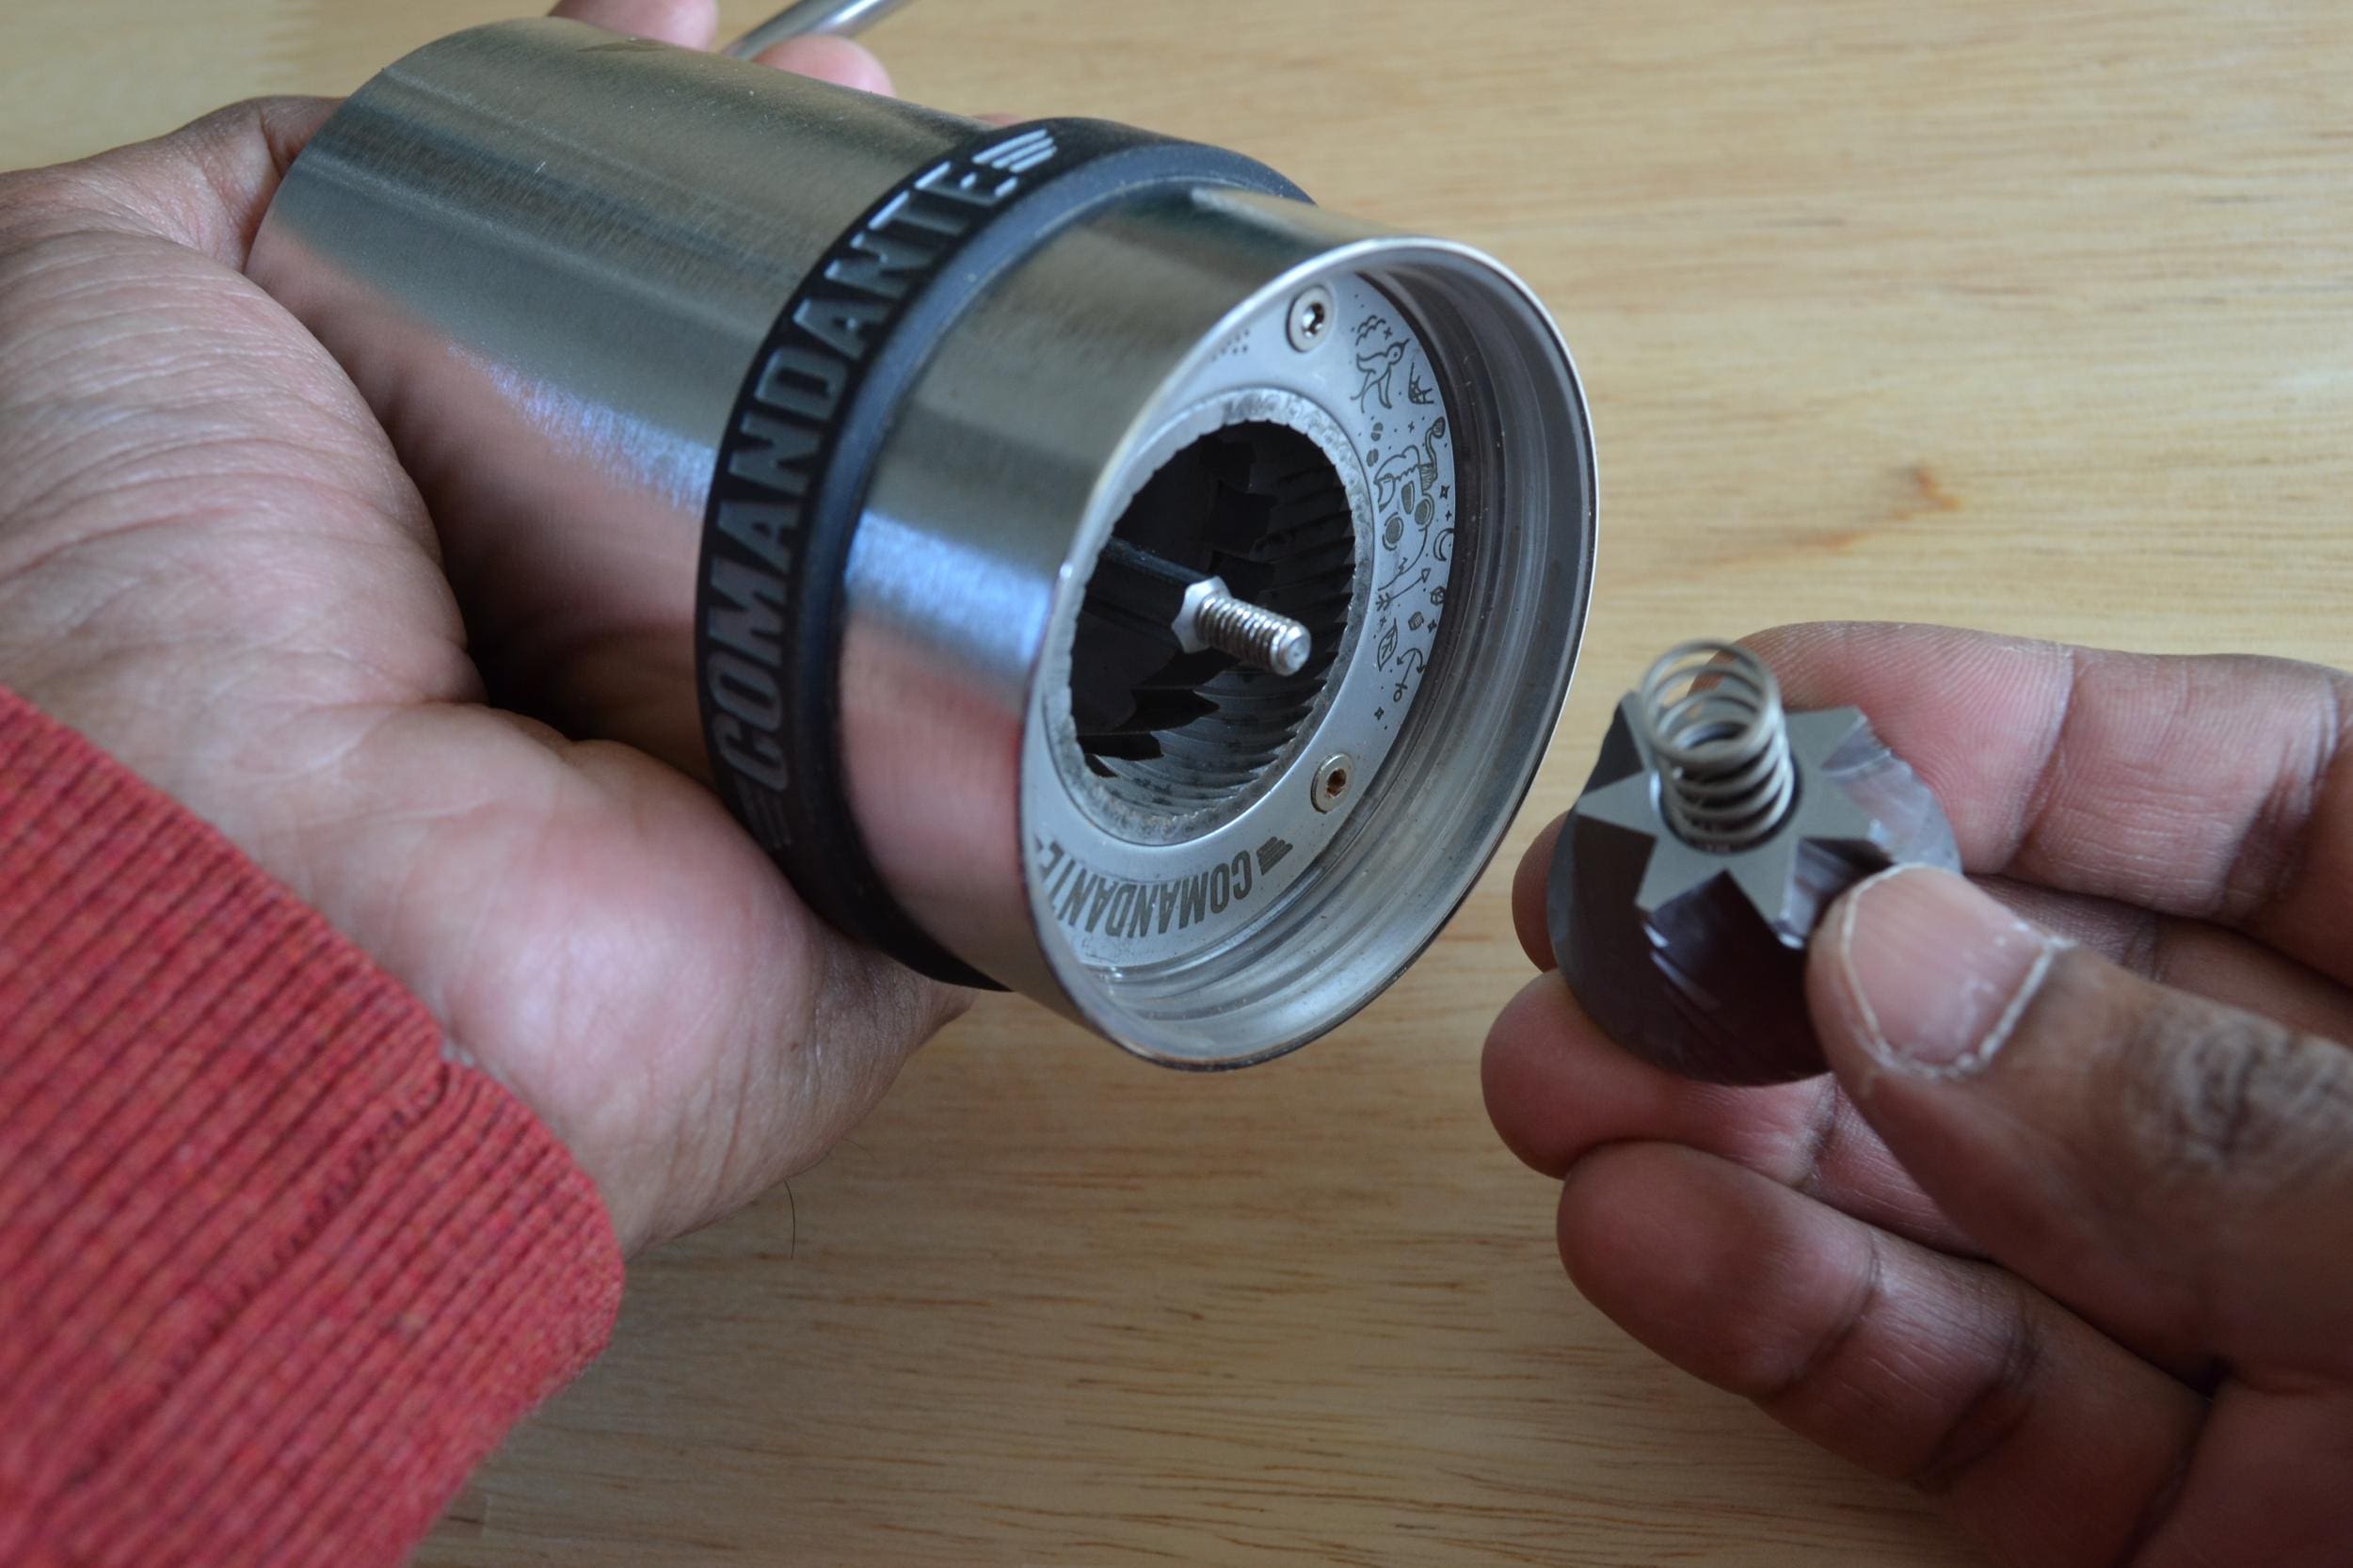
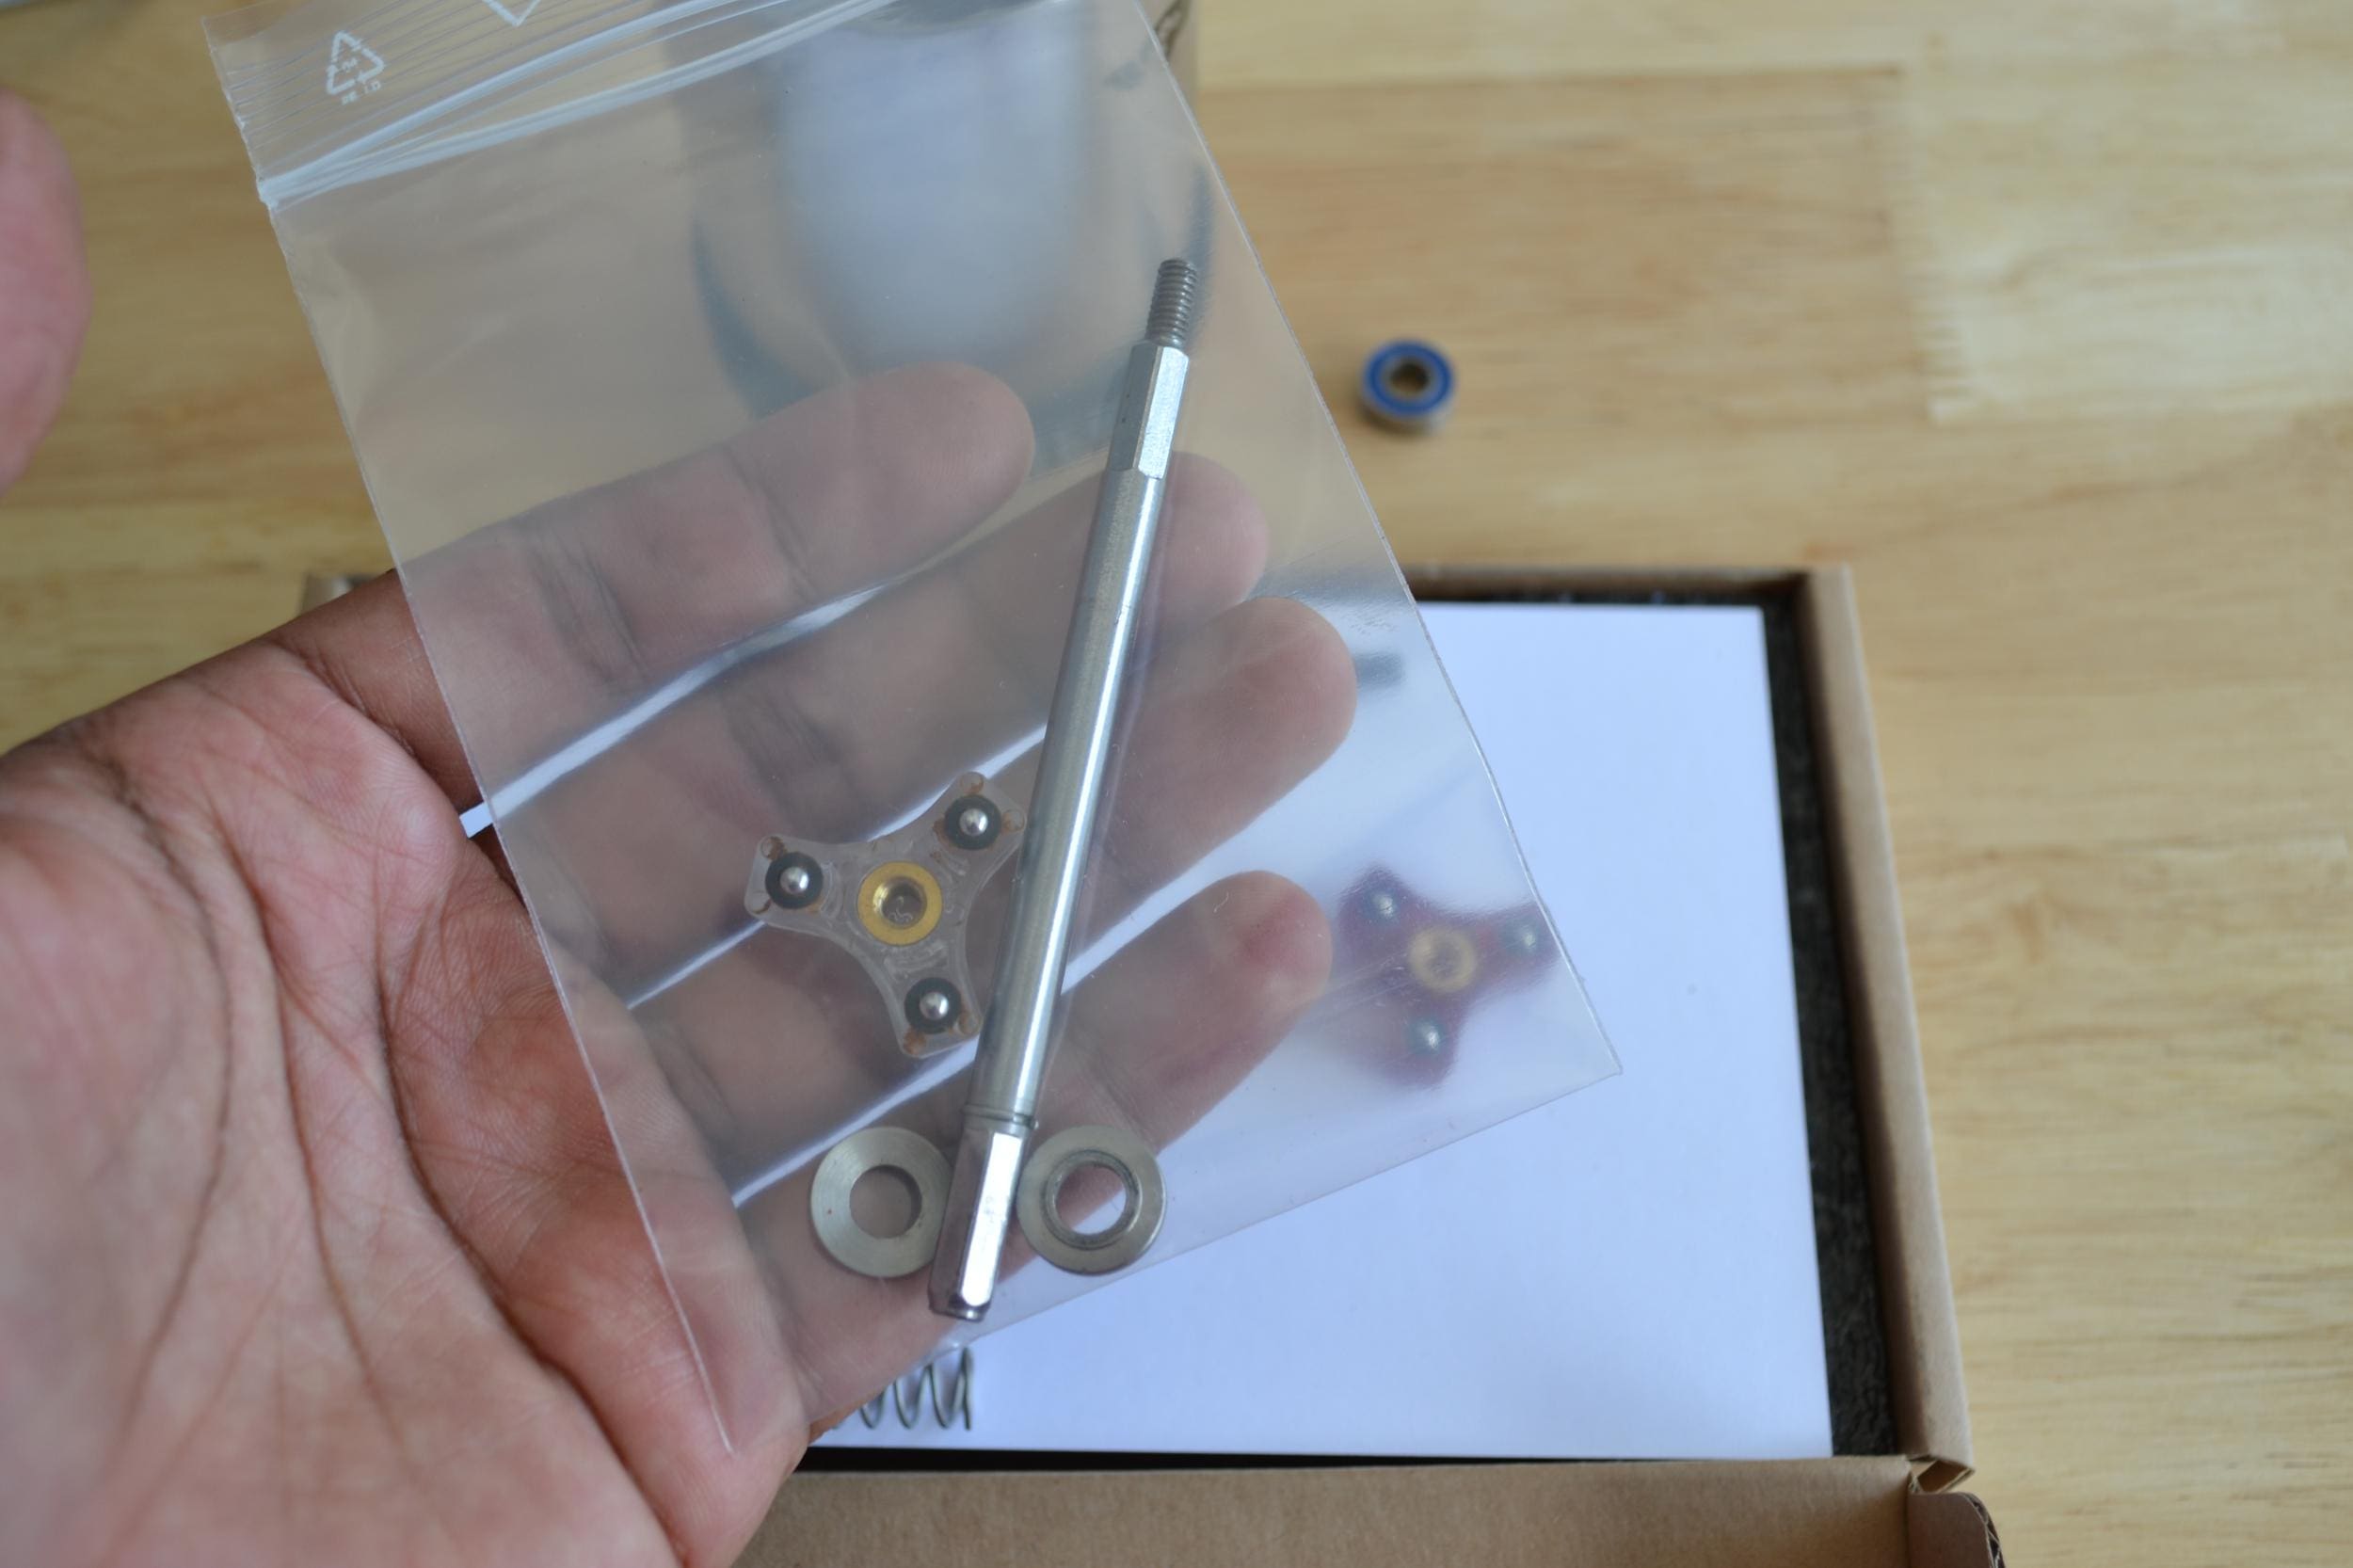
Step 8. Put the removed axle, spacers, spring and dial into a bag and put aside so they don’t get mixed.
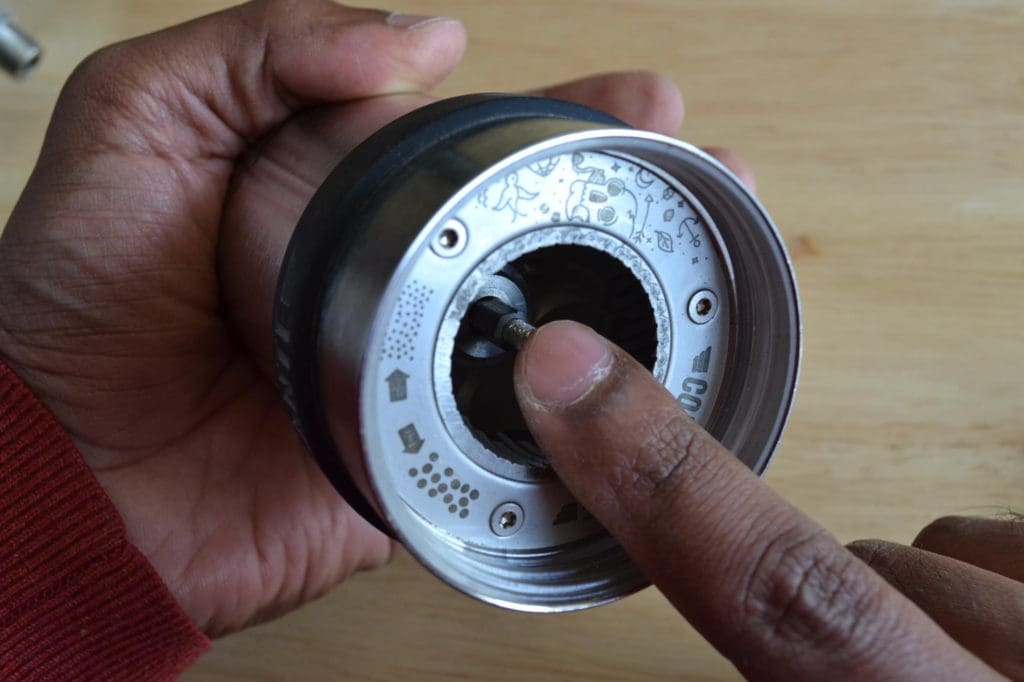
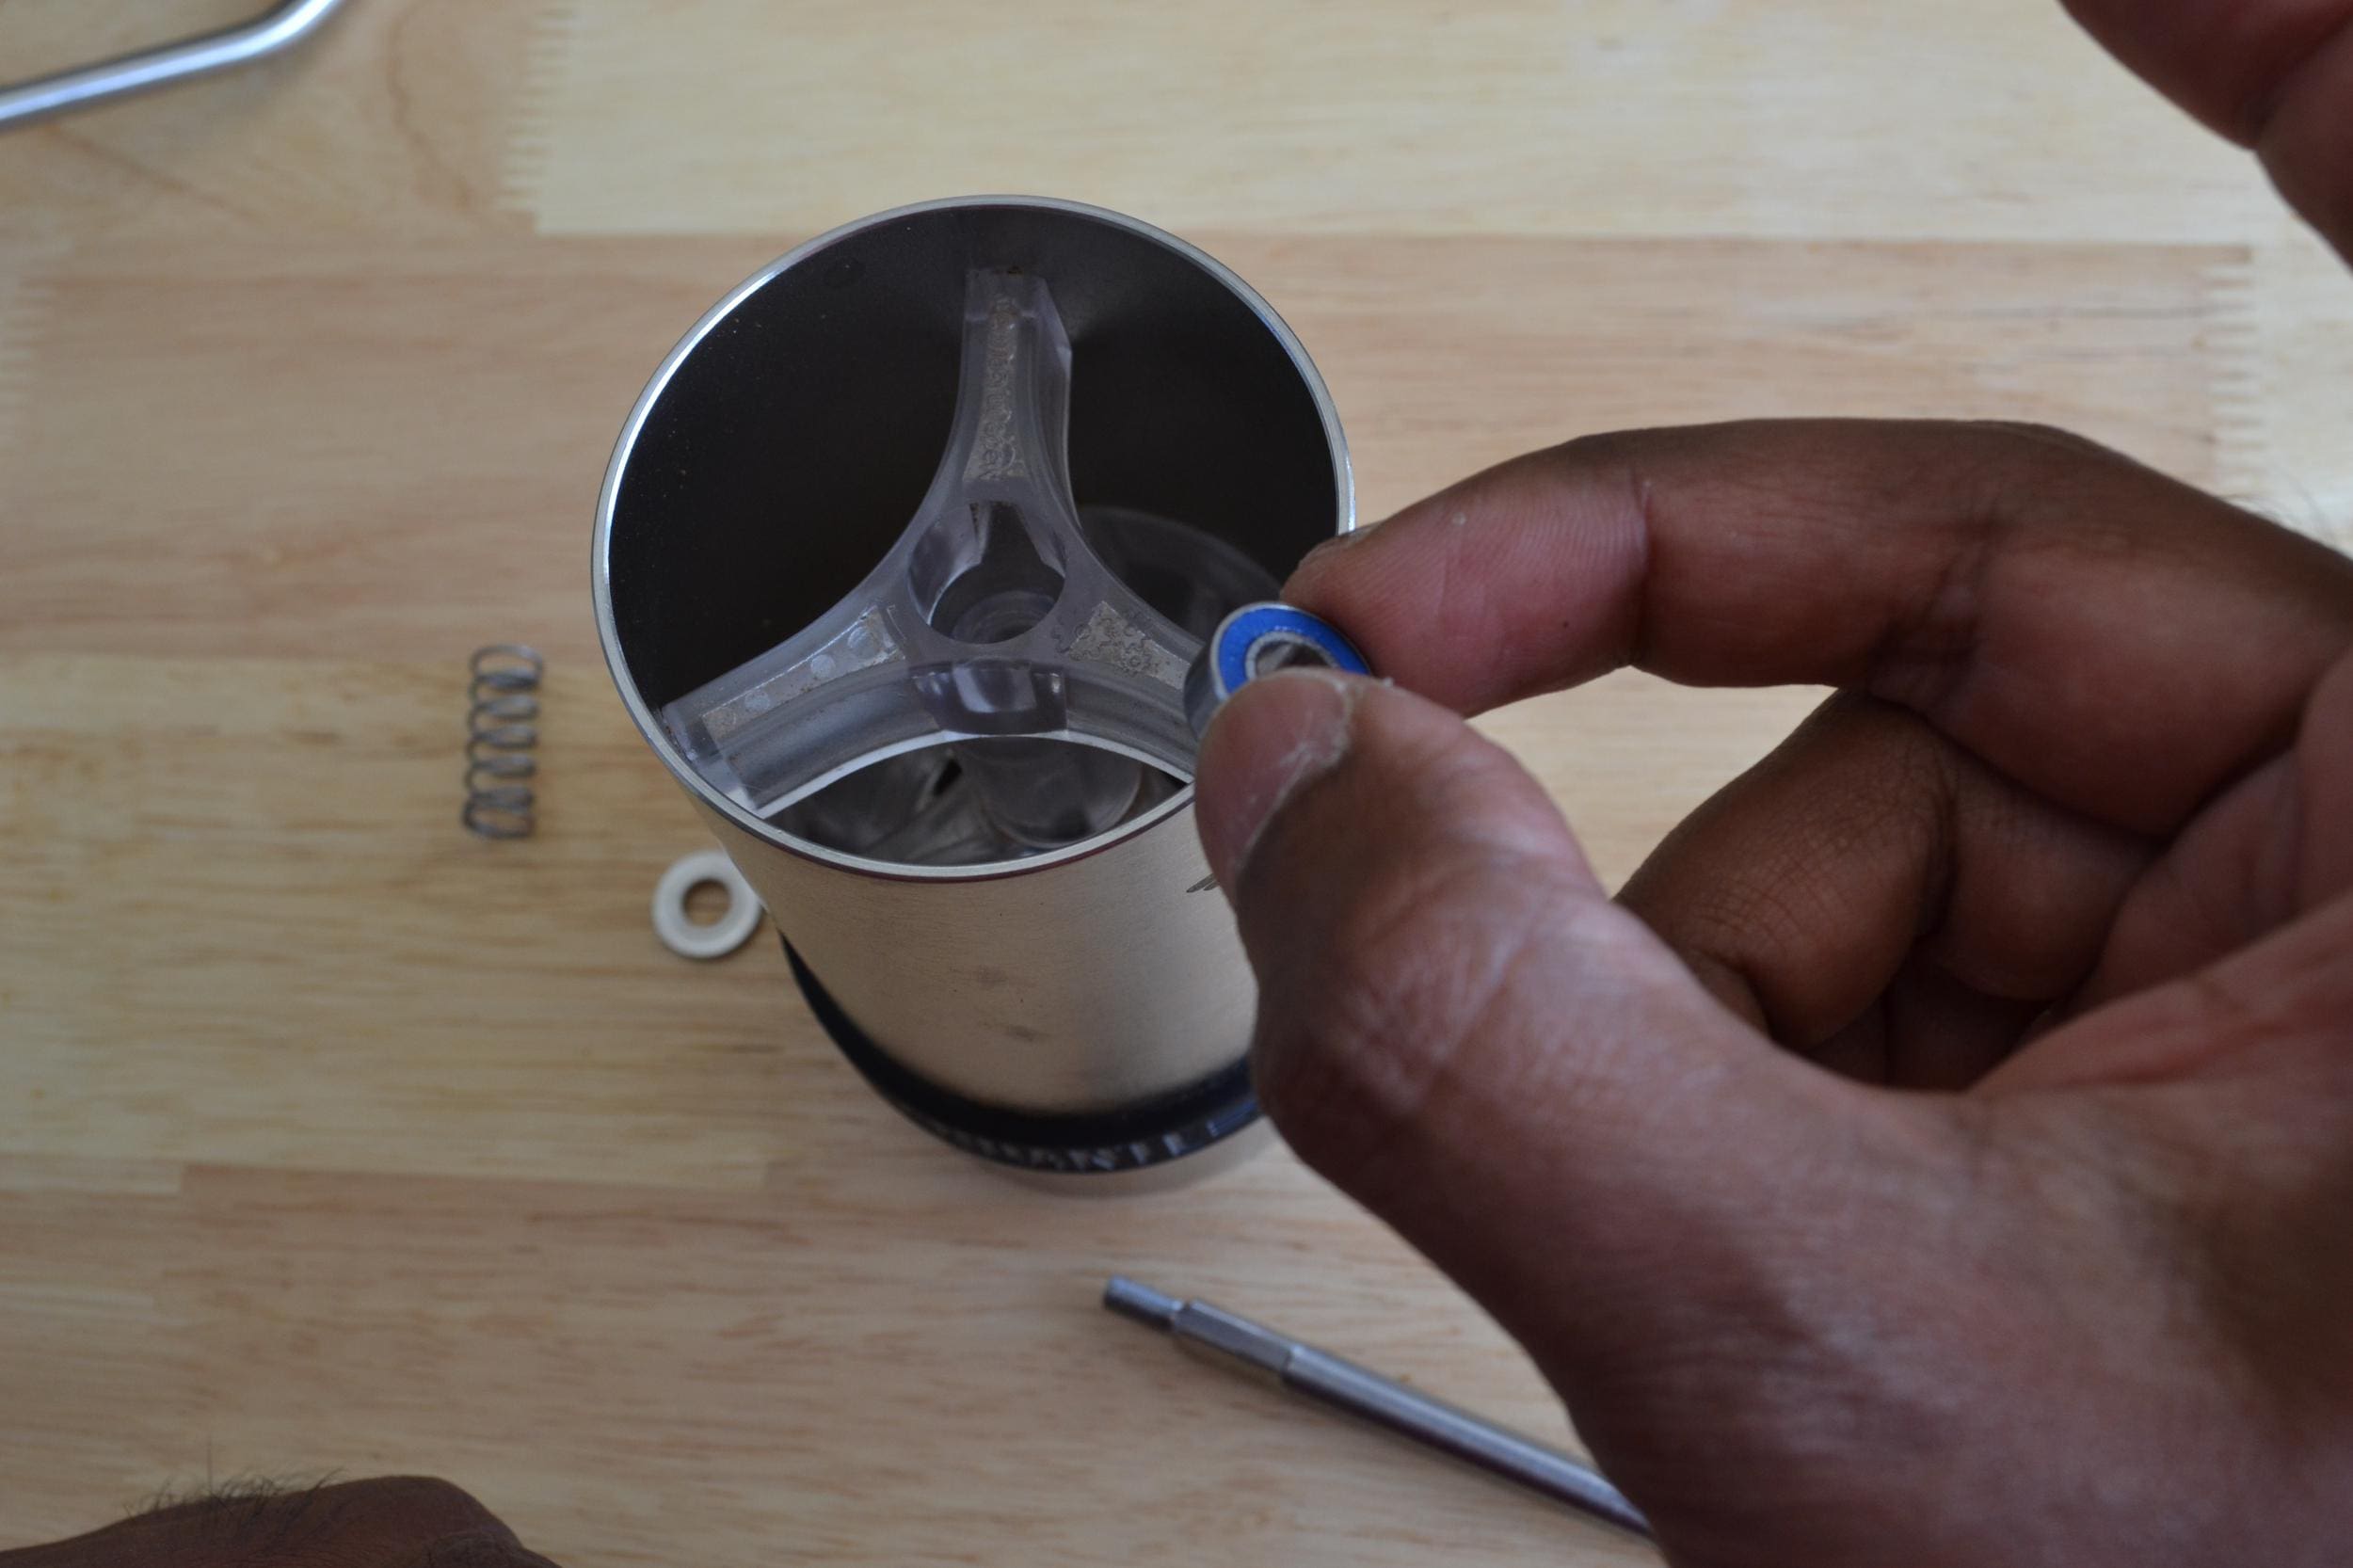
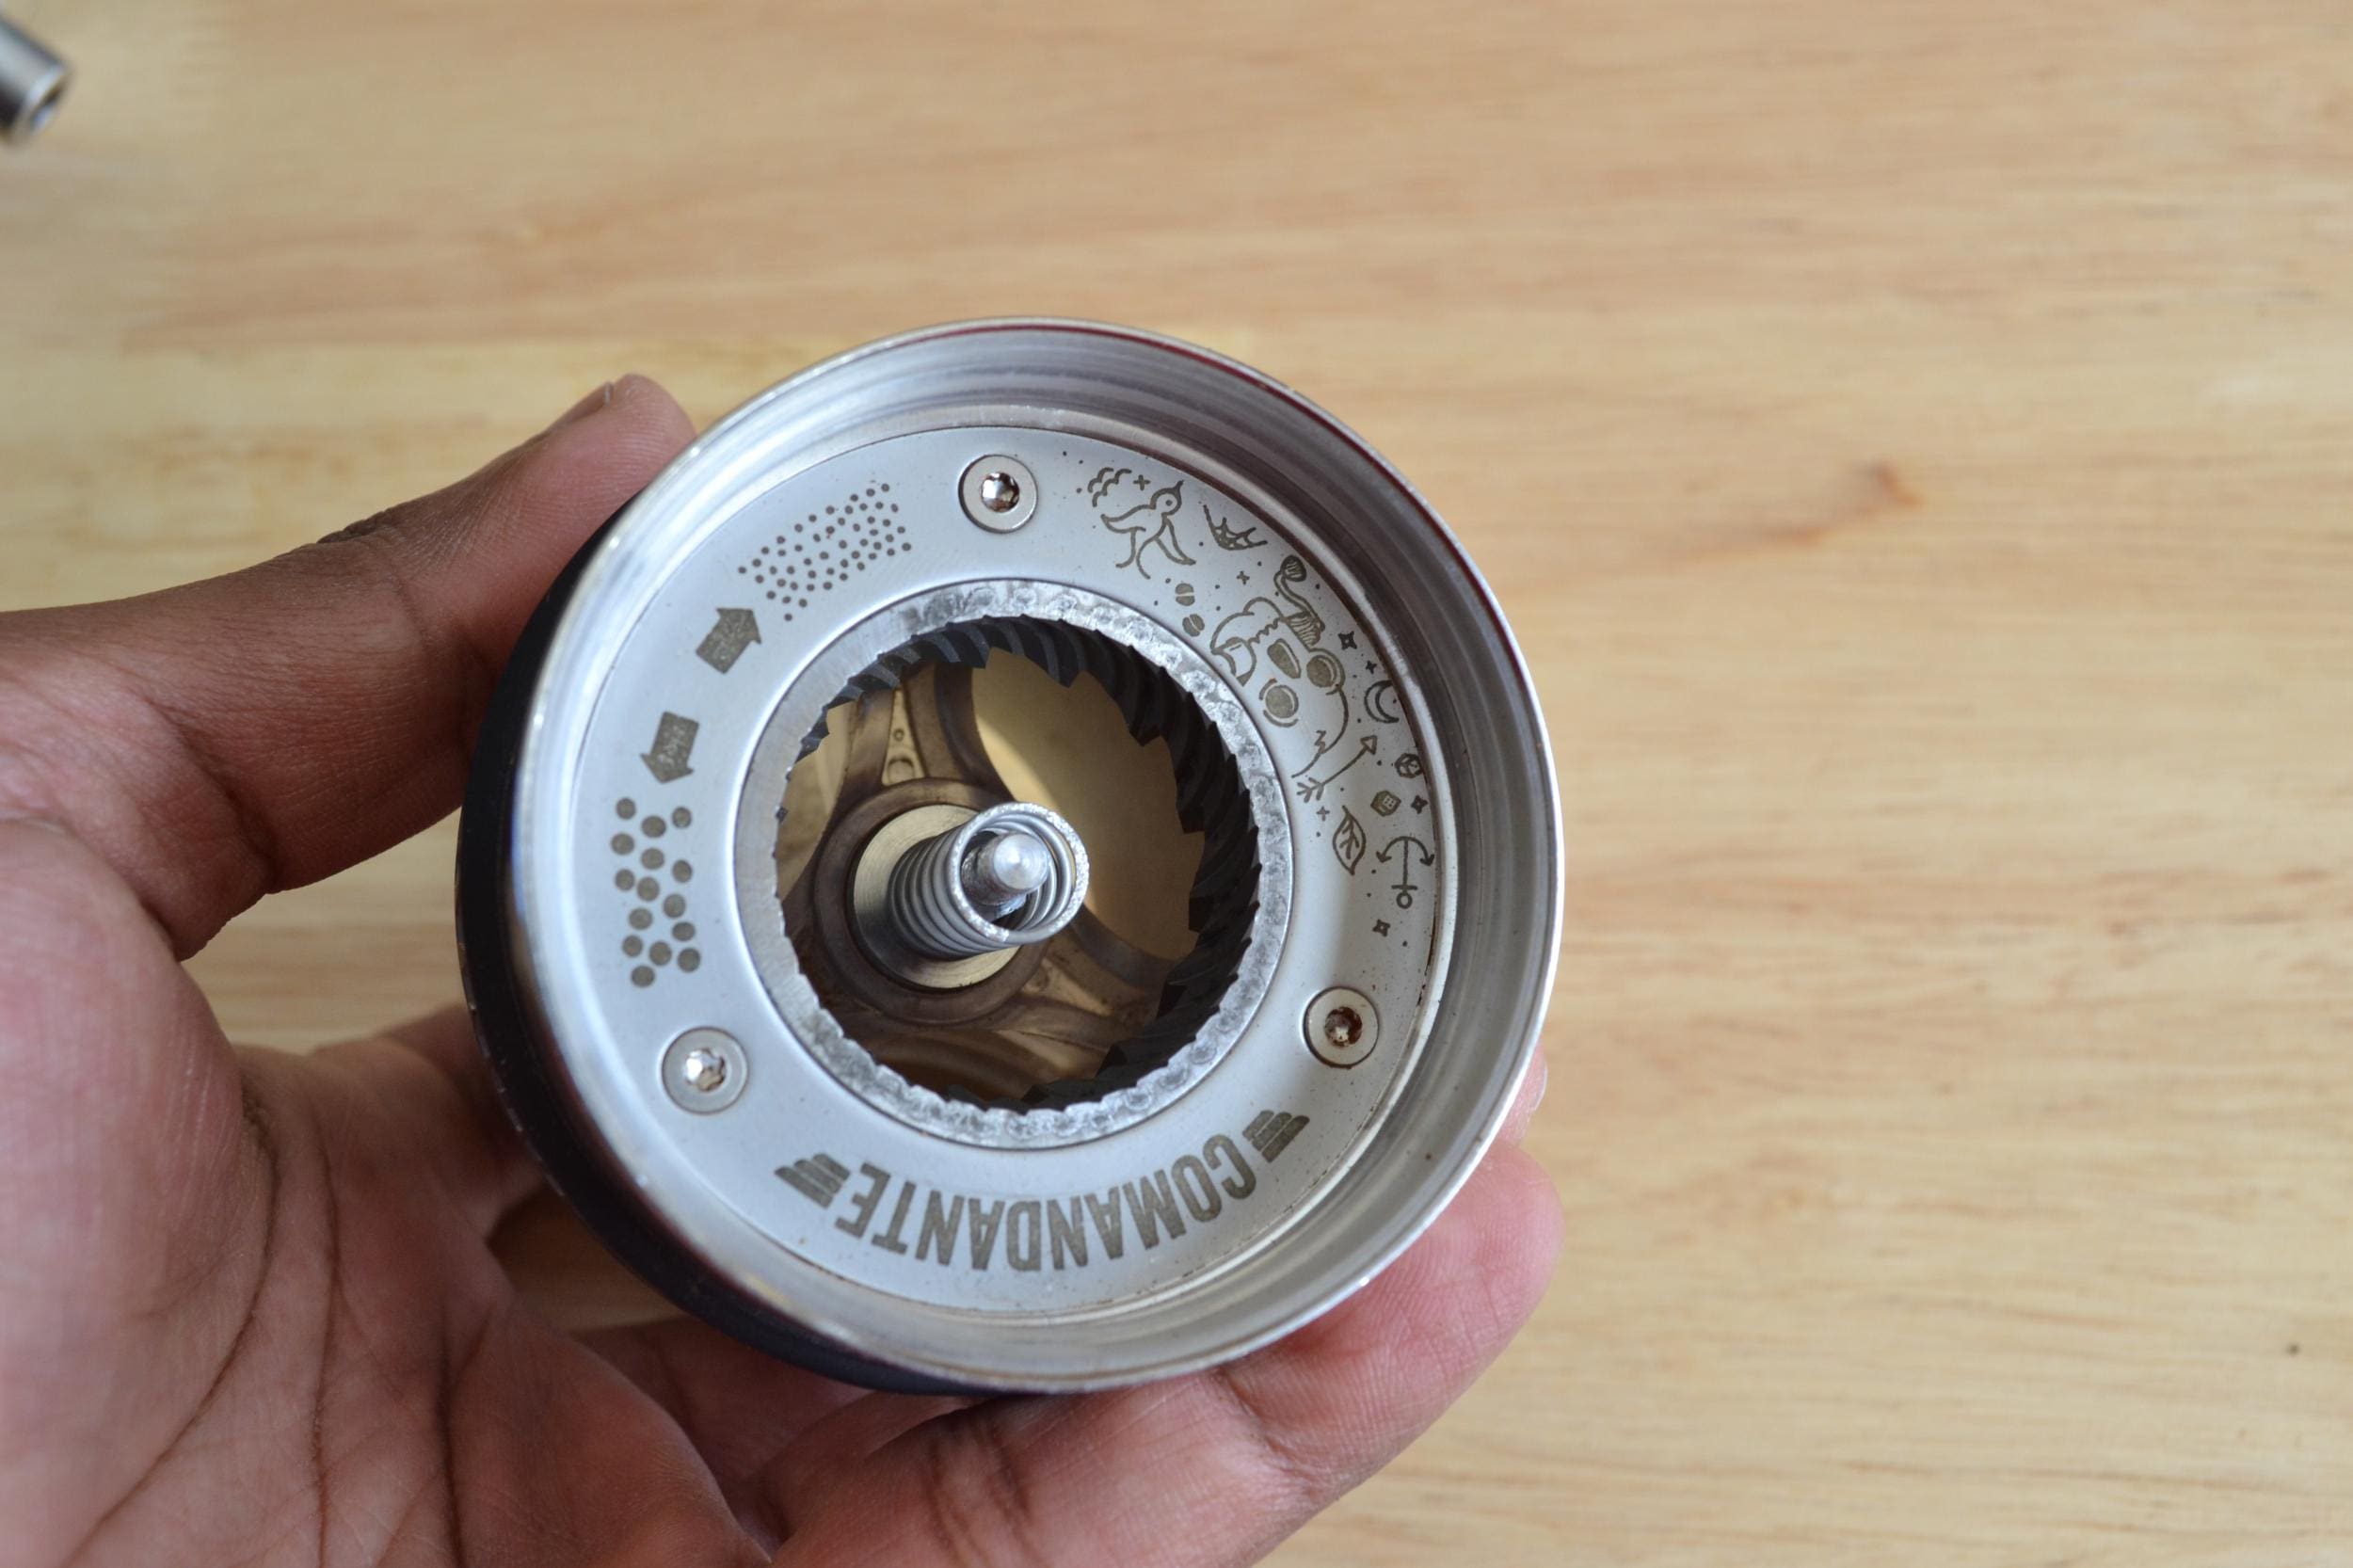
Step 9. Place a new spacer into the bore hole socket for the bearing. IMPORTANT. Make sure to place the spacer surface with a ridge in contact with the bearing.
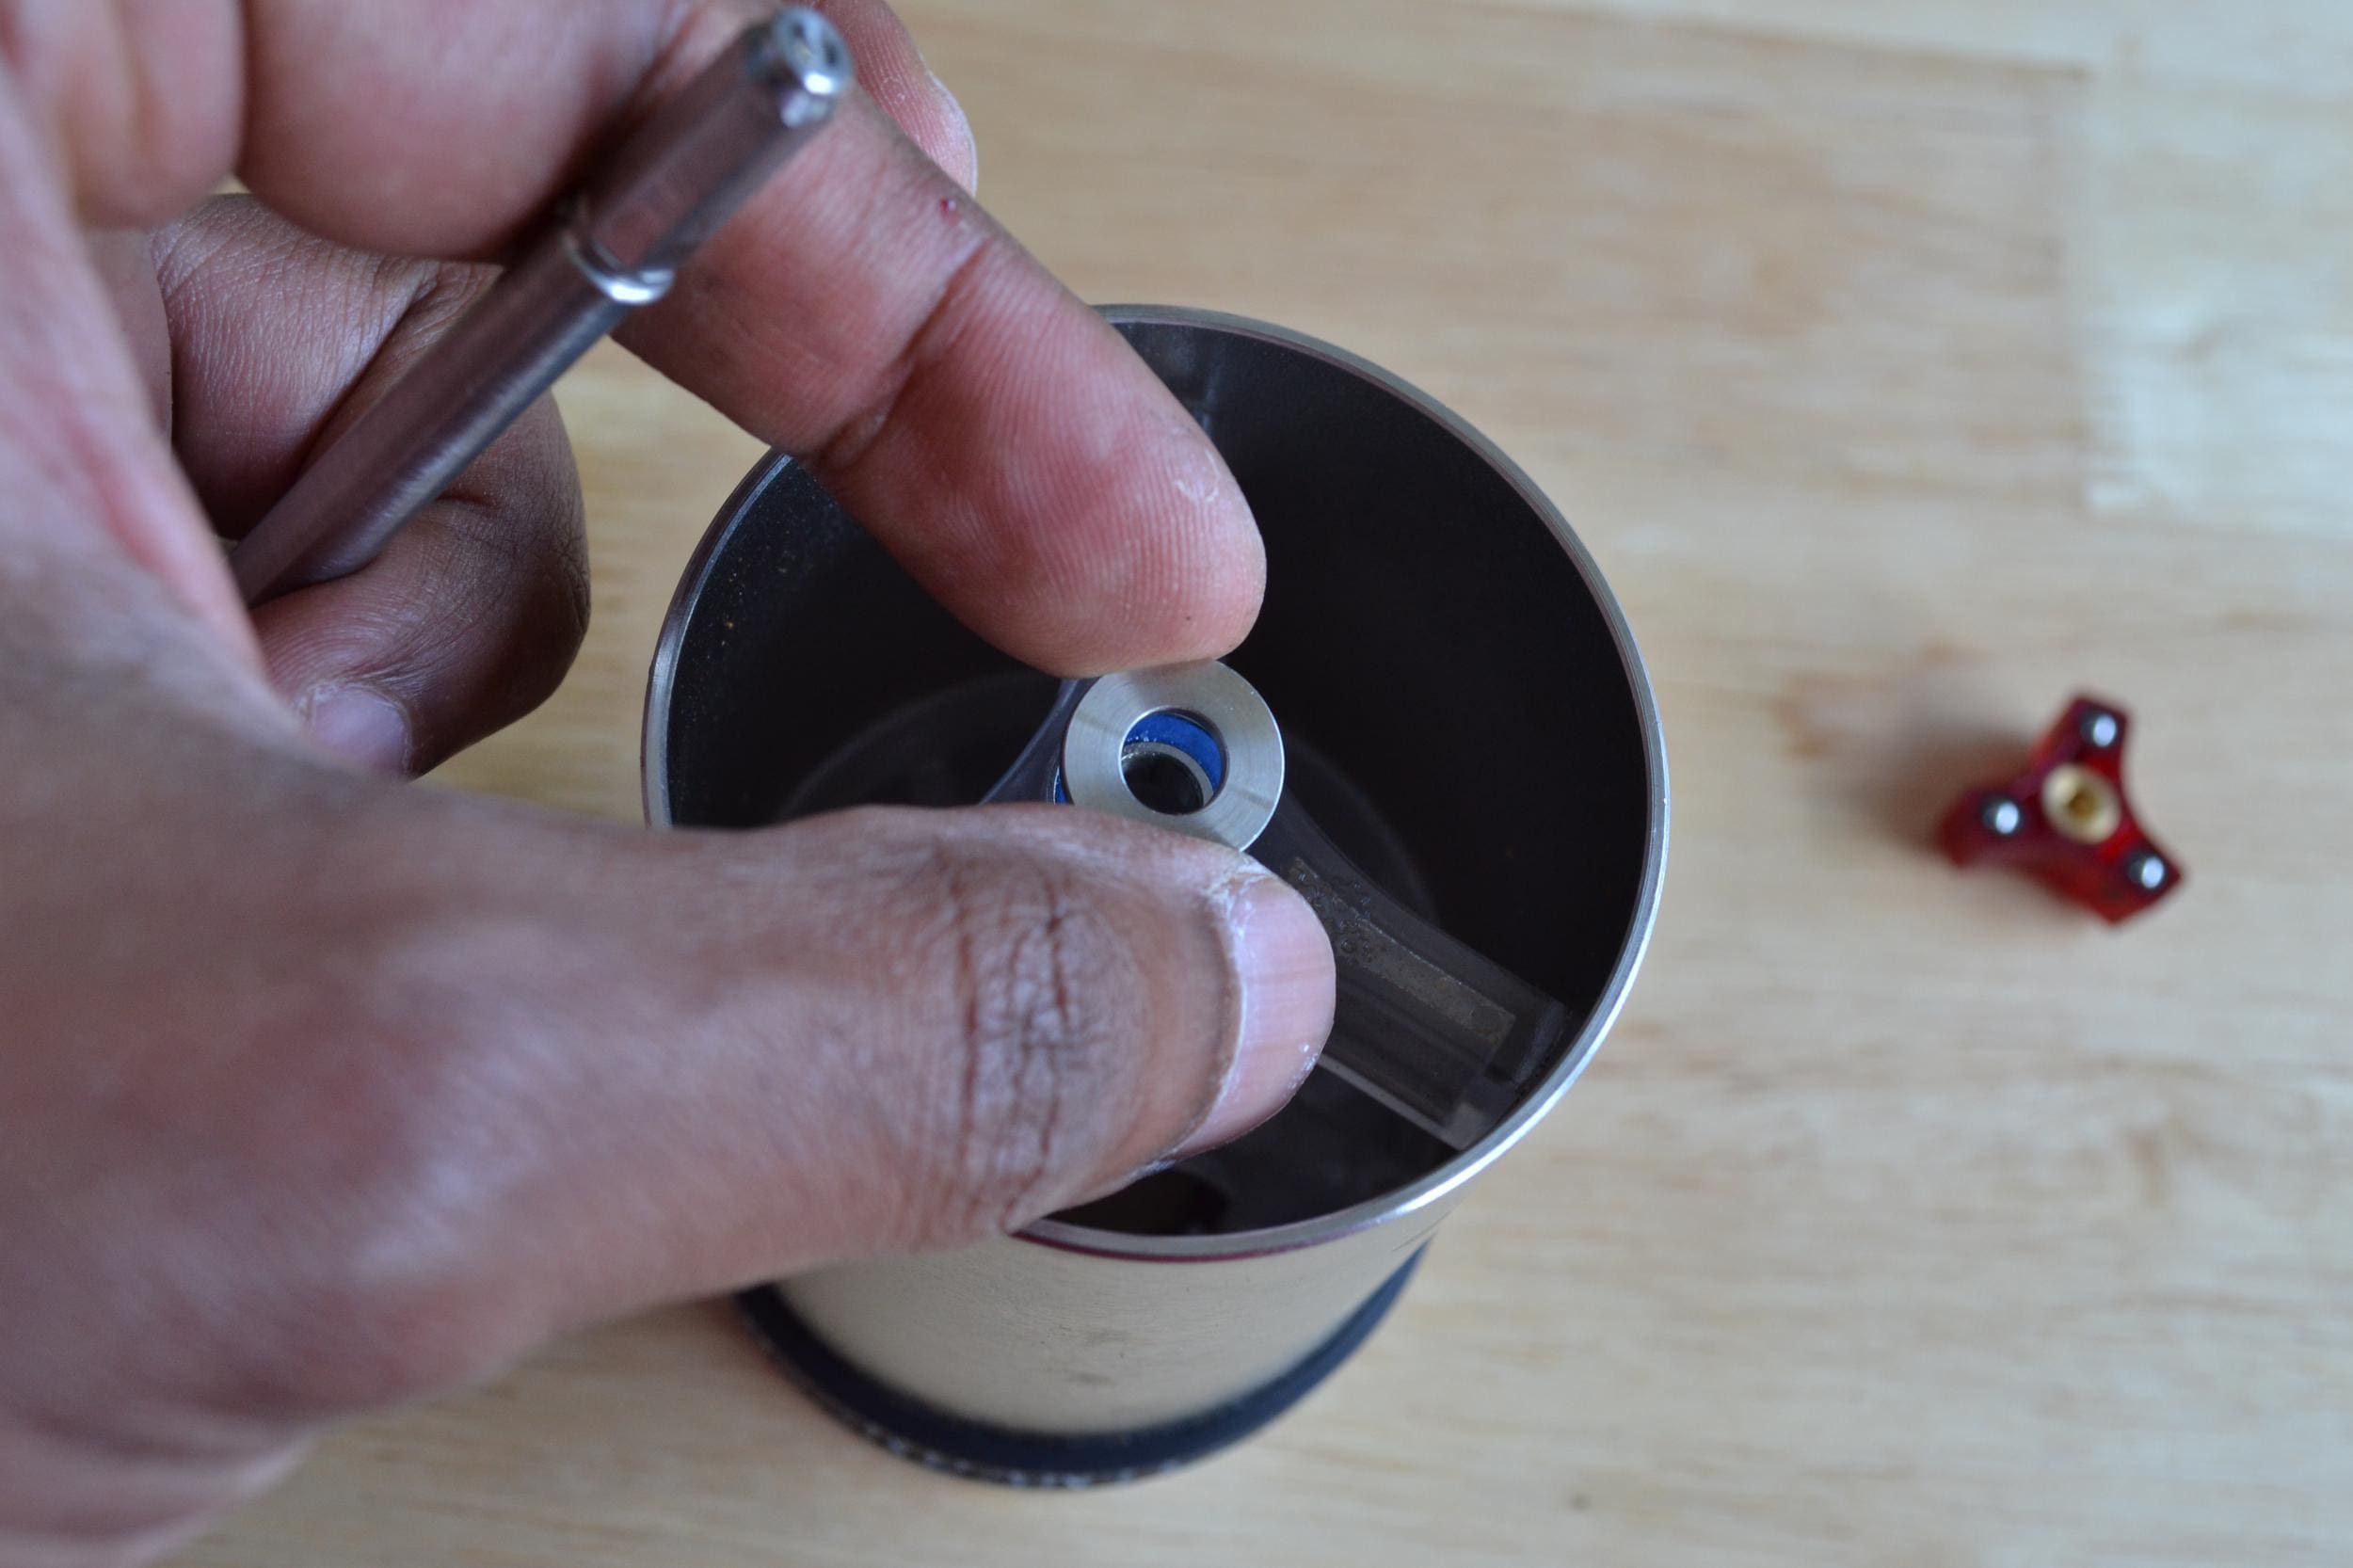
Step 10. Install the red clix axle through the top making sure the end with the retaining ring is at the top.
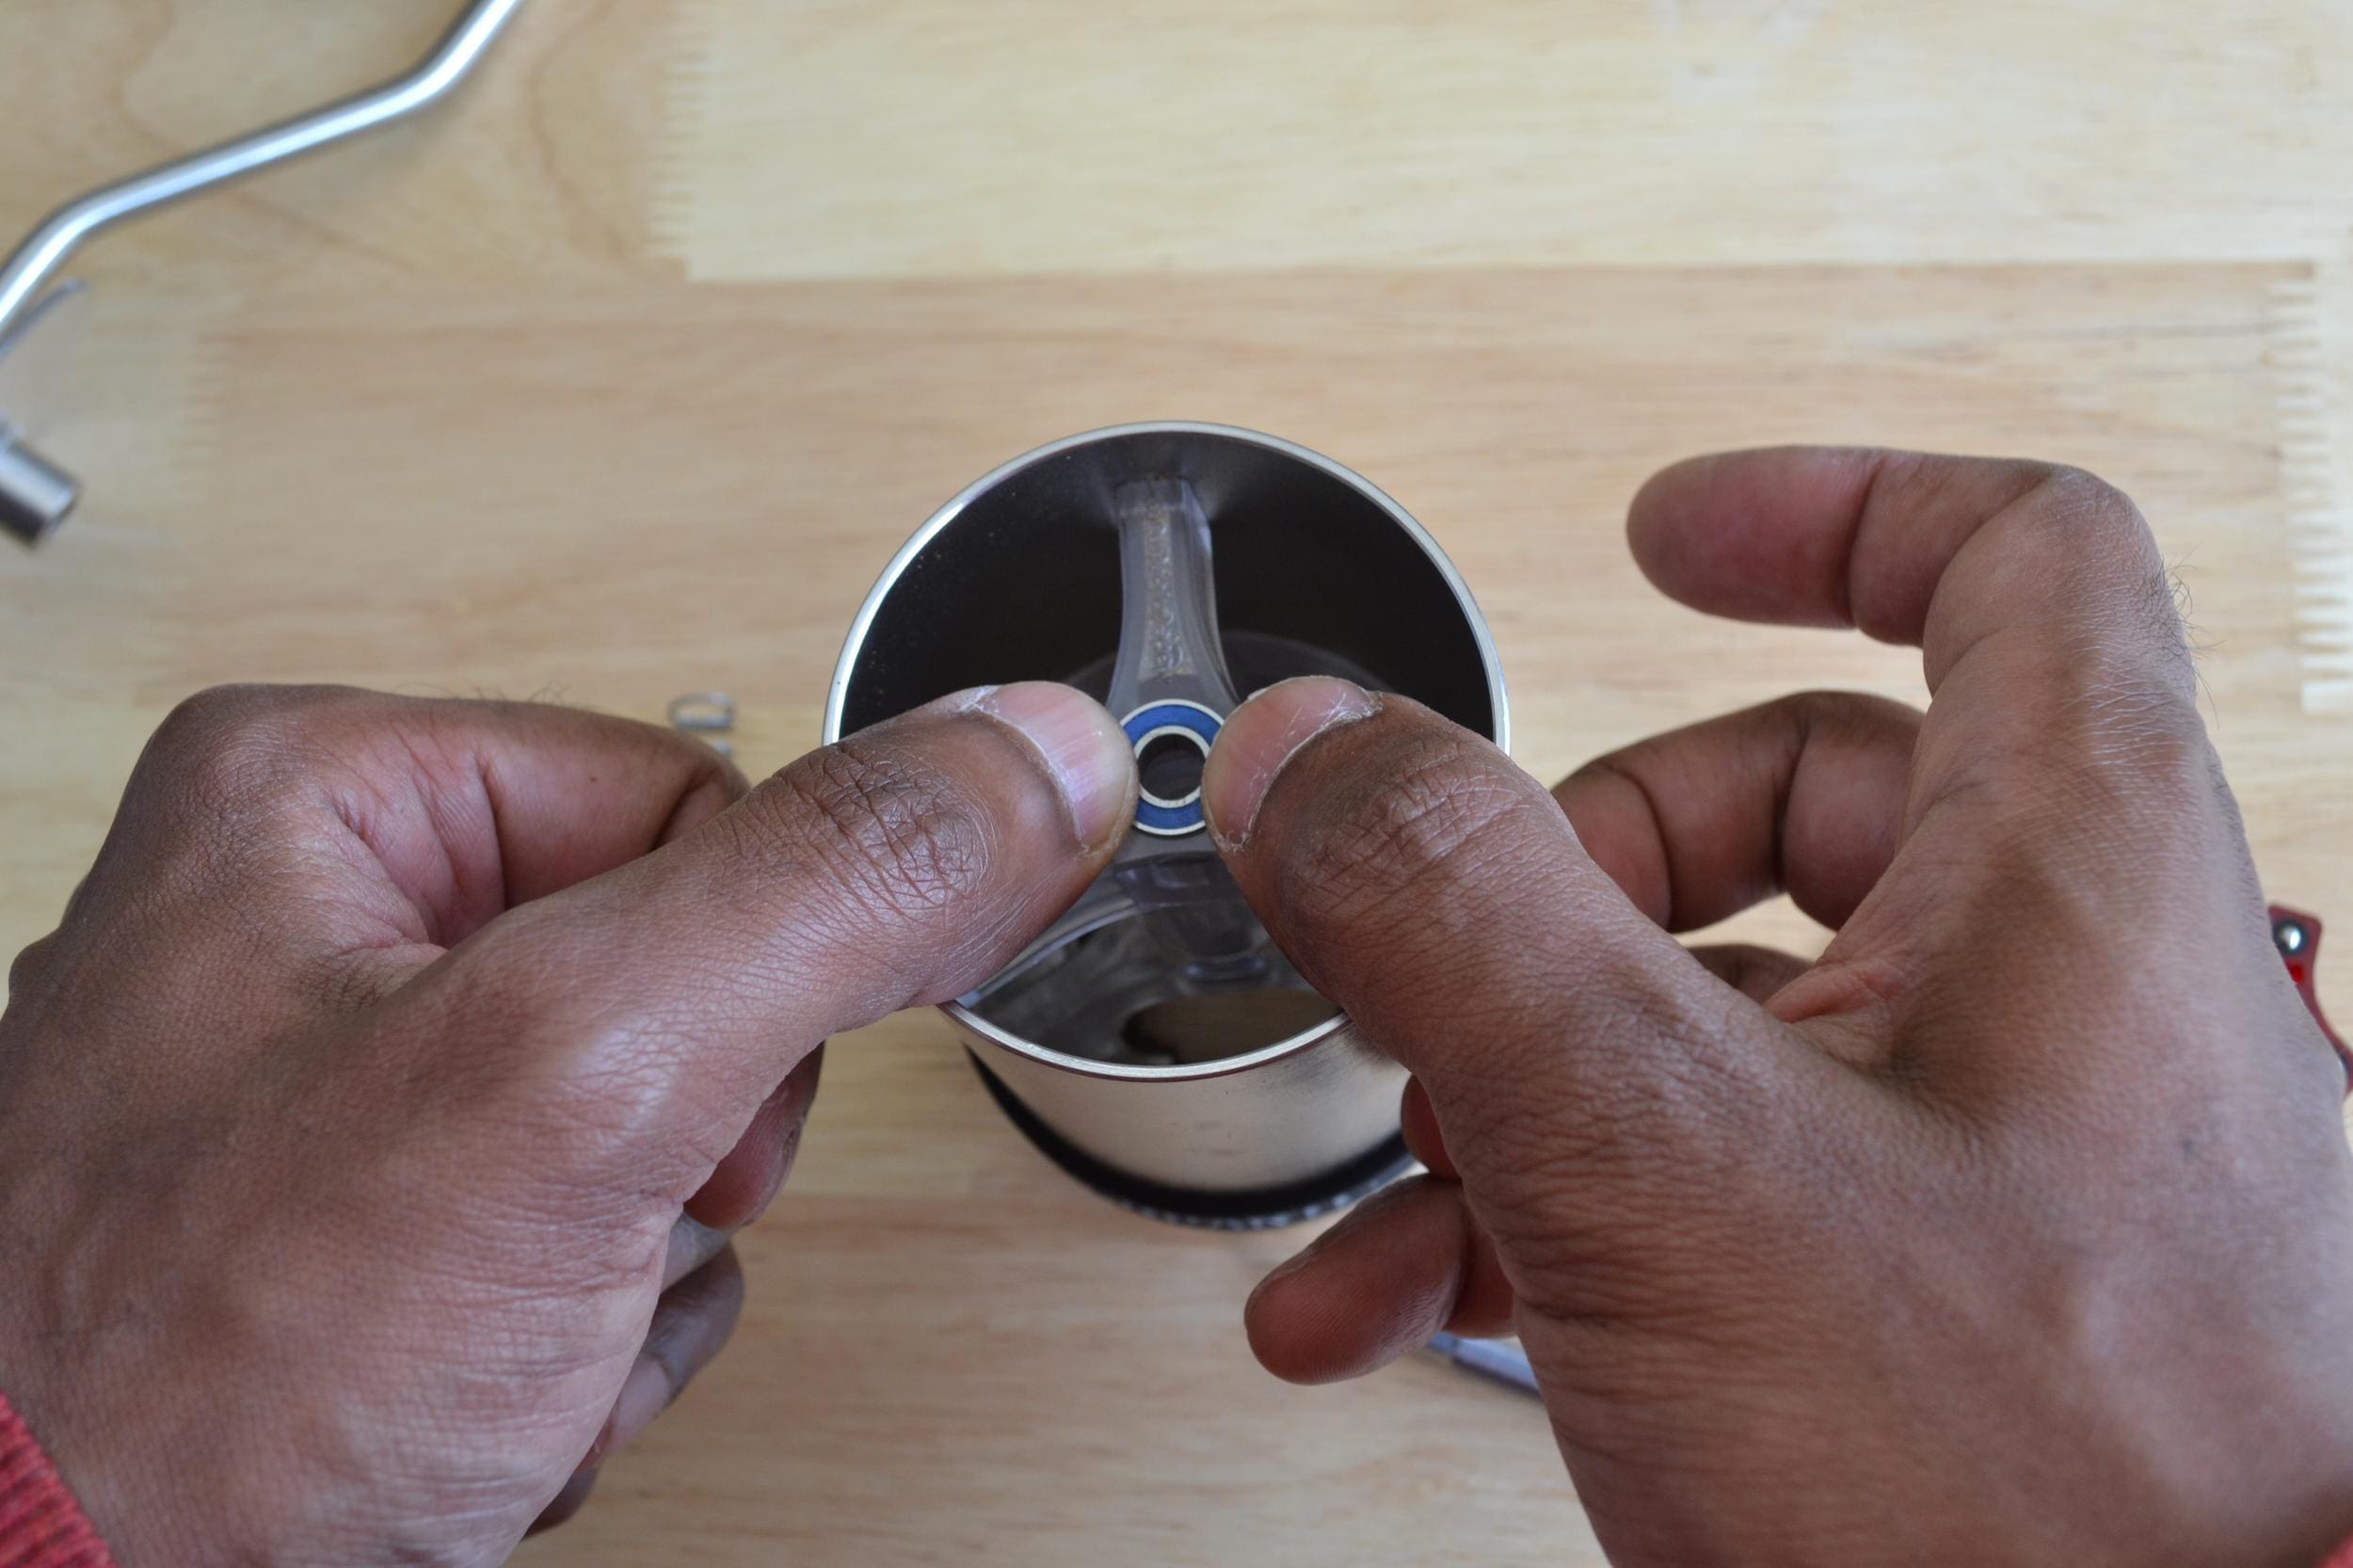
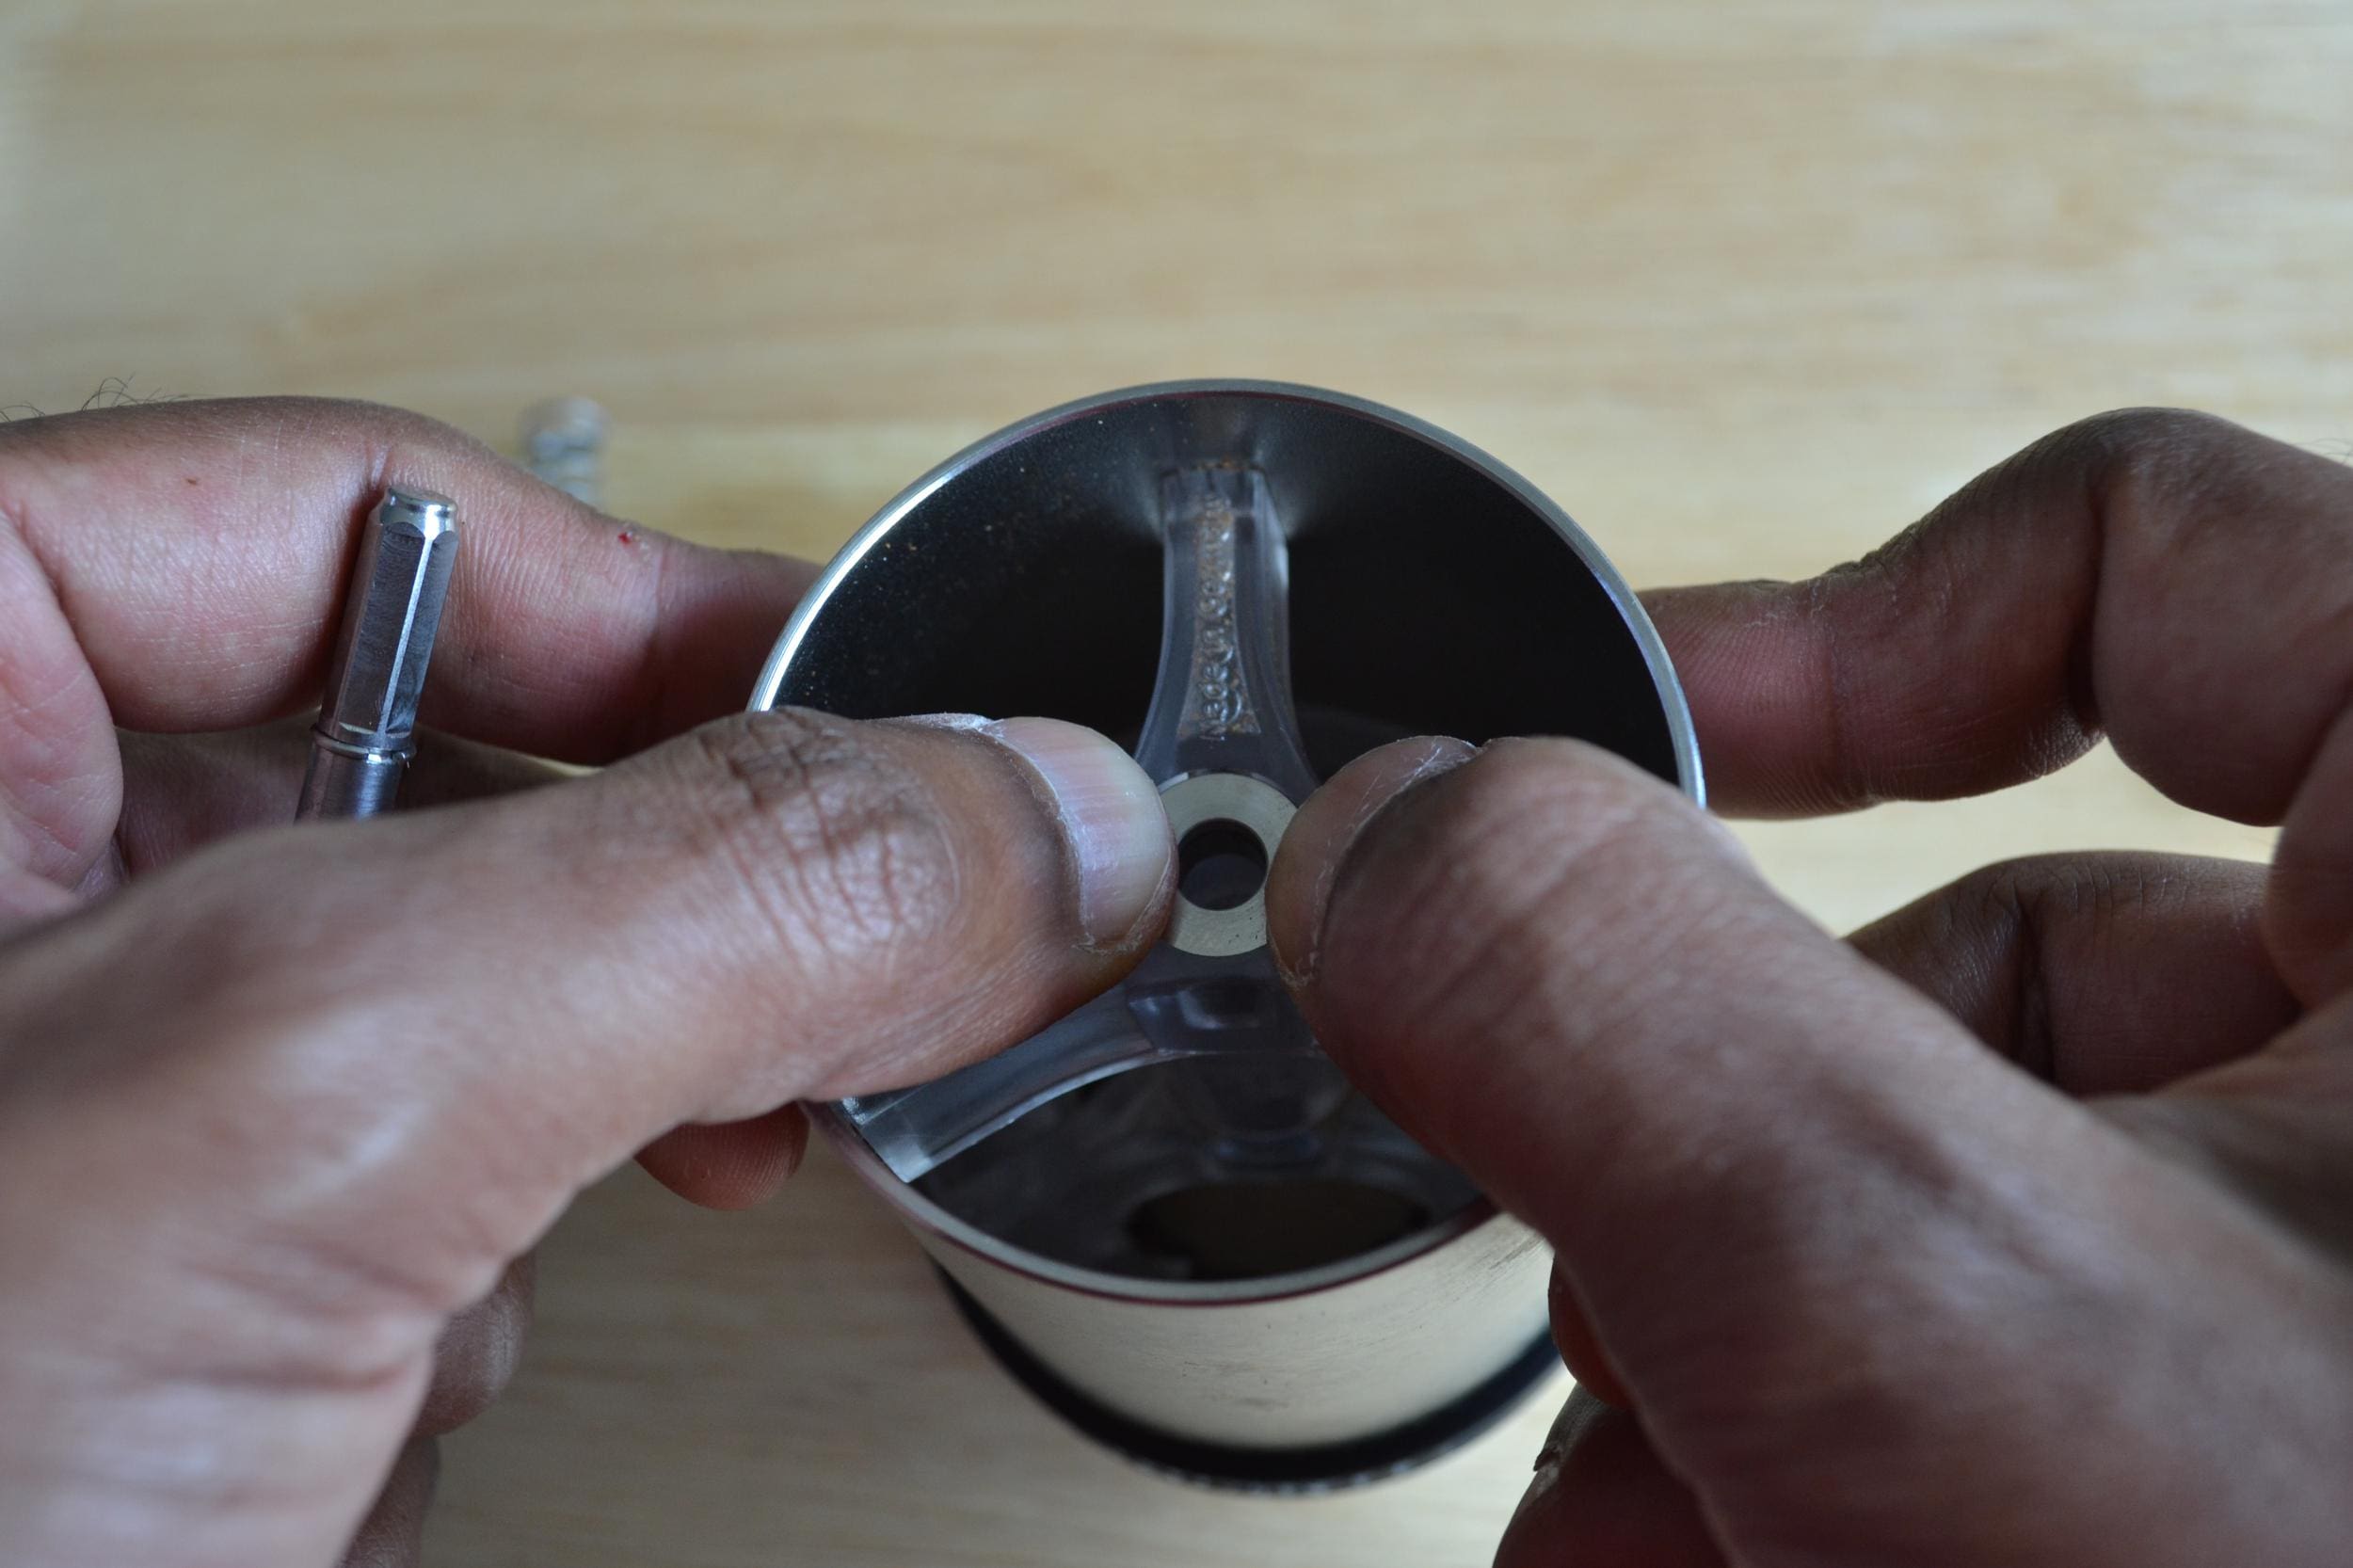
Step 11. Hold the axle in from the top and flip the grinder so you can install the spacer onto the lower bearing. Again, make sure the keep the ridged side of the spacer towards the bearing.

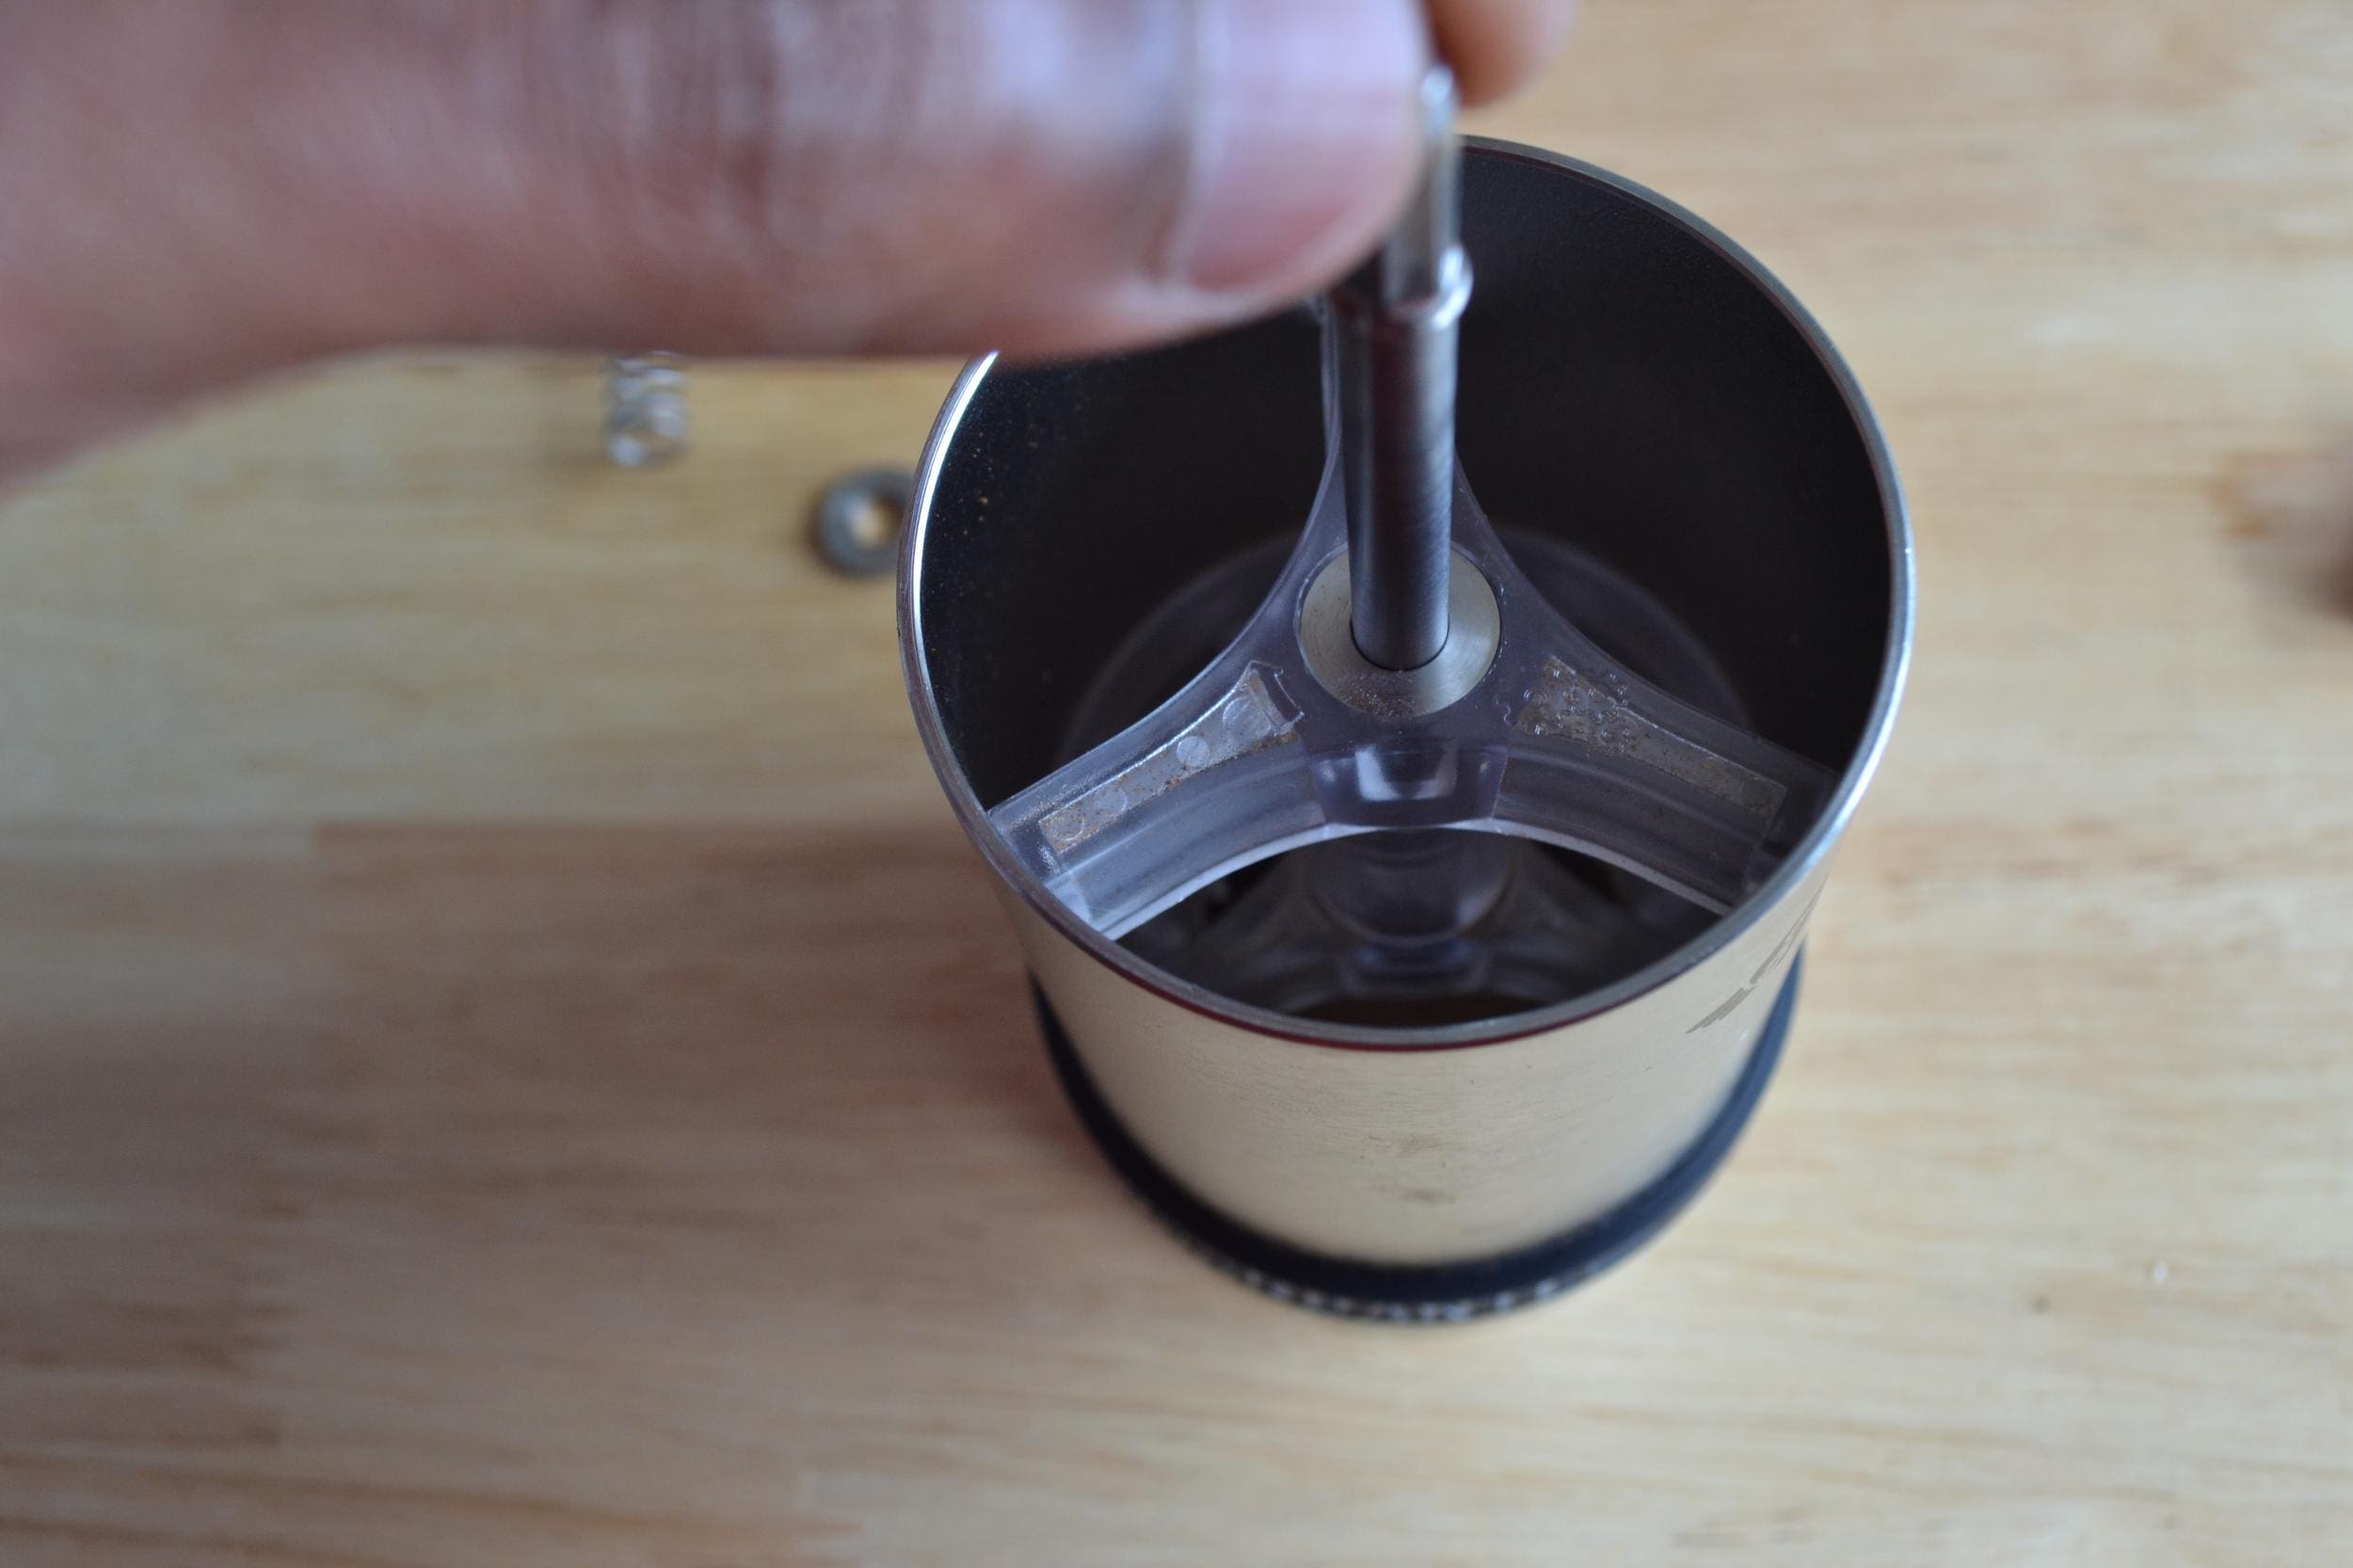
Step 12. Place the hand crank onto the grinder to prep for the next step.

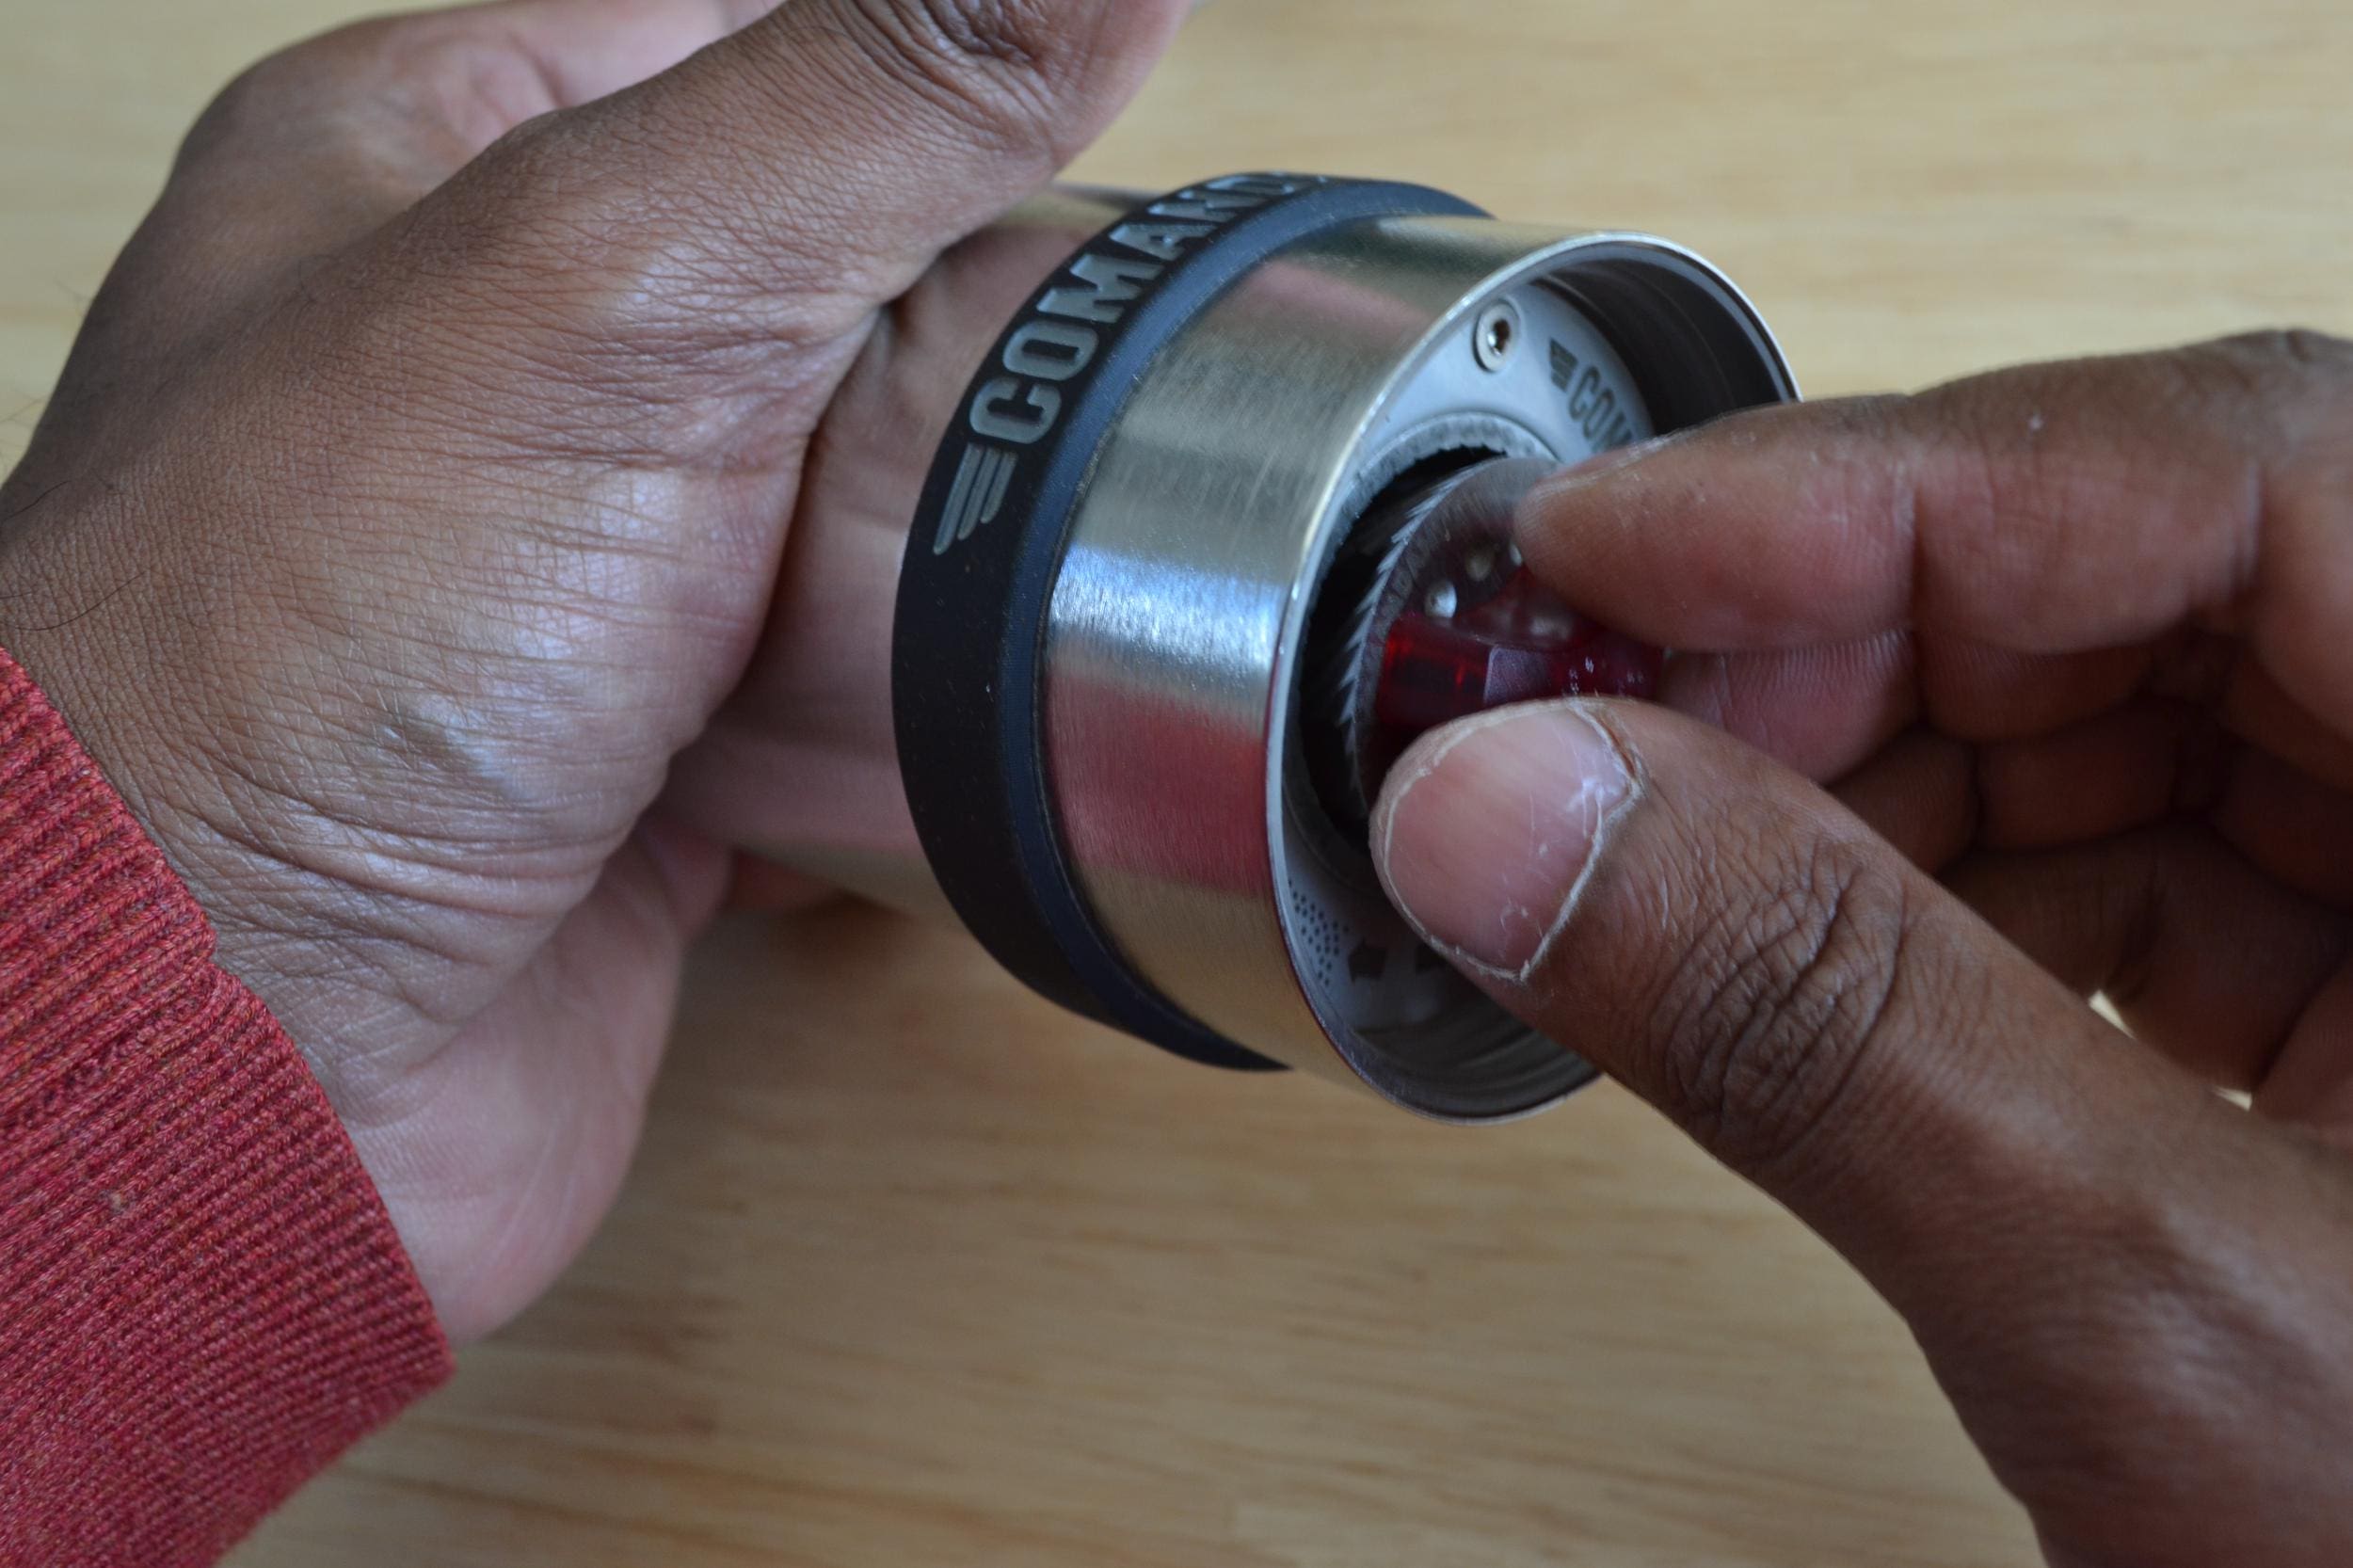
Step 13. Install the spring and burr back onto the axle.

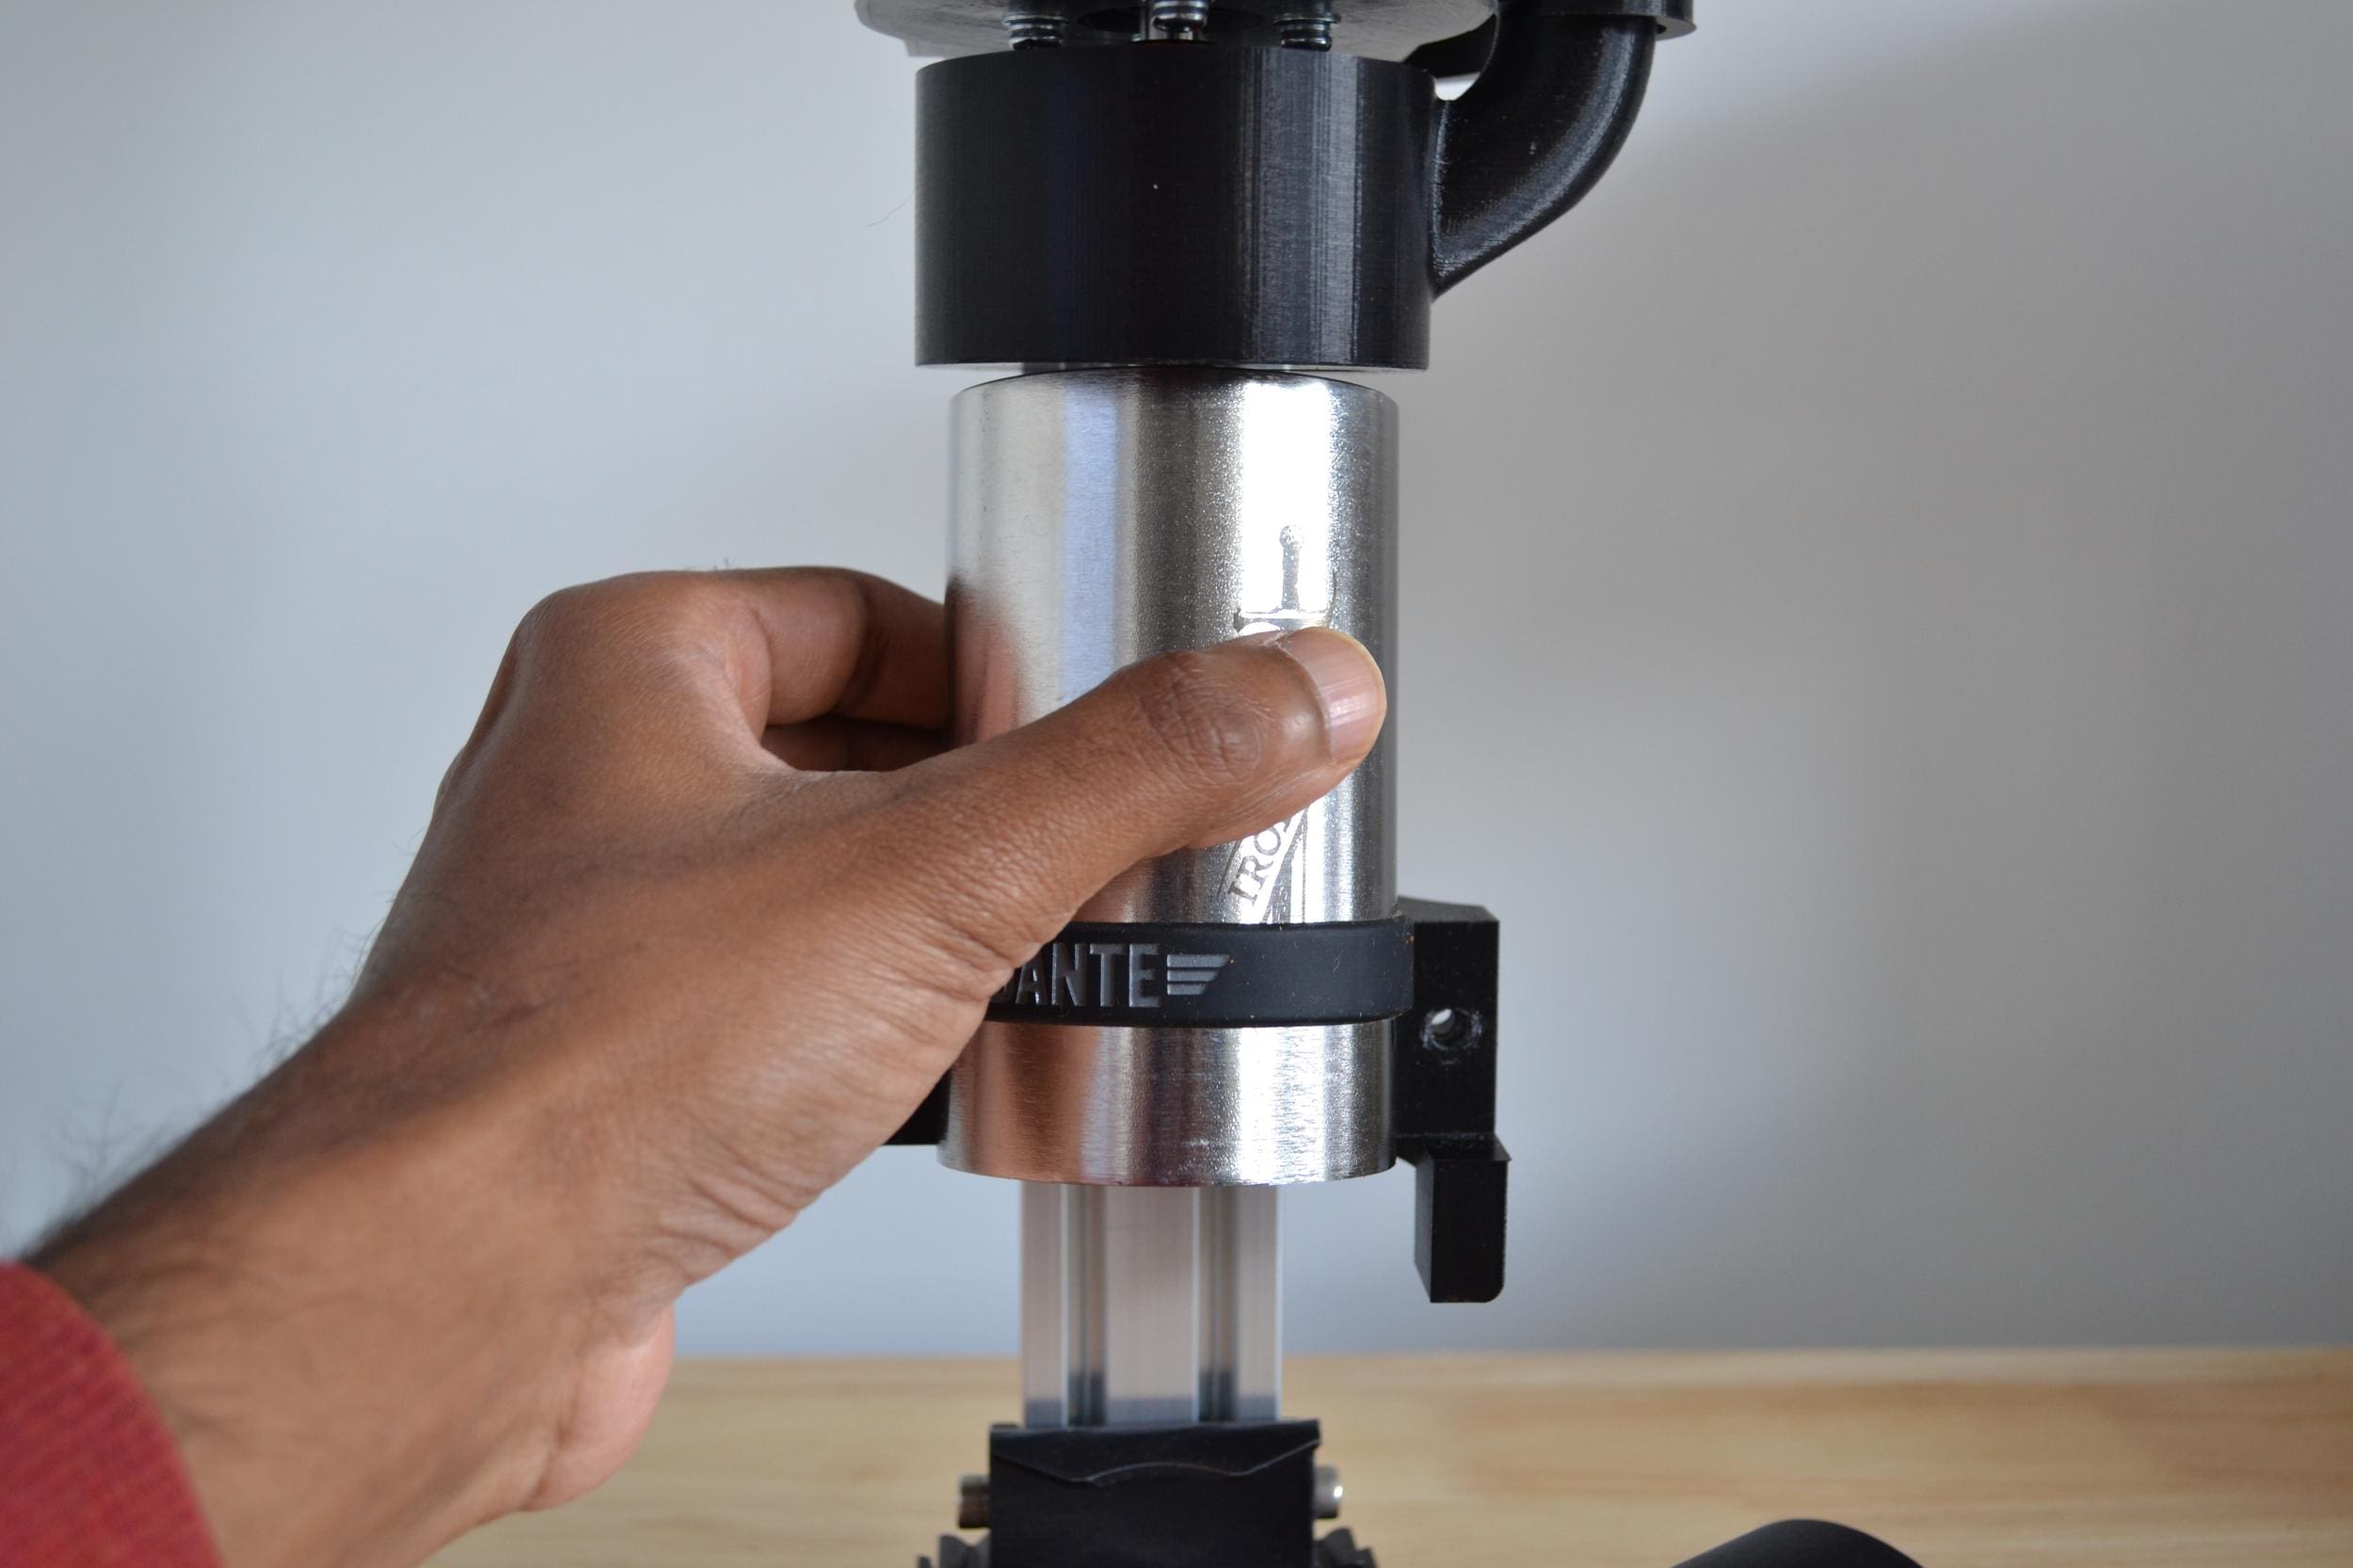
Step 14. Install the Red clix dial onto the axle. TIP. Try to thread the red clix on counter-clockwise slowly until you feel the dial ‘drop’ in. Then, rotate the dial clockwise to thread it onto the axle.
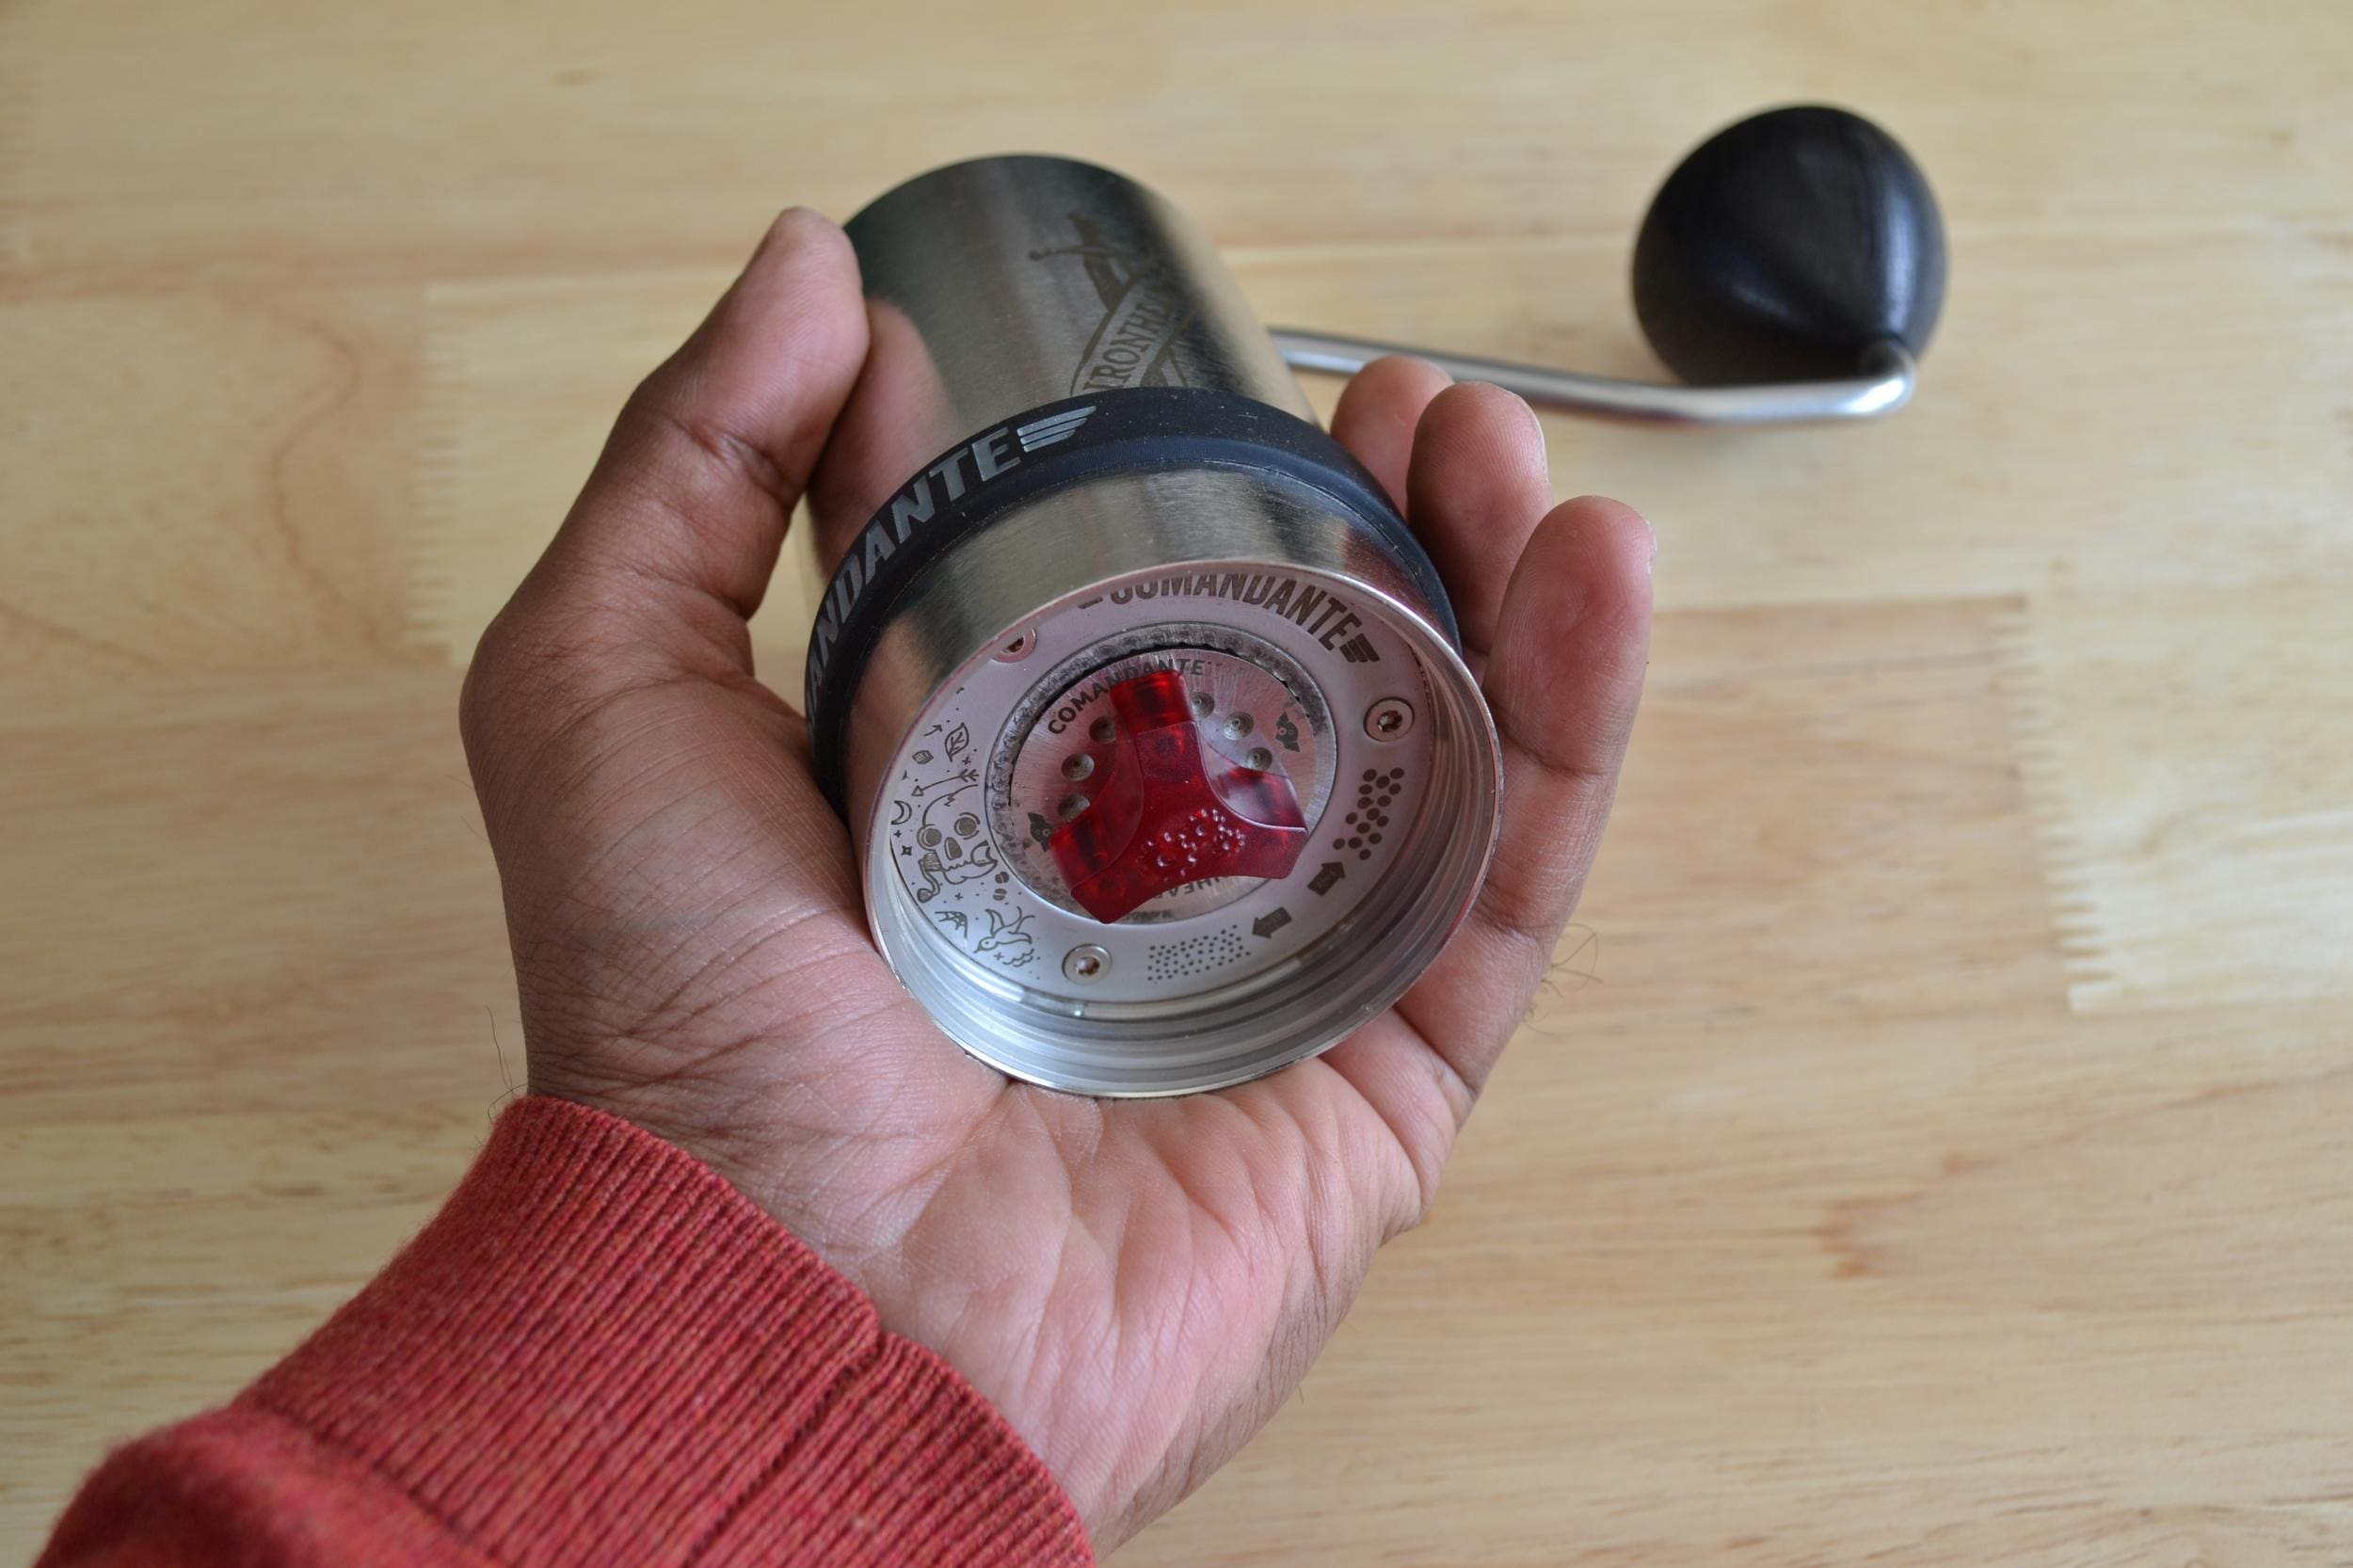
That’s it! You now have twice as much resolution at your disposal! You can now put it back into your Madkat electric grinder stand for your next finely tuned coffee recipe!