Step 1: Installation for the Skope motorizer is easy. All you need is the grinder lock adapter, silicone band, the 2.5mm allen key supplied with the Skope and of course your Comandante hand grinder.
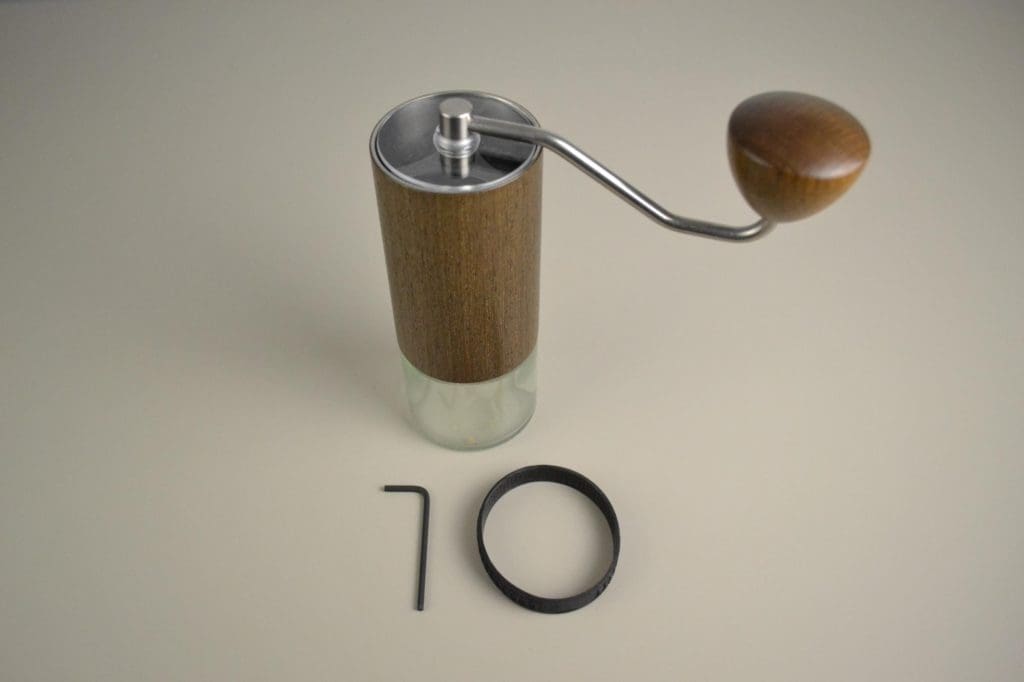
Step 2: Prepare your Comandante grinder by removing the handle.
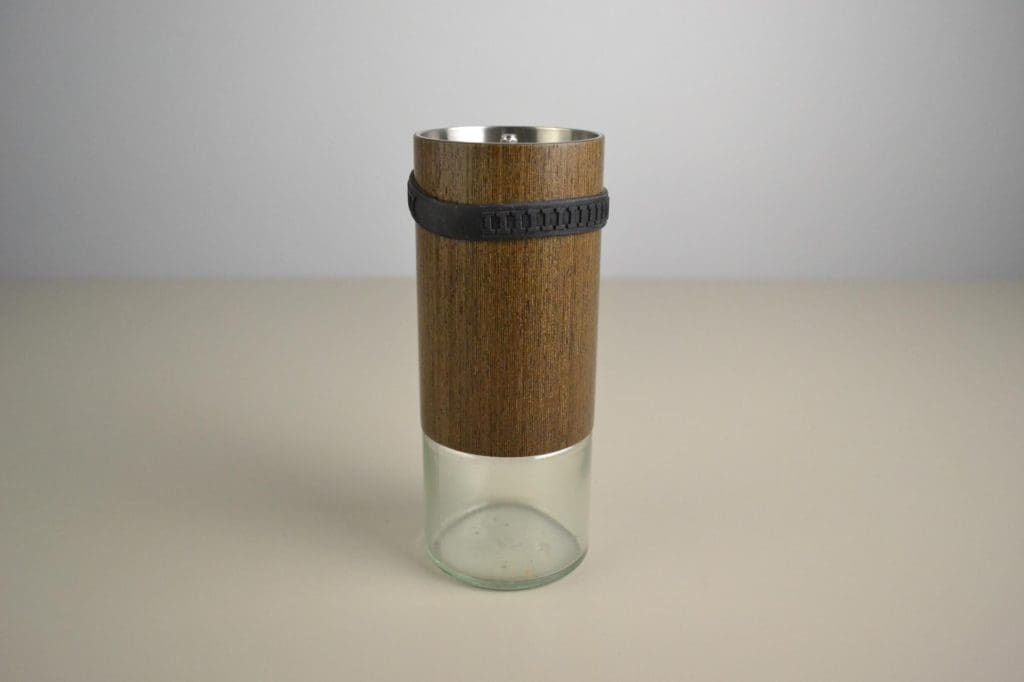
Step 3: Place the silicone rubber band on the the top half of the Comandante.
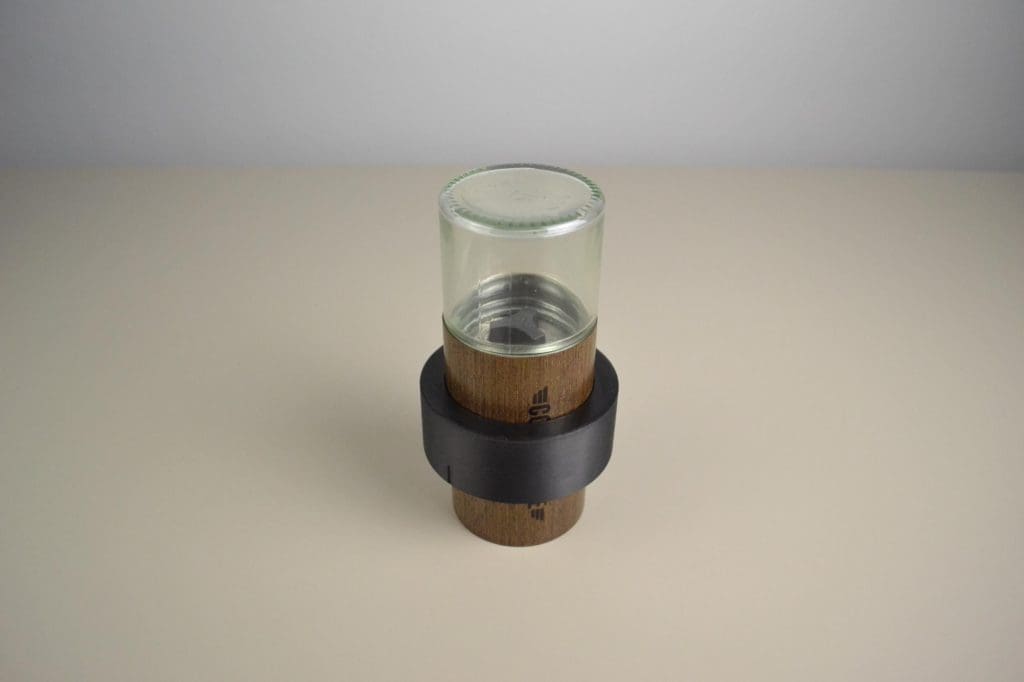
Step 4: In this step we will use the lock housing to level and position the silicone band. Place the lock adapter onto the band.
Step 5: Use the grinder lock adapter to push the band down to the middle of grinder.
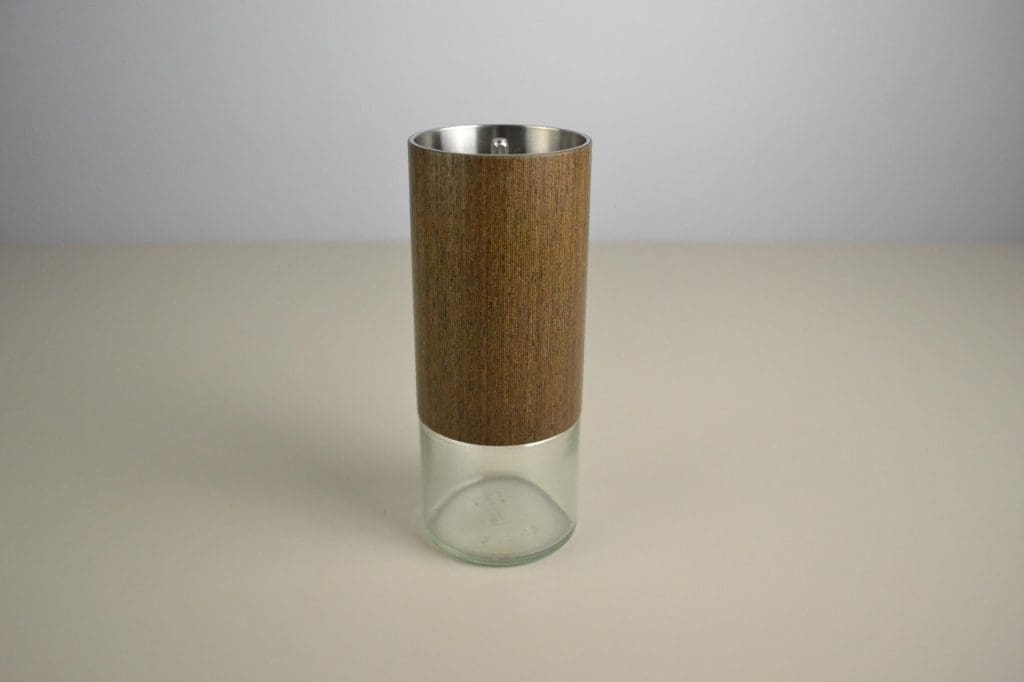
Step 5: Once you’ve removed the lock adapter, flip your Comandante hand grinder onto your work surface:
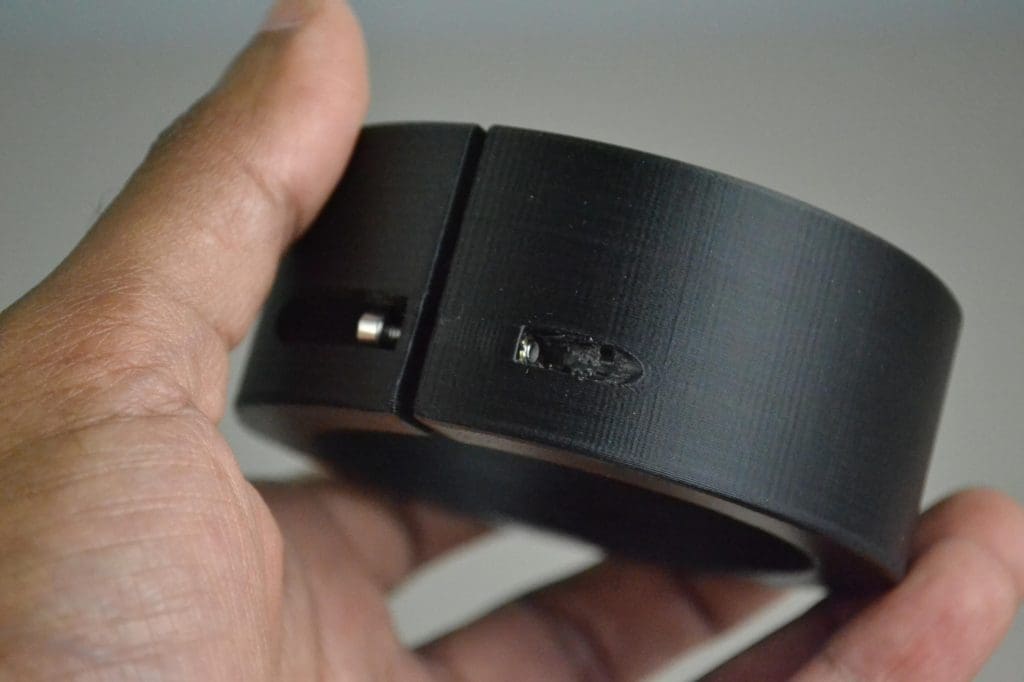
Step 6: In this step you will need to use the allen key provided to make sure that the screw in the lock adapter is loosened before installing over the hand grinder. The screw needs to be loose enough to expand over the silicone band in the following steps but not too loose to allow the band to pop through the lock adapter. The below image shows the screw in the loosened position.
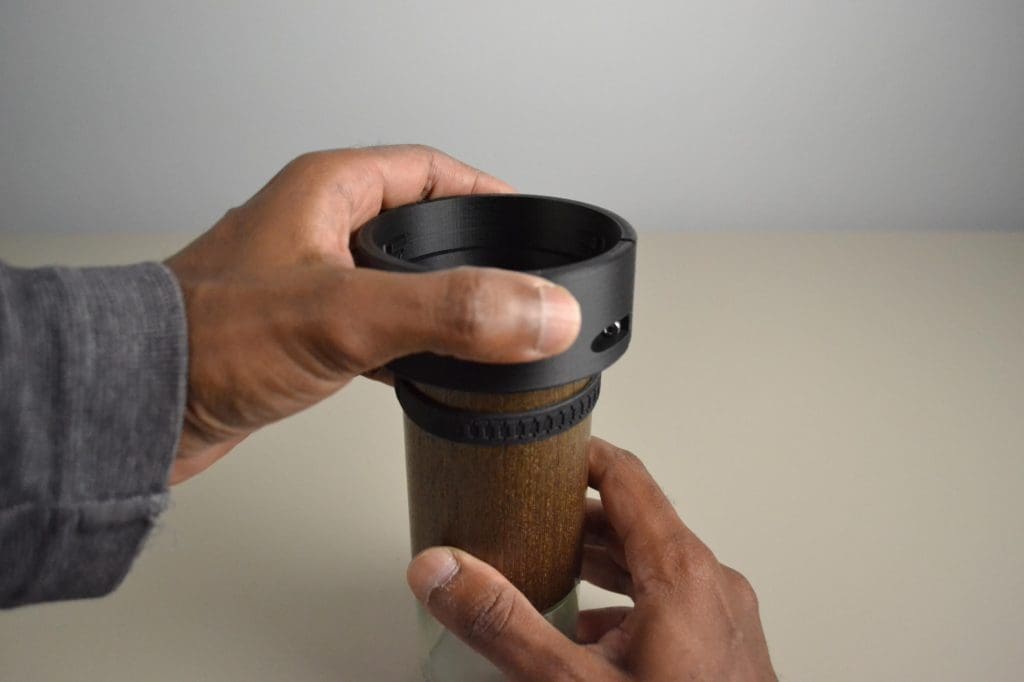
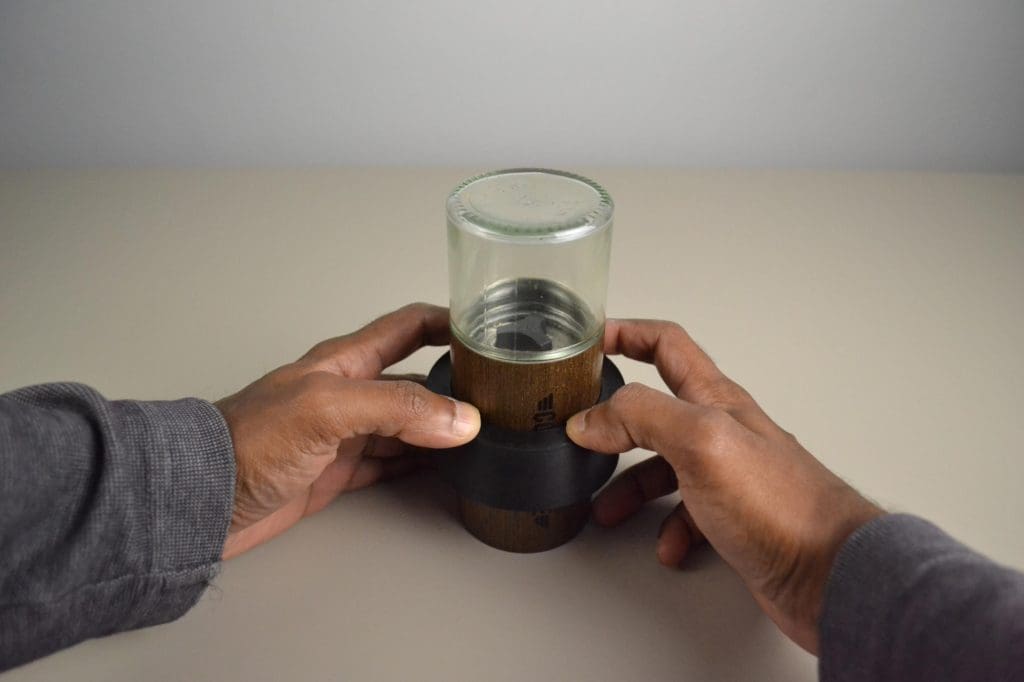
Step 7: Place the lock adapter onto the silicone band.
Step 8: Push the twist lock adapter down to expand onto the silicone band and continue till you get to the work surface. Make sure the band doesn’t pop out of the lock adapter while pushing down.
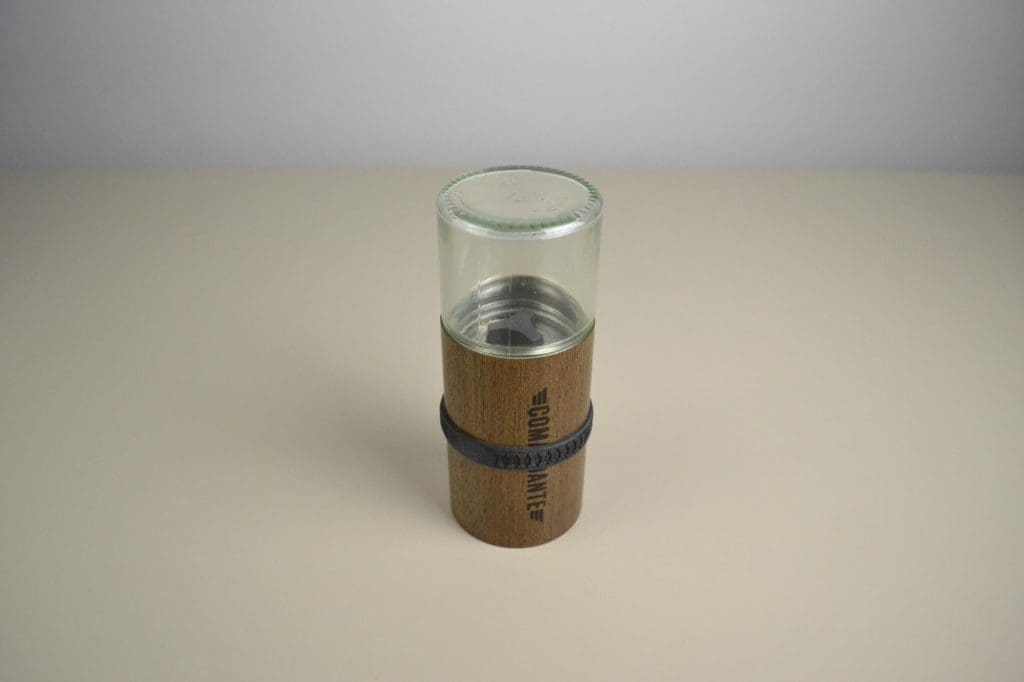
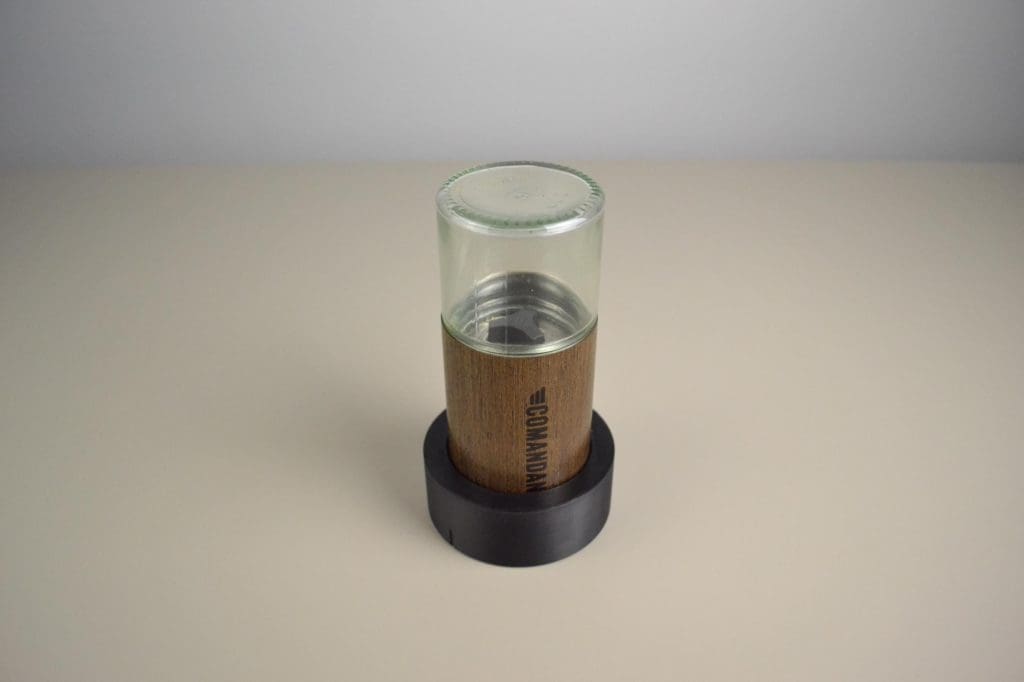
Step 9: Your Comandante should like this once the lock adapter is all the way down.
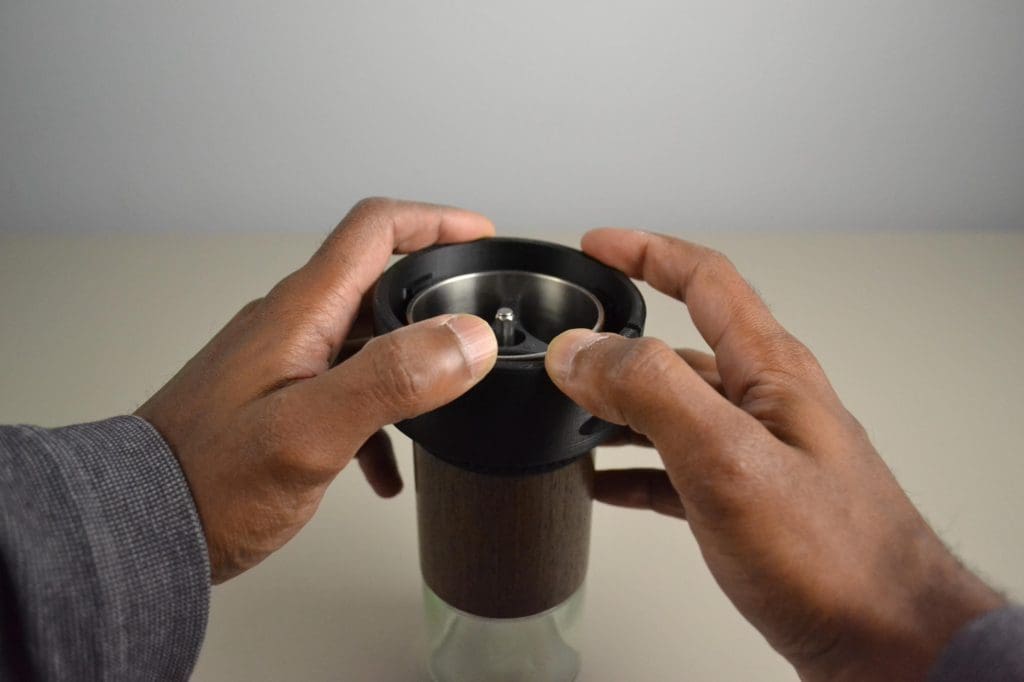
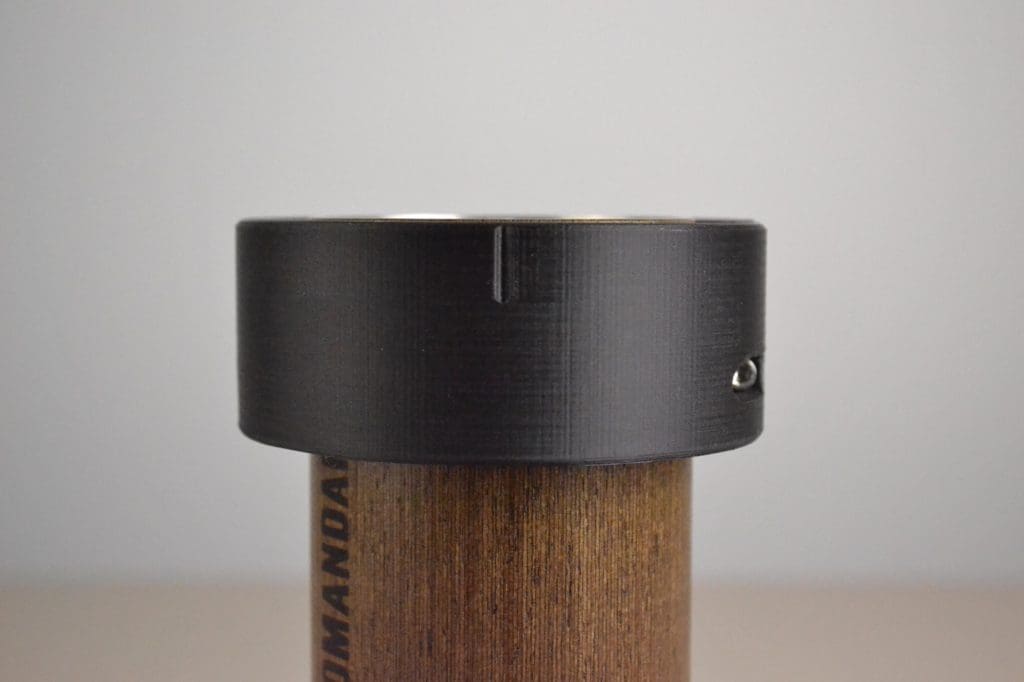
Step 10: Flip your Comandante and inspect to make sure the lock adapter is level with the top of the grinder (as pictured below) and also make sure the silicone band is properly seated inside the lock adapter.
Step 11: Next we will make sure the lock adapter is clamped onto the grinder by tightening the M3 screw with the provided allen key. CAUTION! Do not over-tighten! Tighten the M3 screw only up until the lock adapter is no longer able to rotate.
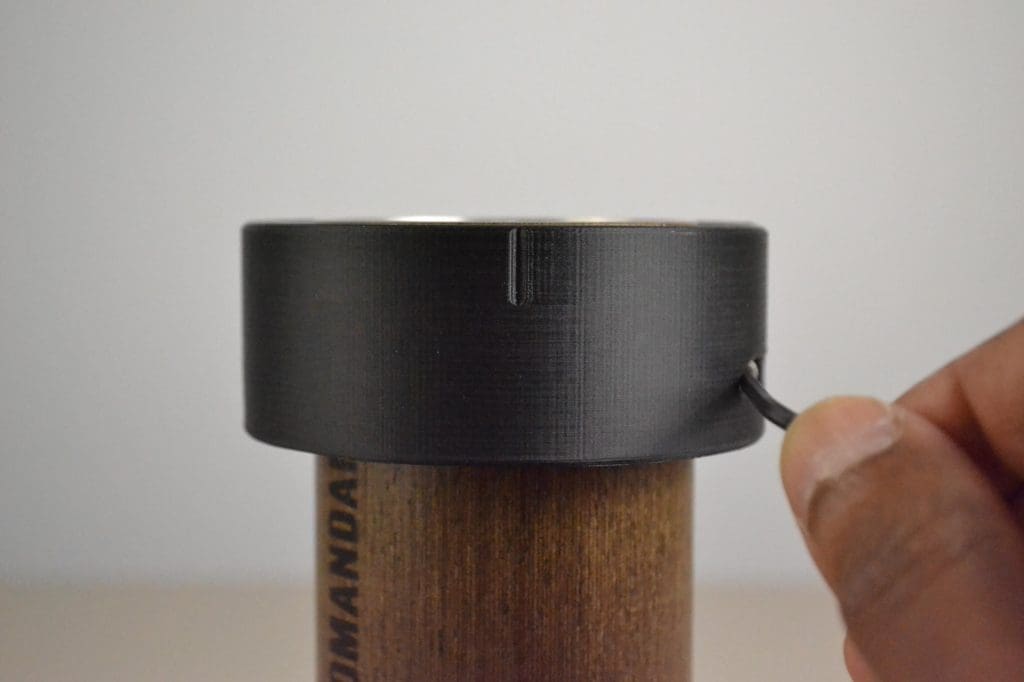
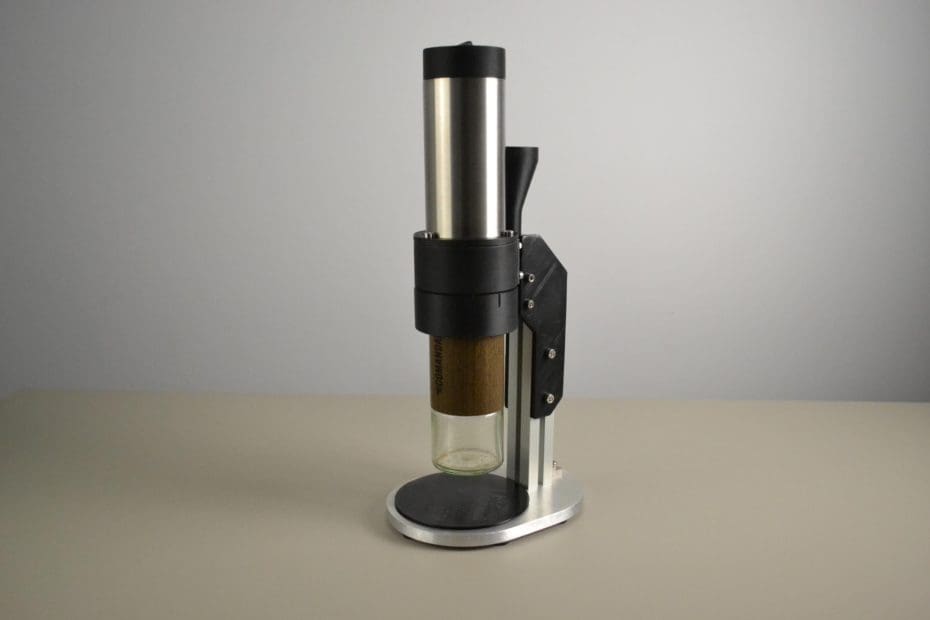
Step 12: With the lock adapter installed you are ready for the final steps! Position the grinder into motor unit and make note of the alignment marker on the lock adapter (pictured above) and the matching marker on the side of the motor unit (see picture below).
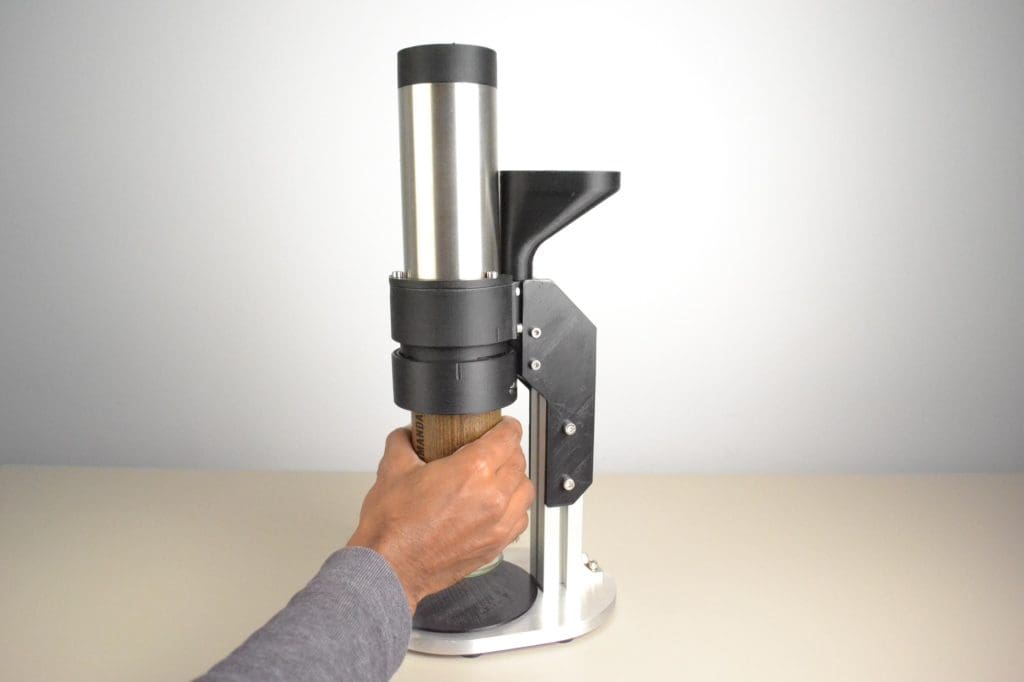
Step 12: Rotate the grinder counter clockwise till the alignment markers line up. Then wiggle the grinder until the lock adapt slots up into the motor unit.
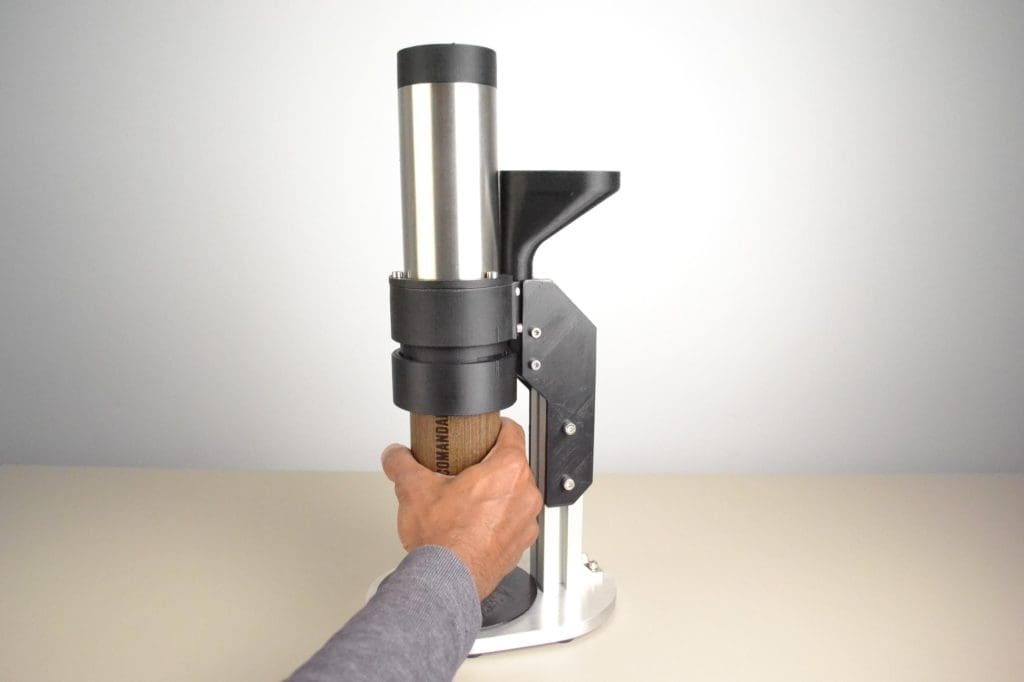
Step 13: Once the lock adapter has slotted into the grove on the motor unit. Rotate clockwise to lock into place.

Congratulations! You’ve just motorized your Comandante hand grinder!